Wednesday, December 24, 2008


The owner of Gee's Garage will be away for the holidays! So there will be no posts on this site until the new year. Do look forward to the continuation of Kustom Methods, more collection pictures and definitely more customs come the new year!

Gee's Garage wishes you a Merry and Blessed Christmas, and a very Happy New Year!

Friday, December 19, 2008

Kustom Method: Paint Stripping

KM tag

Alright, now that you have learnt drilled the rivets off. Assuming you managed to separate the body and case off cleanly, you would like to change the colour of your car. Merely respraying just won't do, since the coat of paint may not stick and another coat on top of it will make the colour coat too thick.

So, the logical thing would be to take off the paint. How?

There are two ways:
i. Immersing the body in brake fluid for a day and then brushing off the paint with a wire brush or toothbrush. (CAUTION: Brake fluid is corrosive and must be handled with gloves)
ii. Applying paint stripper on the body, and then brushing off the paint with a wire brush or toothbrush .(CAUTION: Paint stripper is corrosive and must be handled with gloves)

This is also why you need to remove the body from the base, as both brake fluid and paint stripper have chemically corrosive properties. If you are modding a die cast with a plastic base, plastic wheels, and plastic interior, these parts will melt or deform rendering them useless and leaving you with a car that looks like it has been through a lava pool.

So, sounds easy right? Let's begin.

I usually use paint stripper to take off the paint. I will be using the Honda Civic Si as an example, yet again. So hopefully it will inspire you to follow along with this posts and come up with a full custom of your own together with the Honda Civic Si by the end of this set of posts. :-)

Firstly, the tools you will need are:

custom civic
Paint Stripper
custom civic
Gloves
custom civic
Paint Stand, Paint Brush & Tooth Brush (Wire Brush is the second option)

Put on your gloves. Sit the body on the paint stand. Start by using the paint brush to apply the paint stripper all over the body of the car. Apply a fairly thick layer, but spread it evenly over the body (like buttering Keira Knightley's bod...I mean, a piece of bread).

custom civic
custom civic

Then let the paint stripper sit for a few minutes, about 10 will be good. The stripper will react with the paint, making it bubble and giving a texture that looks like this.

civic custom

Then start brushing off the paint with your toothbrush, running it thoroughly all over the body. If there are any stubborn paint left, apply the paint stripper again on the spot where there is still paint, let it sit for another 10 minutes, and try to brush it off again.

civic custom
civic custom
civic custom
civic custom

As you can see from the photos, after the first layer of paint stripper, there were still some leftover paint. So I applied it a second time and then brushed again. Finally, once all or most of the paint is removed, wash it with water and wipe it dry with a cloth.

Then your die cast body is ready for the next step of repainting!

civic custom


Next post: Pre-paint preparations (Part 1)
Previous post: Disassembly

Wednesday, December 17, 2008

Kustom Method: Disassembly

KM tag

Okay, so you want to do a full-blown custom job on your Hot Wheels or Tomica. You want to change the colour, swap the wheels, tint the windows, detail the interior... but you will first need to find a way to take the car apart. Unlike JadaToys or Maisto, you can't just pull out a screwdriver and unscrew the base chassis off the body. In fact, if you turn your Hot Wheels or Tomica upside down, you will usually see this.

civic custom

Yup, its a metal rivet. In order to separate the base and body, you will need to remove the rivet head (the metal ring). How do you remove it? Well, there are various tools and ways to do it. The first is the traditional cordless/electric drill.


The good thing about using this tool is that it is cheap and usually can be found in your house since you would have needed it for DIY jobs. It is also portable, means it can be done anywhere. The downside is that it is not stable, so while you are drilling, if the drill slips off the center of the rivet while drilling you may dig into the base and make it really ugly or complicate matters during reassembly.

The second method is using a drill press.


I have access to a drill press in my university and I have used it to drill off the rivet head. I find that it is really good, because you are able to align the drill bit to the rivet properly before drilling. The drill is very secure and stable, meaning you will get a very clean and quick drill job (as you can see from the Lancer Evo and VW Golf GTI custom pictures). The downside about this machine is that it is expensive, and can not be easily found unless you own an industrial factory or repair shop of some sort.

The final solution that I can offer is using a rotary tool.

Image from mytoolstore.com

If you feel like investing a bit of cash since you would like to be serious in customizing, then the rotary tool is definitely the way to go. The rotary tool can assist you in various customizing jobs, and drilling off rivet heads is one of them. Computer customizers also most likely own one of these.

But whichever tool you choose above, I cannot stress this enough, please use the right drill bit. In the market, there are various drill bits available; some to drill wood, concrete, steels, etc. Pick the one that can drill steel.


Image from northerntool.com

It looks like the one in the picture above. Believe me, you do not want to be using the wrong drill bit to drill the rivet head off. I have used a drill bit meant to drill concrete, and after half an hour of drilling, the rivet head was still not even close to being removed. :-P

As for the size of the drill bit, anything between 4mm - 5.5mm is okay. It is okay to use a 5.5mm even if the rivet head size is 4.5mm, just as long as you are able to remove the rivet head.

If you remember, I will be using the Honda Civic Si as reference, and here it is.

custom civic

And this is what it looks like after the rivet heads have been removed.

custom civic
custom civic

As you can see, the rivet head (ring) has been drilled off. This will allow me to separate the body from the base.

custom civic
custom civic

I hope this post has been informative for you and will help you take your first step in customizing! Do leave a comment if you have additional questions or comments. :-)

Next post: Paint stripping

Tuesday, December 16, 2008

Kustom Method: Honda Civic Si

This post is my blog's 50th post! And it is quite fitting that I announce that there will be a new segment in this blog.

It is called Kustom Method.

KM tag

What is it? Well, since I have started customizing die cast cars, I have used other customizer's blogs as guidelines to customize the cars. They do serve as a good guideline, but they do not answer many questions that I face along the way. This is not saying that the other blogs lack information, but I believe that with each car customization comes a set of unique problems faced along the way.

So, you still have not answered the question. What is Kustom Method? Okay, okay. You will have noticed how I post my customizations now. A work in progress, then a blogpost showing the whole process and final outcome pictures. In between there will be a big gap where you will be waiting to see the final outcome of the customizations. So now, Kustom Method will be a set of blogposts showing my progress in the customizations. Also, it will list out any problems I faced along the way together with the solutions I adopted. With this, I hope to cover all bases in terms of providing answers to questions related to customizations and also serve as a more in depth guideline/resource for new customizers or people just interested in finding out how customizations are done.

Hopefully you are quite clear by now. :-) Okay, so as you probably have guessed from the header that I will be debuting this segment using a Honda Civic Si. If you did, then you are right! I will be customizing a Honda Civic Si for a friend and his car will be the first to be used for this segment. Ironically, the Honda Civic Si was my first customization under the Kustom RideZ segment. :-)

Of course, along the way if you disagree with anything or have any questions... just drop me a comment or leave a message on the chatbox.

hauler carrier

Next post: Disassembly

Monday, December 15, 2008

Kustom RideZ: Mini Cooper

Kustom RideZ


Recently I have been commissioned to customize a Tomica casting of a Mini Cooper (see picture below) for Yeo, a fellow collector and friend. He requested the Mini Cooper to have stripes on the bonnet, a white roof, and detailing which was lacking in the regular casting in comparison to the limited. The emphasis was on the detailing of the body. And that was what I did.

The custom job sounds simple, since it didn't require paint stripping or full body mod job. However, it wasn't as easy as it sounds. The white stripes had to be precise, the shape of the roof complicated things a bit. Plus, the detailing required more than a bit of patience. So I would say it was simple but complicated! :-P

Picture taken from World of Tomica.

This is the first collaboration between us, and you can find his take on my customization in his blog. I hope that this is the first of many more collaboration to come! Do visit his blog, which I find is has excellent reads for die cast enthusiasts and collectors. :-)

The pictures of the final outcome of the simple but complicated Mini Cooper customization can be seen below. Enjoy!

Restoration #4 - 29/11/08

Saturday, December 13, 2008

Kustom RideZ: Nissan Skyline

Kustom RideZ

Yes, you seen it right! It is finally done! Firstly, many apologies because I have been busy going on holidays and organizing quite a few things so I haven't been able to work on this custom for quite a bit. Nevertheless, it is done. :-)

So, I used a 2008 Hot Wheels Stars Nissan Skyline casting this time. Why? I believe the casting had a few flaws, notably the hole in one of the headlamps. To do a full mod job, I drilled the car open to separate the body, chassis, windows and interior.

skyline custom

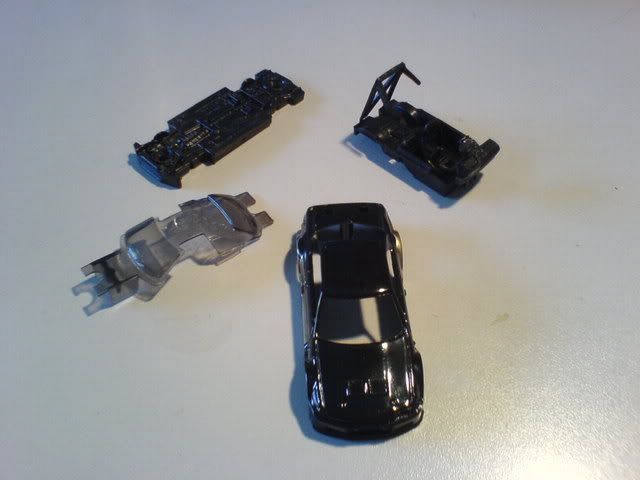
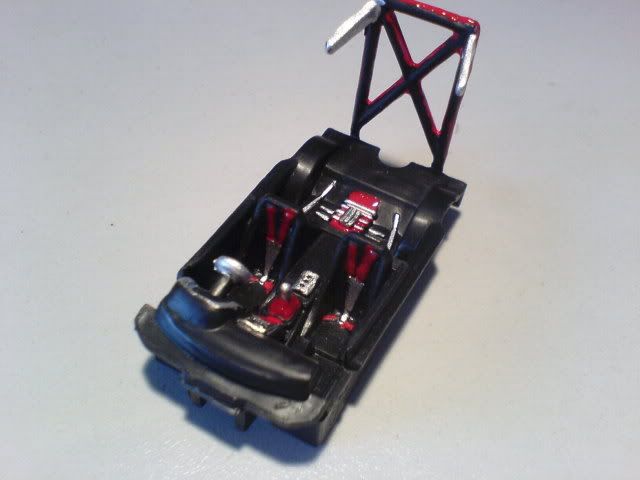
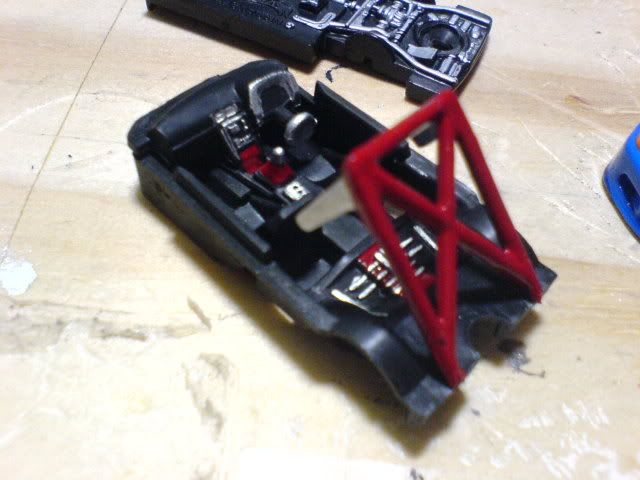
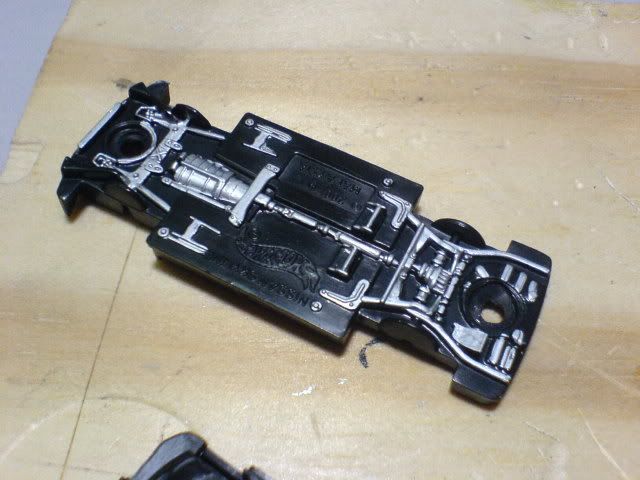
Despite the small flaws in the body, the interior and chassis is pretty well done. The interior has been moulded to 3-point harness seatbelts, a roll cage in the back, and no backseat but stripped bare to reveal the chassis. The undercarriage is also quite detailed, so I did not have to fabricate new parts for the chassis and interior.

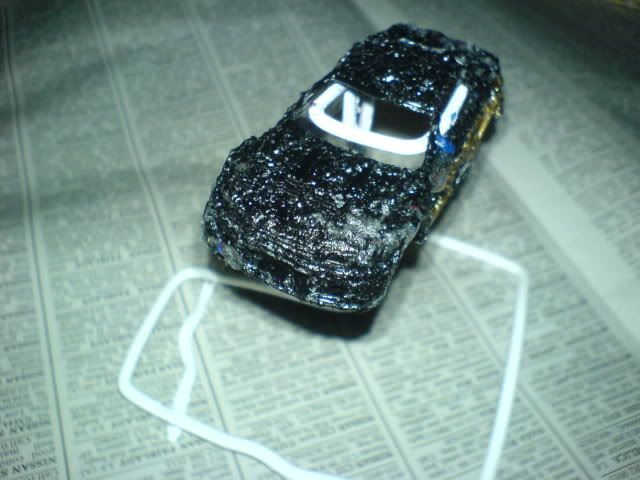
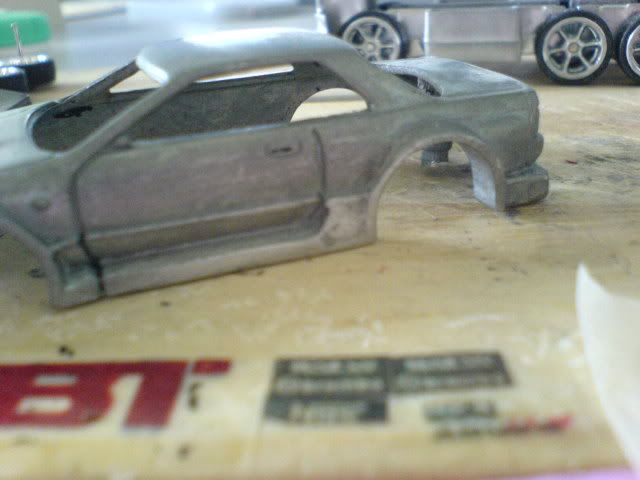
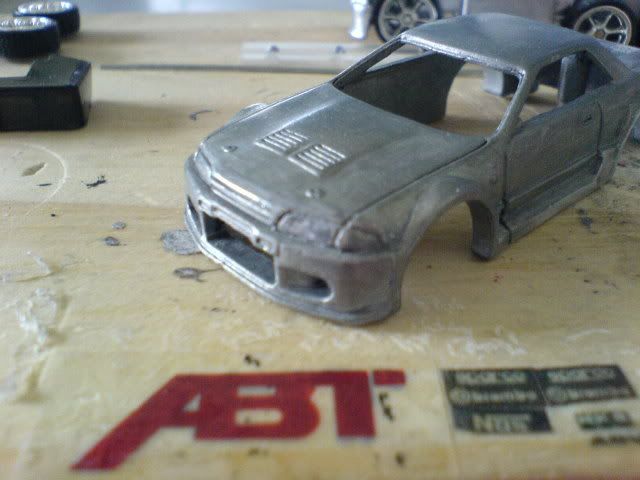
First of all, I tackle the body as it requires the most work. I used the usual method of paint stripping: apply paint stripper, let it set in for a few minutes, then brush it off with a toothbrush to get down to the bare metal.

custom skyline
custom skyline

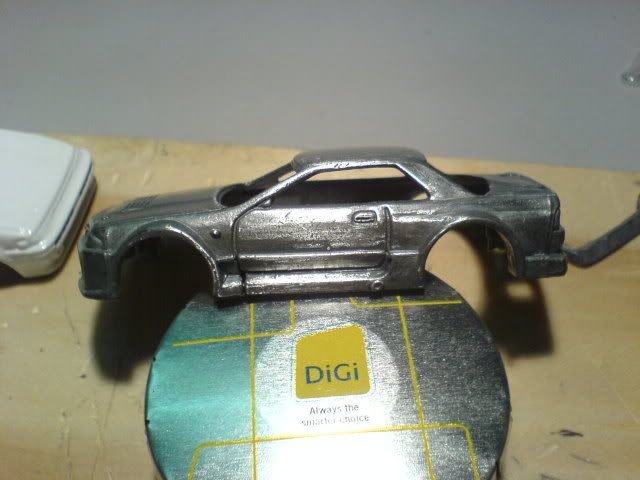
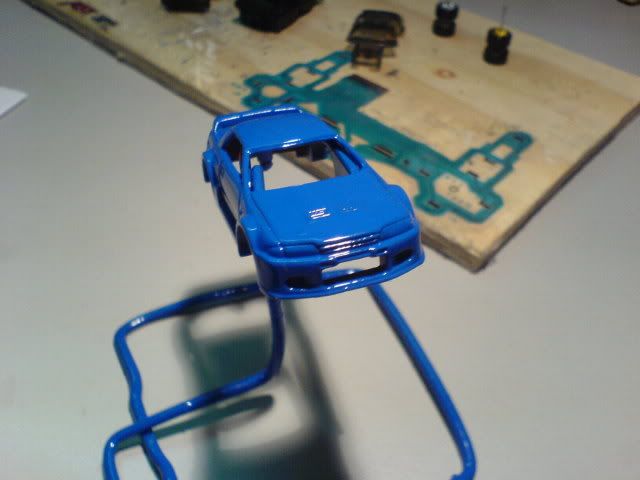
If you notice on one of the sides of the body kit there is something that looks like a pipe sticking out. I didn't like that so I sanded it with 800 grit sandpaper till it is flat, then smoothened it by sanding it further with a 1500 grit sandpaper.

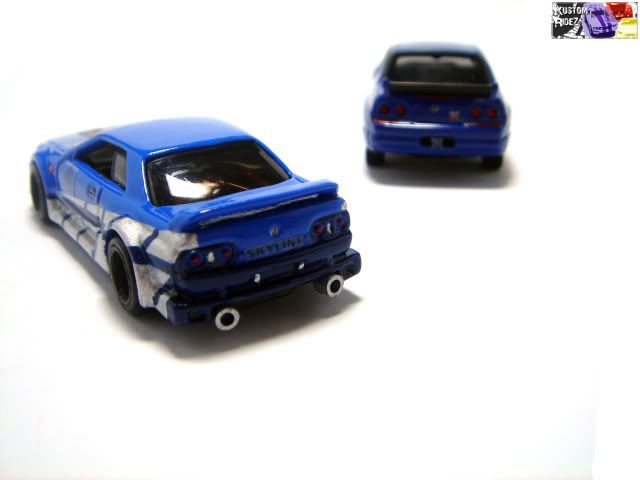
I intended to do a drift version of the car, so I removed the stock rear wing. Because of that, there were two holes, so I filled it with epoxy putty and then sanding it to smoothen it out. The headlamp with a hole was also filled out and sanded flat.

custom skyline

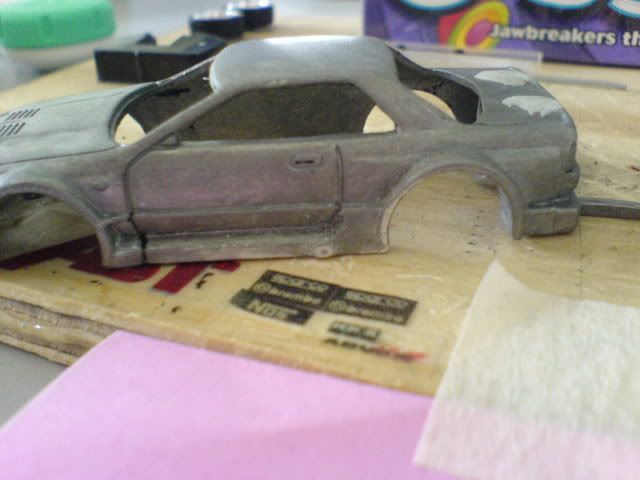
As you can see here the picture on top shows the bulge and the putty has been filled in the holes. The bottom picture is what it looks like after sanding.

custom skyline
custom skyline
custom skyline

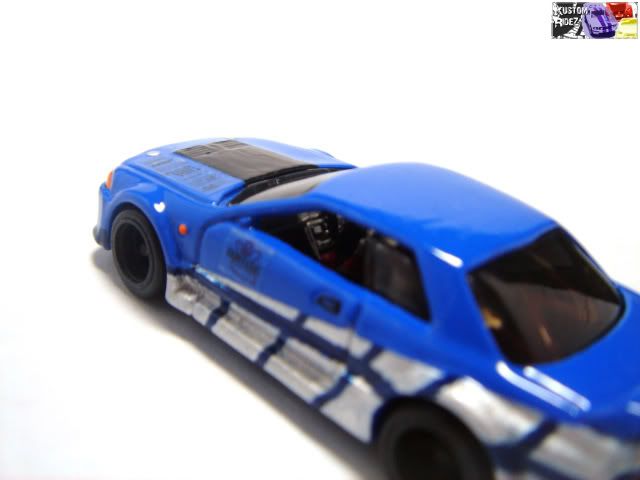
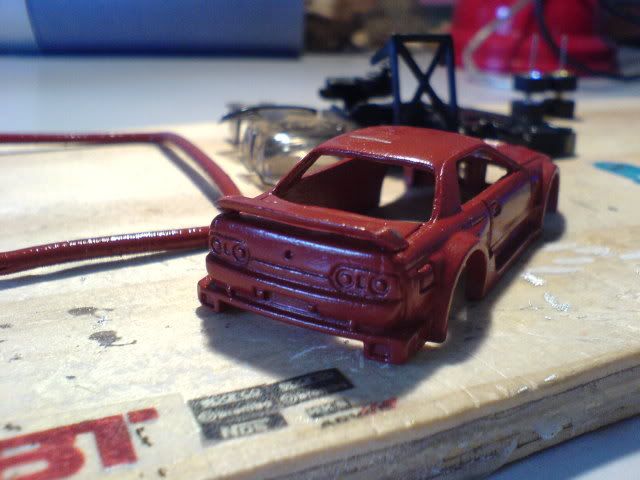
After the refining work, I proceeded to spray primer on the body. I also found a donor rear wing that I wanted, and sprayed primer on it too. Once both the primers dried I glued on the rear wing onto the body.

custom skyline

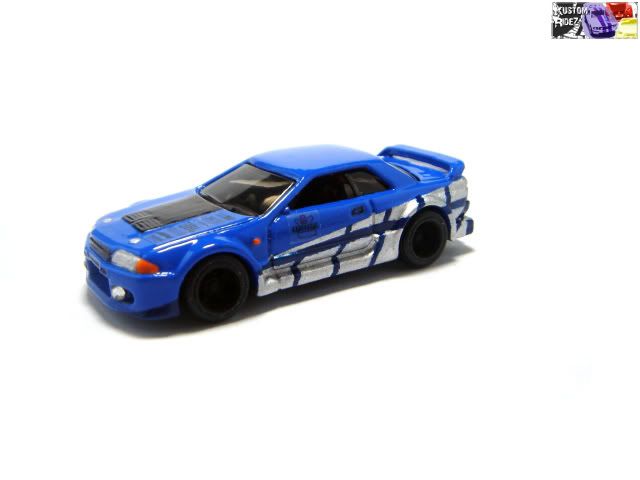
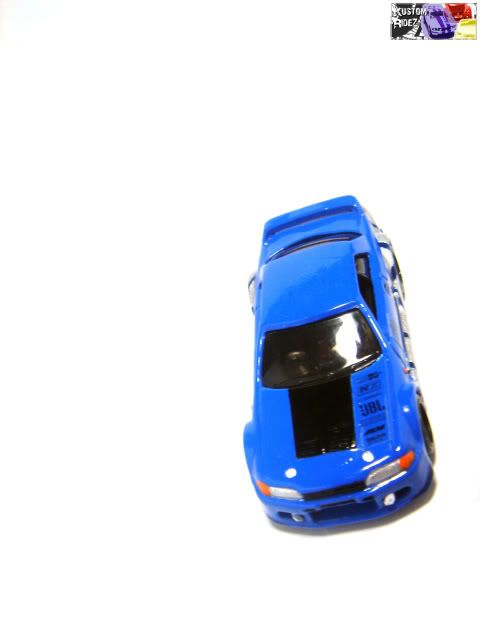
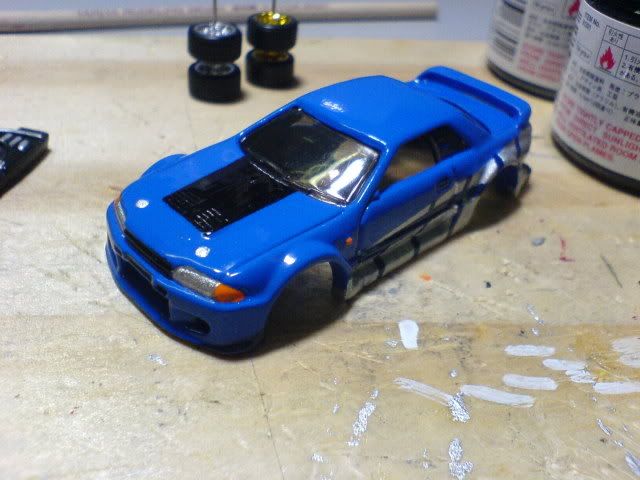
Then it was time for colouring! I picked blue, as it is quite a popular colour for the Skyline. The only other car which I can think of that has a lot of blue would be the Subaru Impreza WRX. However, I went with the two tone blue with silver tempo for this one. I must admit it I took some ideas from the Fast and Furious Skyline. So I sprayed on the base coat blue, which is the lighter shade of blue.

custom skyline

I then did some masking and some painting. Then some masking and painting some more. And then some touch up. I did not take pictures of these cos I did it these in small parts, little by little in between long periods of time. This was when I was quite busy and was just posting my collection photos. :-P

The Skyline ended up with a tempo that looks like this below. Once I was done with the tempo I sprayed on a coat of gloss to protect the paint of the car.

custom skyline

As for the interior, I detailed the dashboard, seat belts, gearstick, steering wheel, chassis and roll cage. As I have mentioned before, both the interior and chassis carried a lot of detail so all I had to do was paint it to bring out the details.

custom skyline
custom skyline
custom skyline

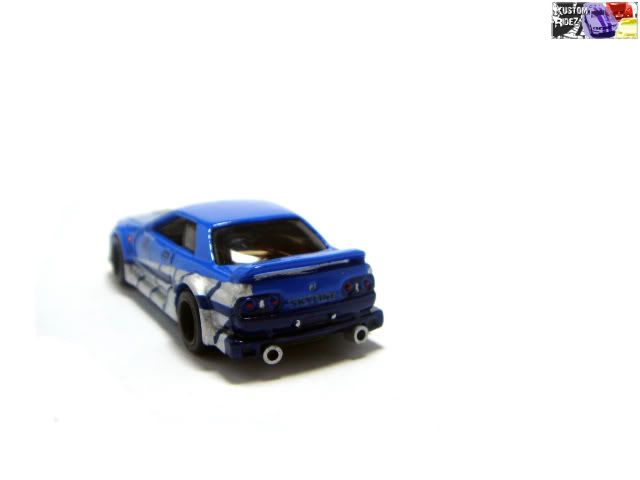
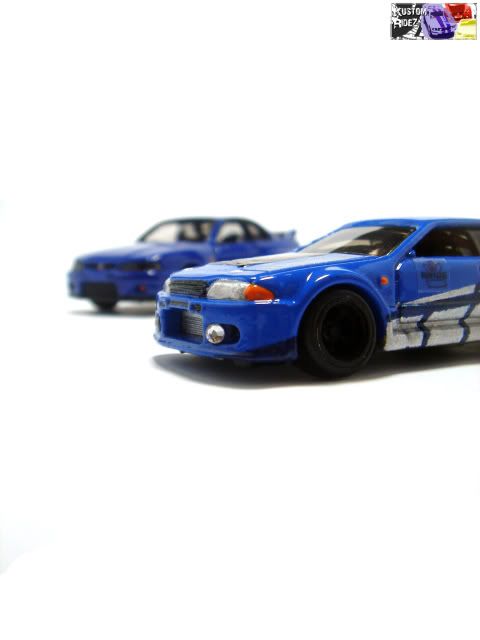
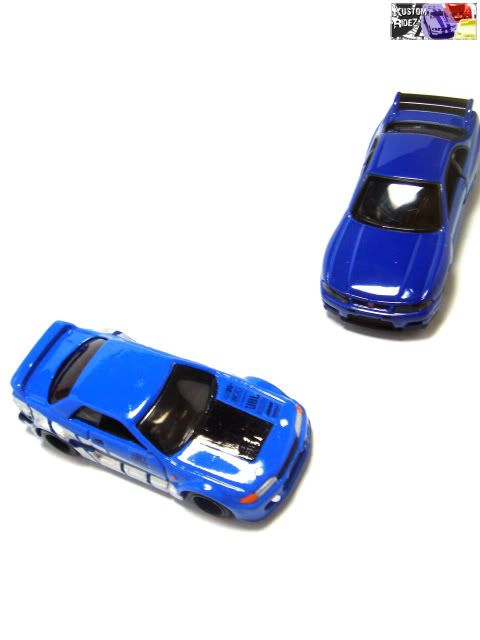
I fabricated two exhaust pipes and painted them silver. Then I glued them on the back bumper, along with two rhinestones in the front bumper. I also got donor rubber front wheels from two different Treasure Hunt$ cars, and painted the rims black. Finally, I fabricated some sponsor logos and then the car was glued back together.

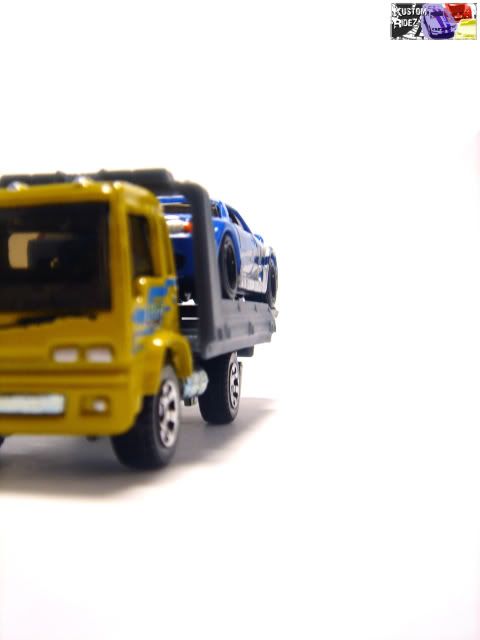
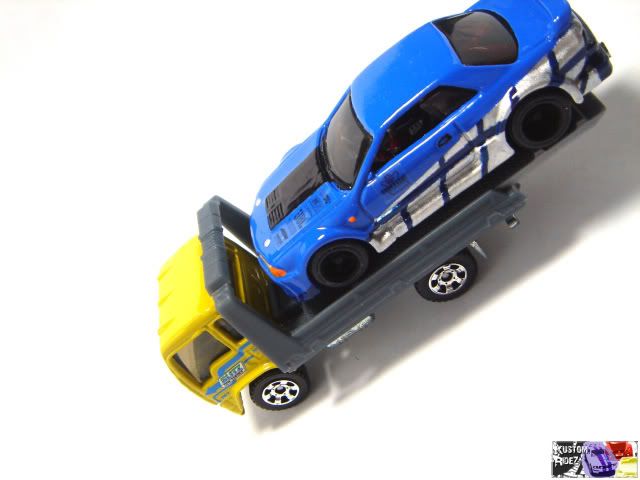
Enjoy the pictures below. Do leave a comment and let me know which areas I can improve or do better, I'd love to hear from you. :-)

Custom #6 - 12/12/08
Custom #6 - 12/11/08