Greetings! Thanks to a lot of poison (mostly from Cham), I have decided to start on plastic model kits. Hence I purchased three kits for me to start my model kit journey. The first of which I want to work with is this: the Subaru Impreza WRX. This is one of my favourite cars, and I see it as no better candidate to start.
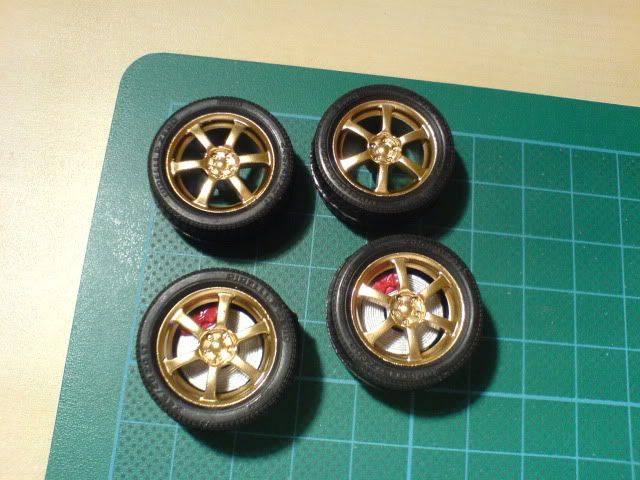
2/09/09: As this is the first kit, I decided that I should build it out of the box with a little changes in terms of colour in parts. The first thing I noticed was that the rims which was supposed to be gold, was a little dull. So I sprayed the rims with a brighter shade of gold. Then I proceeded to paint the front brake disc and calipers.
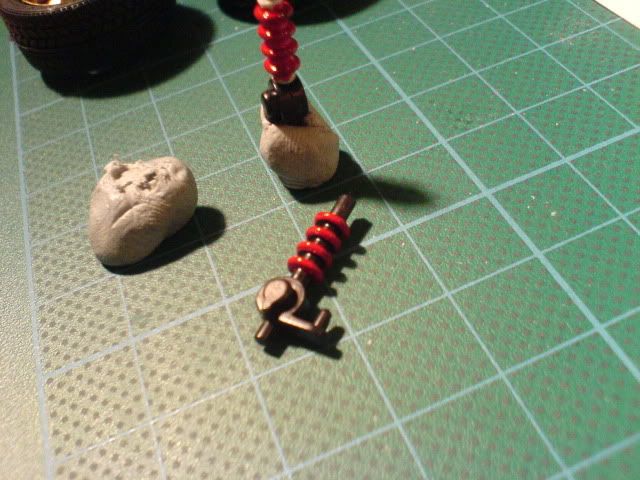
Then I painted the front suspension springs. I wanted to paint only the rings red, so I cut 1mm masks using a knife to tape the insides. I was once told that the longer you spend to mask, the shorter your touch up work later on.

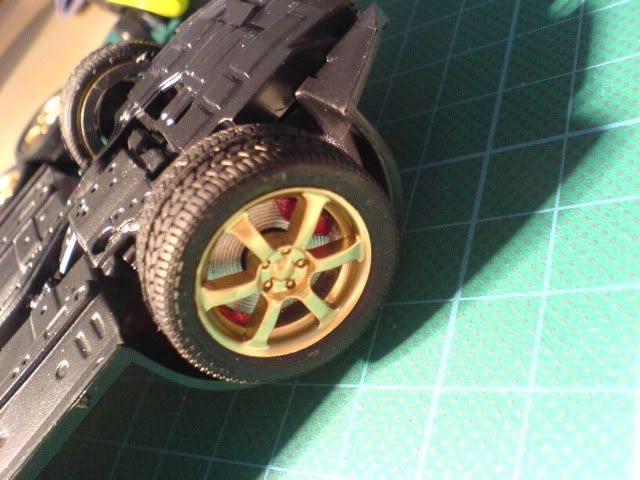
After the paint has dried, the masks are removed. Then I glued both the wheels and suspension onto the chassis.
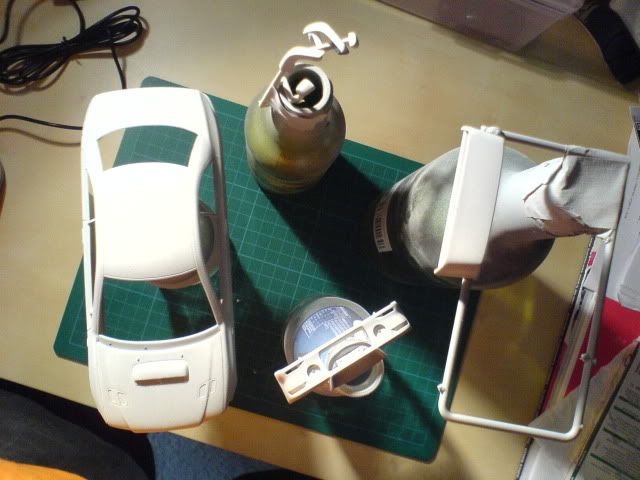
While the glue dries, I have begun work on the body. I sanded off the mould lines and washed the body. Then the body is sent to primer, and left to harden for a week.
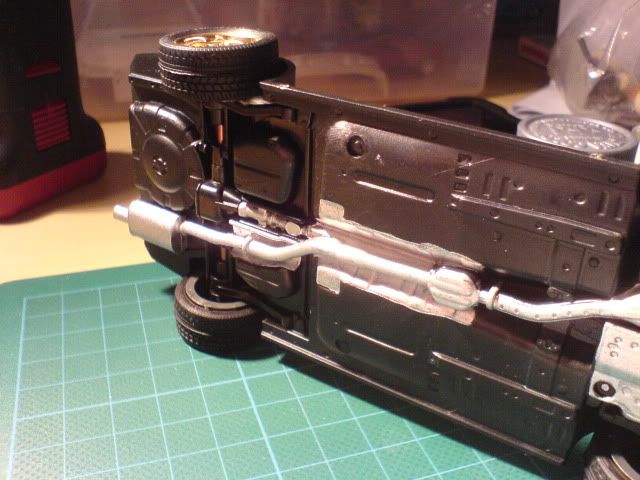
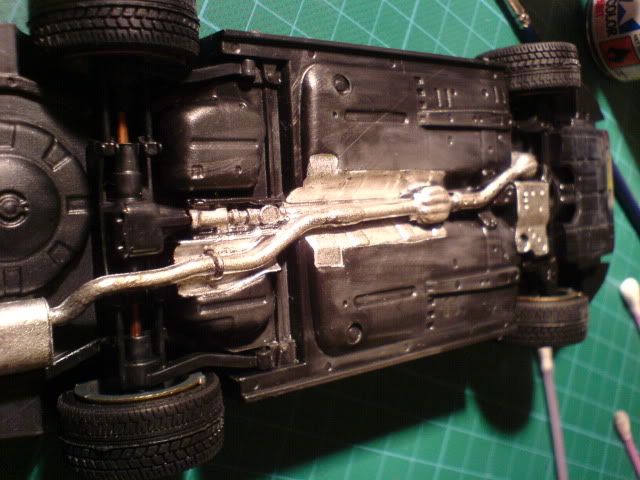
3/09/09: Painted the rest of the brake calipers and discs, then fitted the exhaust, muffler, rear axle and wheels onto the chassis. Proceeded to detail the chassis.
After the silver has dried, i weathered the chassis by washing the silver with smoke and using cotton buds to rub thinner on the black areas of the chassis.
9/9/09: The primer have been sitting on the body for a week now. Wetsand tomorrow and then spraying the colour on! Haven't got much time for the interior, university group assignments are eating up lots of my time.
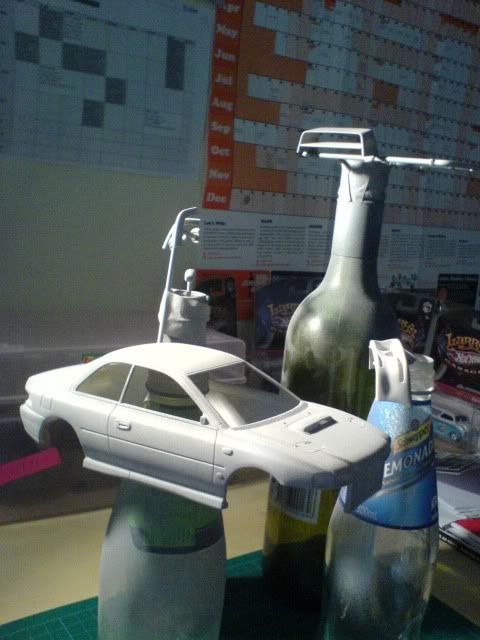
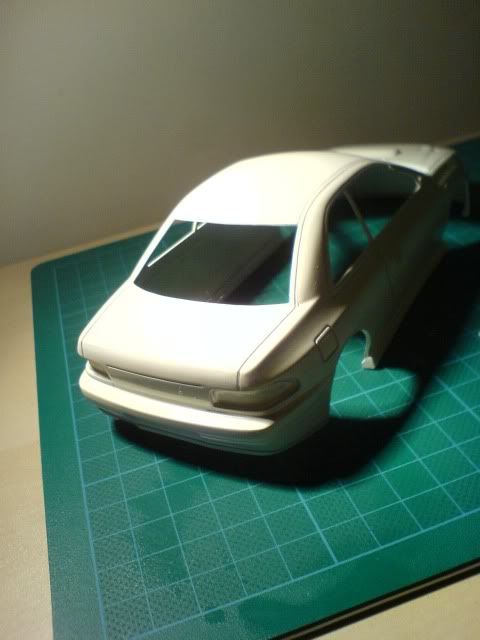
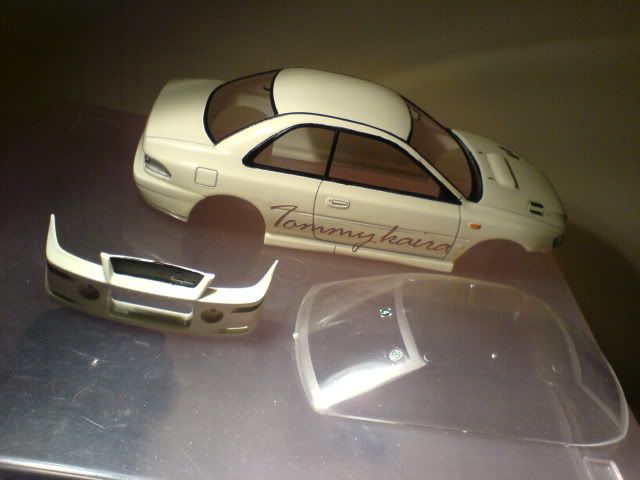
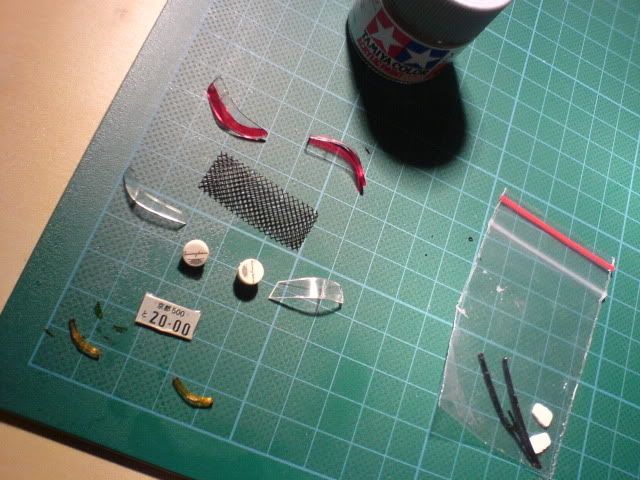
13/9/09: Sprayed Tamiya TS-7 (Racing White) onto the body, giving it a milky off-white colour. Turned out pretty good, except for two or three spots with specks of dust. Its pretty darn dusty here in Australia. :-\ But anywho, still pretty happy with the end result! Will proceed from here by detailing the exterior bits before decals and gloss. I'm missing a few colours too, like clear orange and clear red for the lamps. I shall let the paint sit for a few days, while I work on the interior and get the colours I need. :-)

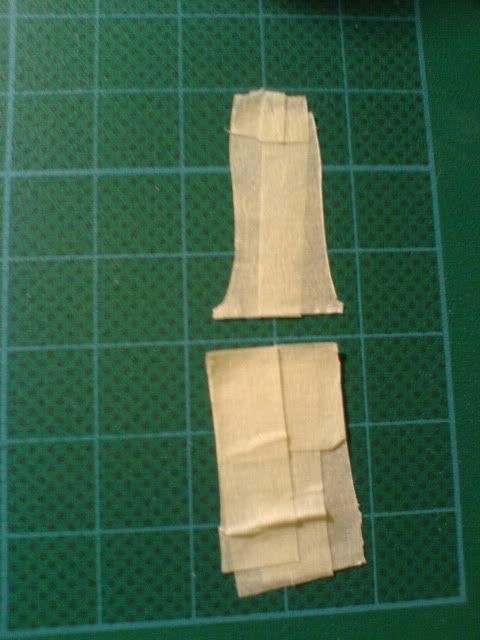
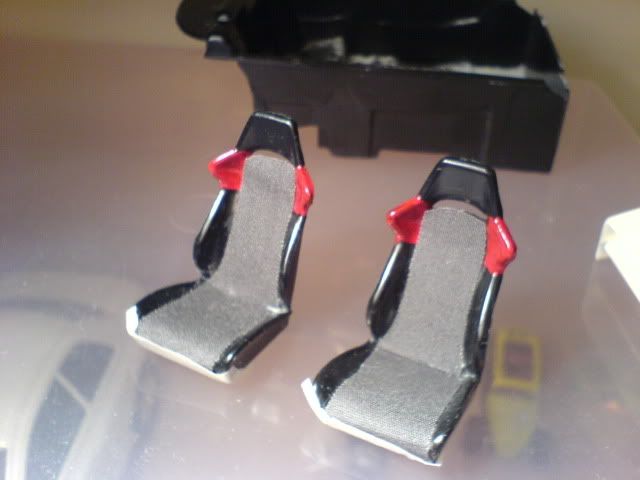
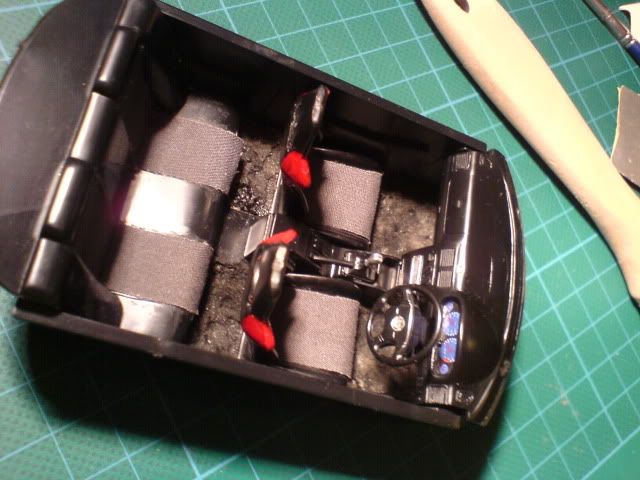
14/9/09: Did some work on the bucket seats today. I painted the wings (is that what you call it?) near the shoulders red and made a template for fabric using masking tape. First, I masked the area I want to cover in fabric, using strips of masking tape. Be careful not to crease the tape, the idea is to use small patches to go over the uneven contours.
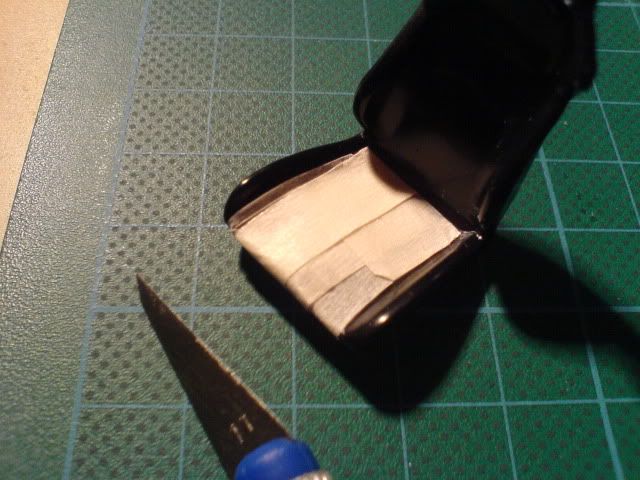
Then, using a hobby knife, I cut out the excess using the side contours of the seat as guides. Then the same step is repeated for the top half of the seat. This masking piece will serve as a template which i will stick on the fabric.
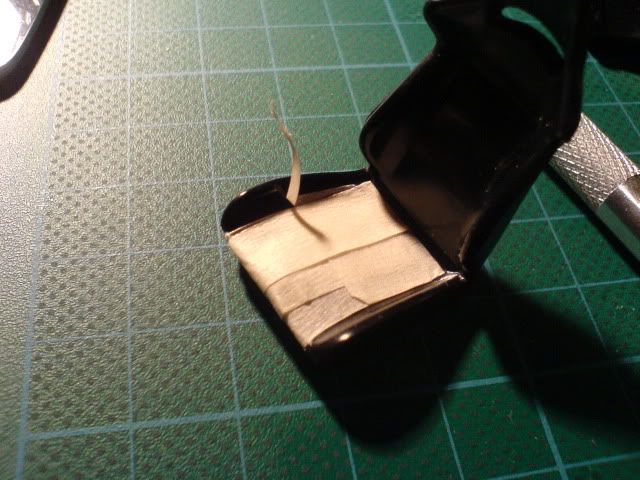
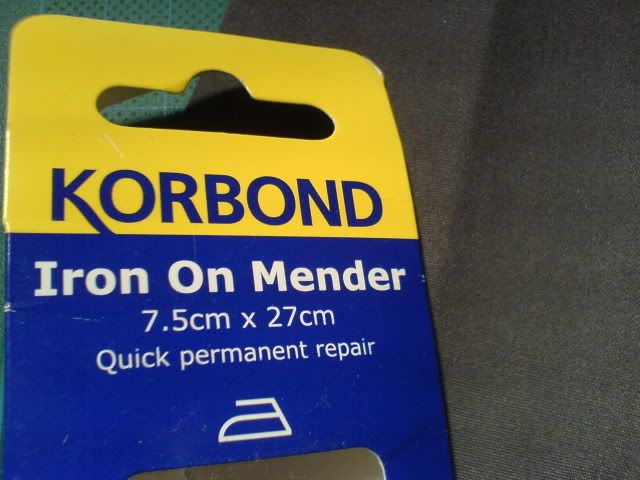
After obtaining the template, I purchased this iron-on-mender from a local grocery shop for $3. I stick the masking on the fabric and cut it into shape. Then I glued the two pieces onto the seat, using PVA glue. I chose PVA glue because it will become clear when dry and thus leaving no stains. An alternative glue is white glue, though I don't think it will clear when dry.
Then for the floor of the interior, I flocked it with bicarbonate soda, or simply known as baking soda. Flocking is simply sprinkling the bicarb soda on the interior after you have put glue on. Here, I again chose PVA glue, which i laced the bottom with and then sprinkling bicarb soda to give it a carpet effect. I will leave it to dry and harden overnight, before I do touch-up and paint over it.
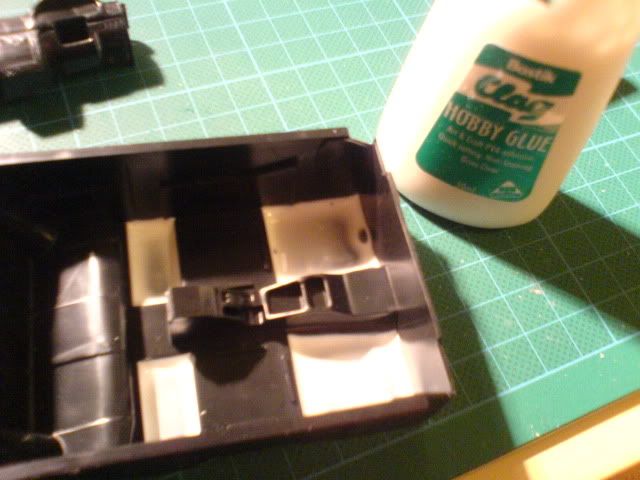
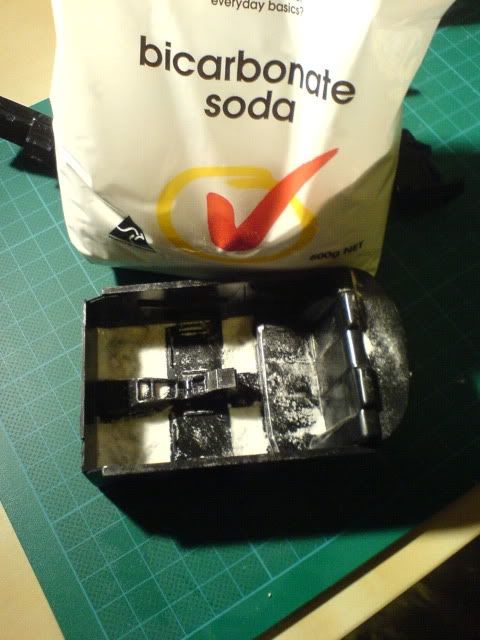
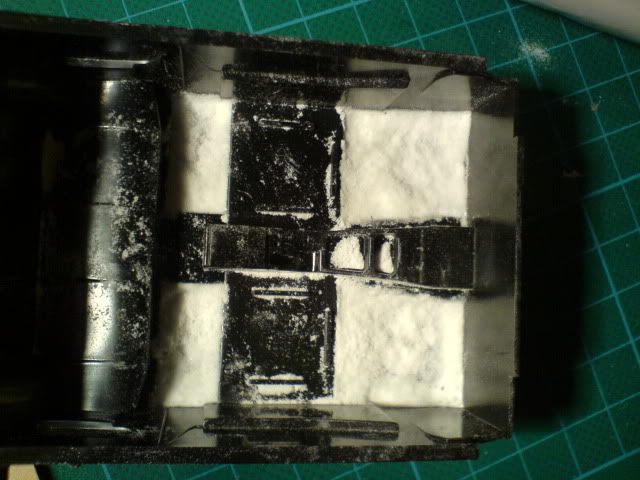
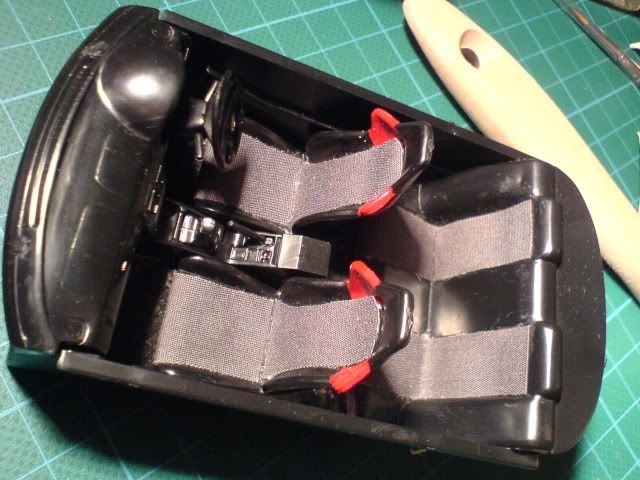
18/9/09: The bicarb soda completely dried, and so I painted the soda with flat black acrylic paint. It turned out very nicely.
Looks quite like a carpeted flooring, I would say. Although it must be noted that it is very rough, I shall aim to make the flocking smoother next time round.
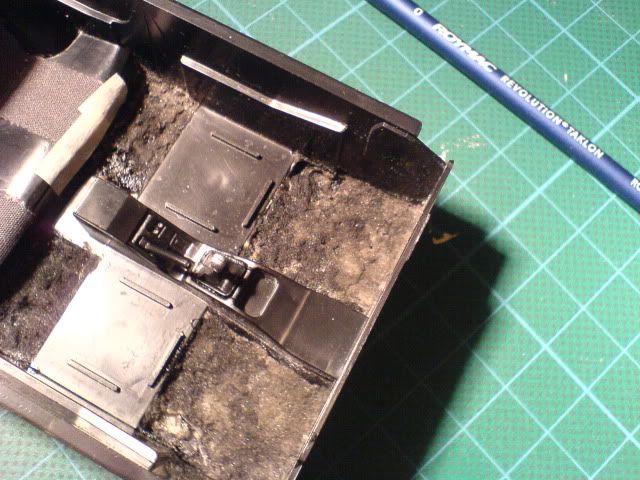
Fitted the dashboard together, nothing major here. Just small detailing and decals for the tachometer.
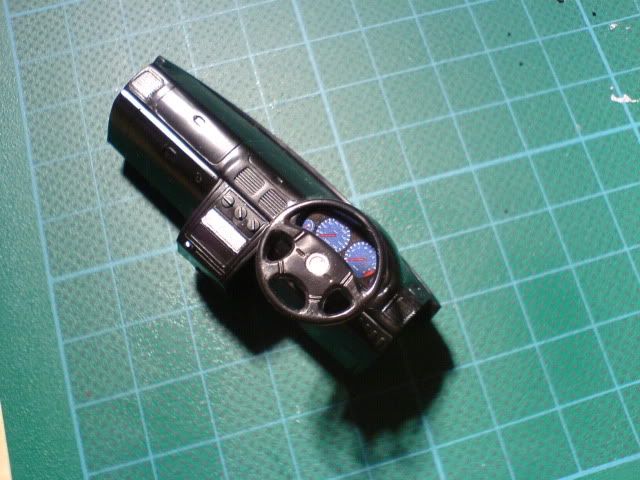
Once everything has dried, the interior is glued together. And with that, the interior is completed! Work on the body will be up next, and the car will be done. We're almost there.
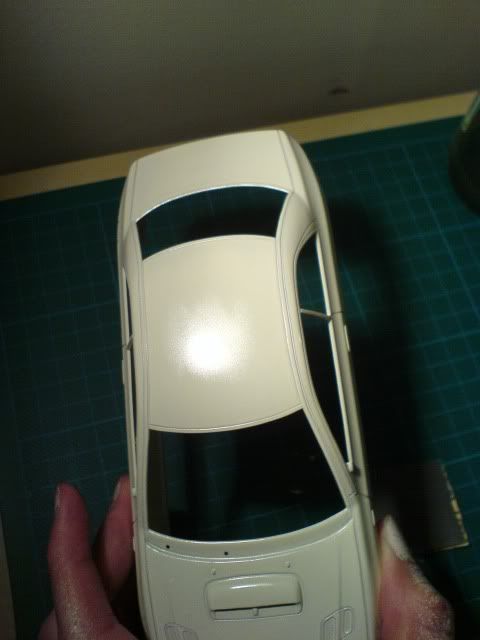
6/10/09: I know its been a long while, but I got some time on my hands to continue work on this Subaru. And today, I rushed it all! Painting the window frames, lamps, radiators and holes, washes, decals, everything! As a result of that, I botched up quite a number of jobs. :-( Some of the decals were accidentally touched, the body was slightly scratched when masking the window frames causing the black paint to bleed, some washes was too light and some washes were washed over. Looks like I have quite a lot of touch up on my hands. So basically the things left to do:
1. Touch up.
2. Gloss.
3. Assembly.
Then I should be done. I hope. :-)
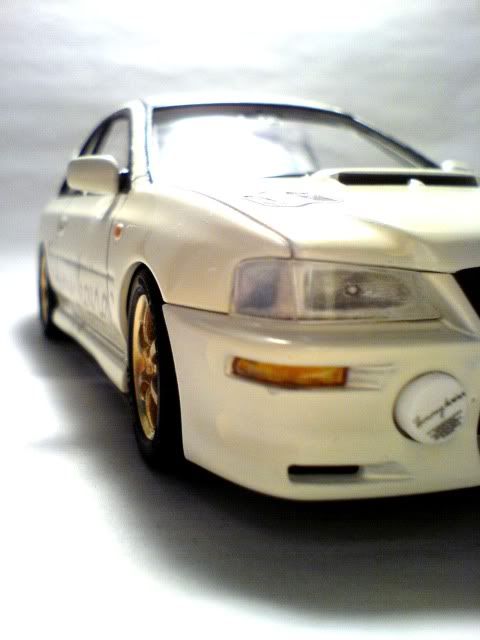
12/10/2009: I have pieced the whole car together, without the gloss coat. The thing is there were some smudges after I painted the window frames, and I cannot touch up the white paint without masking everything again. I also couldn't paint a small area since the racing white was not available in acrylic. And I tried masking up to spray some areas with white but apparently even that is too thick. Moral of the story? Buy an air brush or use paints that are available in acryllic.
Also, I stuck the decals for the headlamps upside down. Gosh. Never will I rush again,
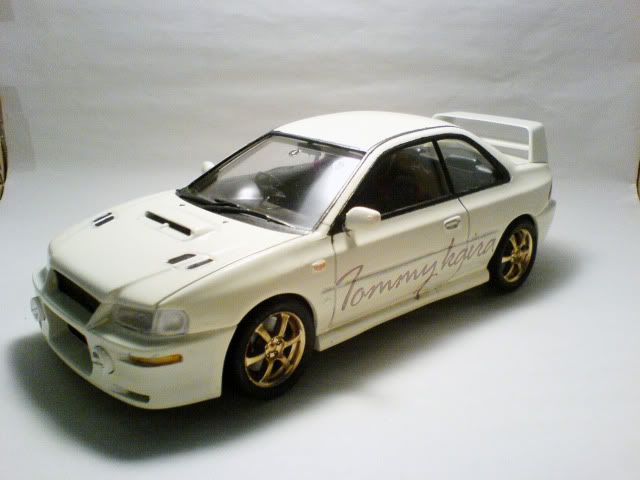
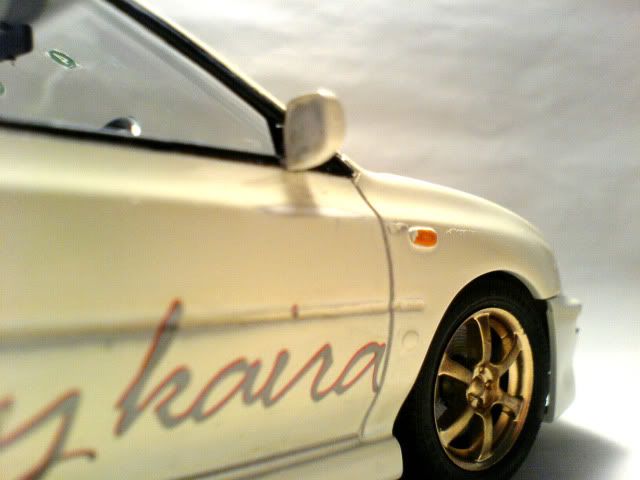
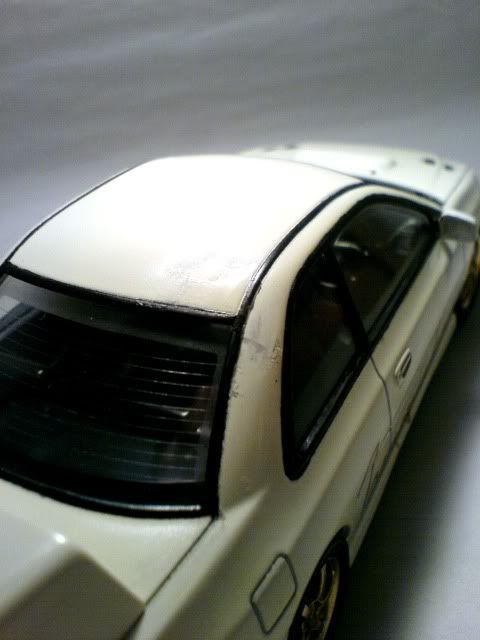
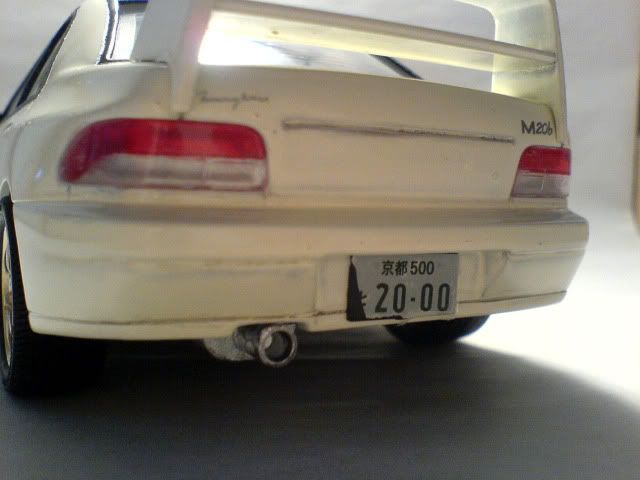
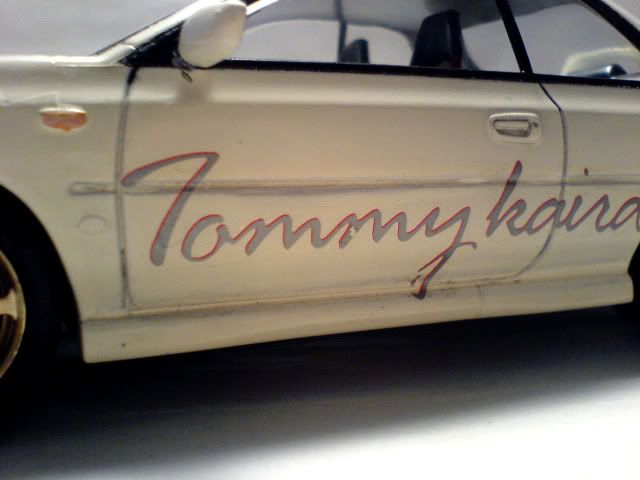
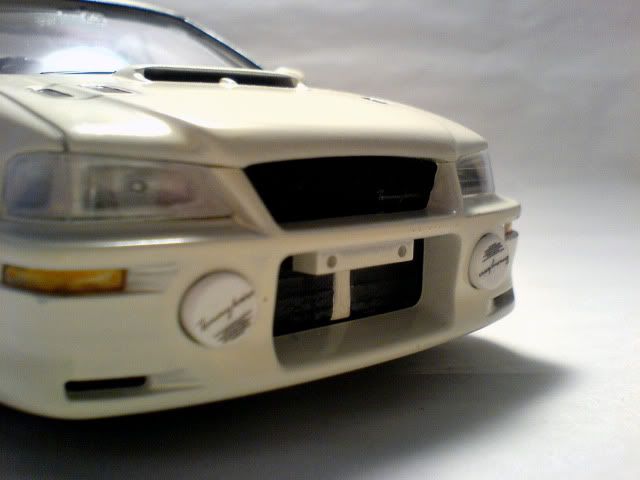
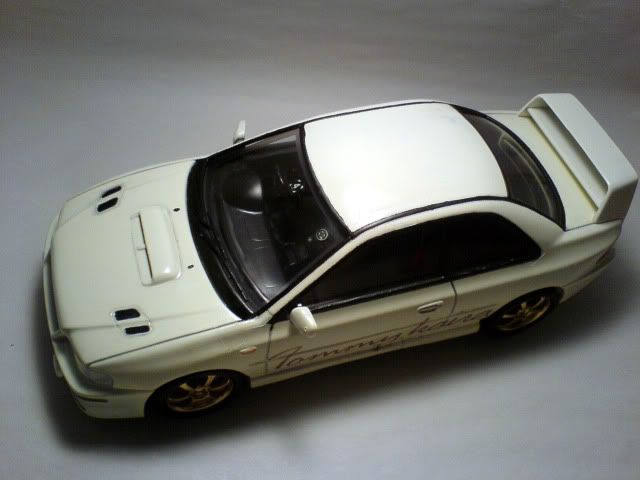
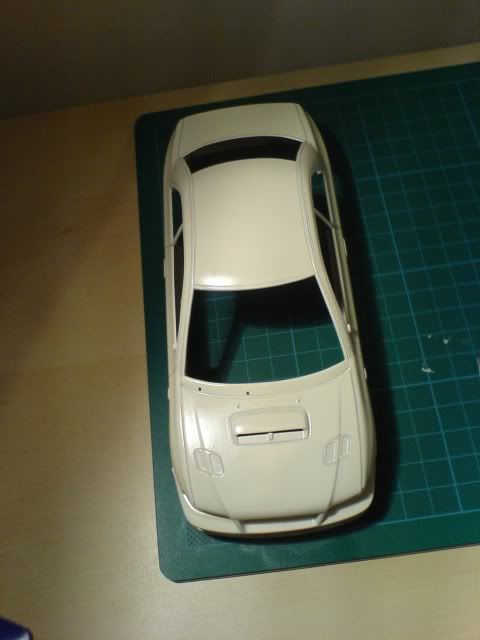
Here are the final pictures, although it is highly likely I will redo the exterior.
The pictures below shows the final car, and closeups on my flawed exterior. Do leave any comments or suggestions!