
In this post, I hope to be able to cover as much as possible for tempo on your cars. As before, there are various ways to produce tempo for your cars. I found that, I am usually limited by two things:
1. Money.
After spending so much (for paint, wheels, tools), how much more are you willing to spend for tempo? Sometimes, a clean looking car with detailing is good enough.
2. Availability.
Customizing your die casts, as you found out by now, has no hard and fast rule to go about doing it. Nor is there a detailed step by step process to do one thing after another (like building a Lego set). Some materials are available in certain countries, and with some scouting and hunting, you will be able to find the thing that suits your needs. For example, decal paper is not available in stores locally back in Malaysia so I had to make do with other alternatives.
With that, many people use many alternatives to put tempo onto their cars. One method I have seen on a forum is using temporary tattoos (which is a pre-printed decal paper). Basically, you transfer the tattoo onto your car just as you do onto your skin, and then spray a layer of gloss on top of it.
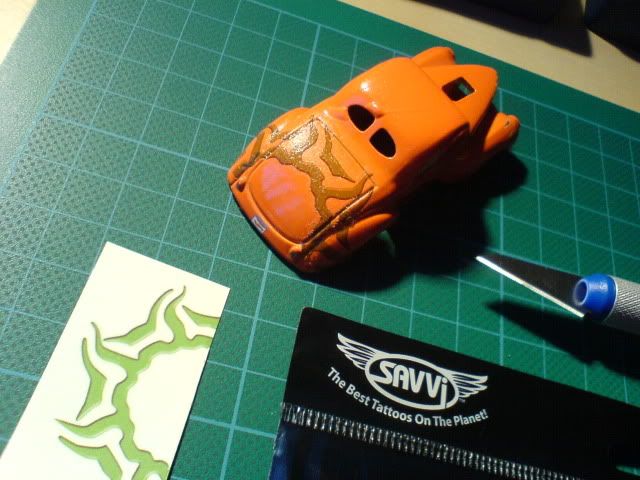
Looks pretty good, doesn't it? If you happen to spot some nice temporary tattoos, you can make them a permanent tempo for your car instead!
Another method is just simply painting on the tempo yourself! Provided you have the skills and some extra paint lying around. Just whip up your paintbrush and start painting away! While browsing through the Flickr photos, I found that this was an impressive job since its hand painted.

Credits to Sjors Trimbach for this image.
From my previous works, you may have noticed that I am a fan of tuner decals. I love dressing up my cars with company logos, and I have been asked many times how do I do it. So here goes, I hope you guys can come away with something that will help you on your way in designing tempo for your cars.
First of all, I always google up some logos I want (eg. ADVAN, HKS etc).

Usually, I'd pick one that has a white background. This makes it easier for me to edit later on. Then, on Adobe Photoshop, I'll put them all together, resizing them so that they are almost the same size.

Once I am satisfied with the size and position, I will print it. As I mentioned above, I couldn't find decal paper but I found a good alternative in my local stationary shop: transparent sticker film. So I print on the film, cut it out and then stick it onto my custom.
As for printing, you will want to grab a ruler and measure roughly how big you want the printed decal to be. This is the beauty of photoshop, you can specify the image size before you print. Just click on File, then Print with Preview.

Once in the settings, look under the "Scaled Print Size" and set it to the size you want. Usually, it is very tiny and for this one I set a height of 1 cm. Also, a tip to save paper, you may want to put your print to the top corner so you can reprint using the same paper again next time, but different position since you will be cutting out the part you printed. :-)

Then just click OK!
Usually, since my paper is a sticker, all I have to do is cut the shapes out and stick it to the appropriate places. It's that simple! The same method probably applies for decal, but you may have to reverse the wordings since it is transferred upside down.
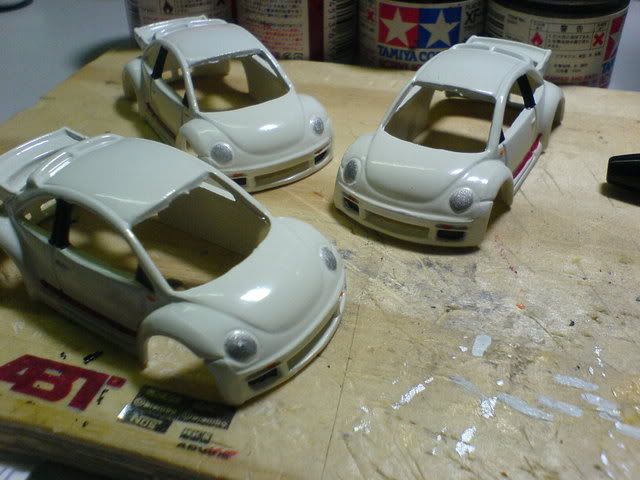
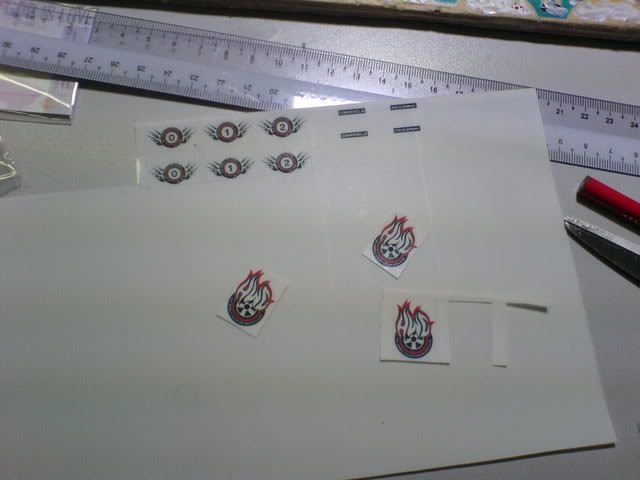
The tempos are printed out on transparent film, and cut out.
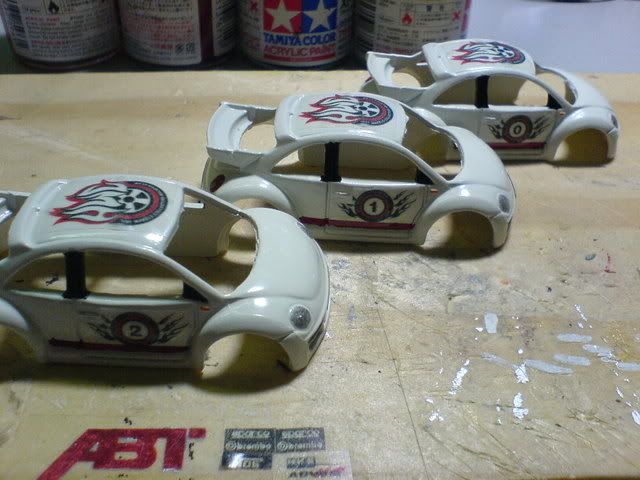
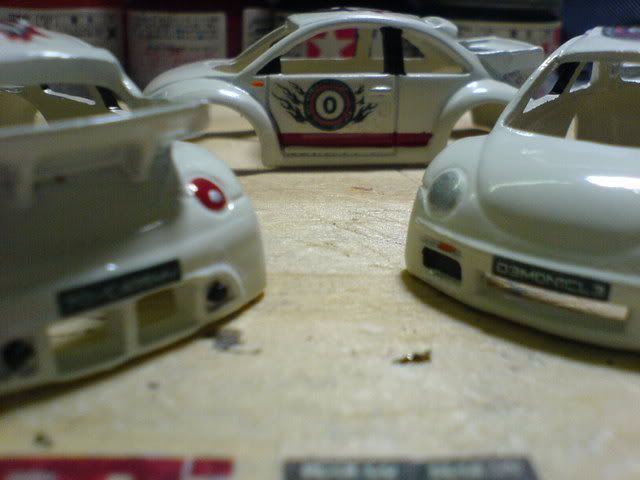
Finally, stick them on the car and you are done!
There are many more ways to apply tempo onto your car. Do you have one? Please do share with me! Also, feel free to drop any comments or any questions in the comments box. Cheers!
Next post: Reassembly
Previous post: Wheel Swap
