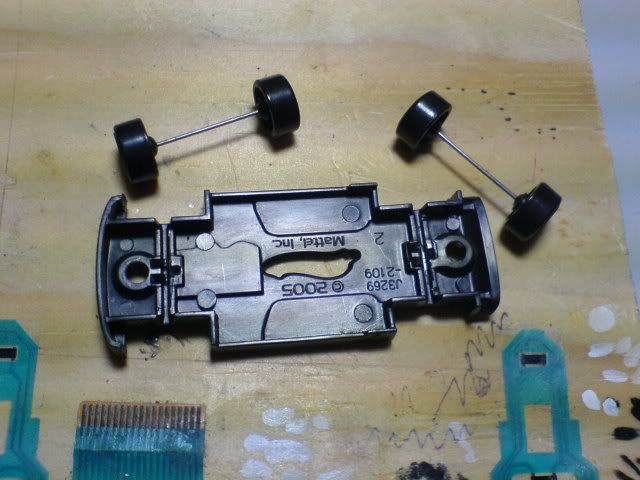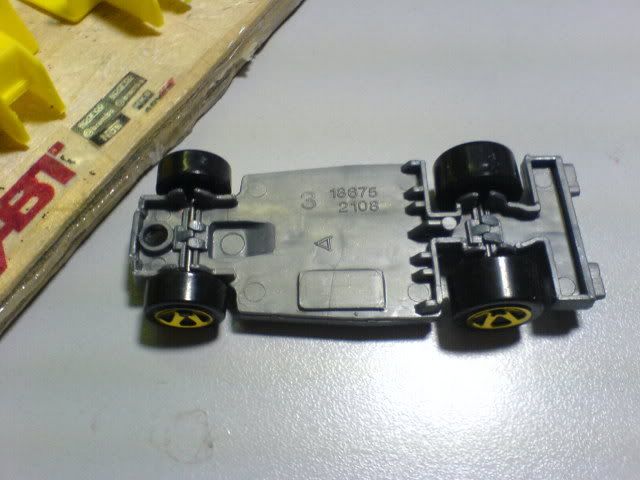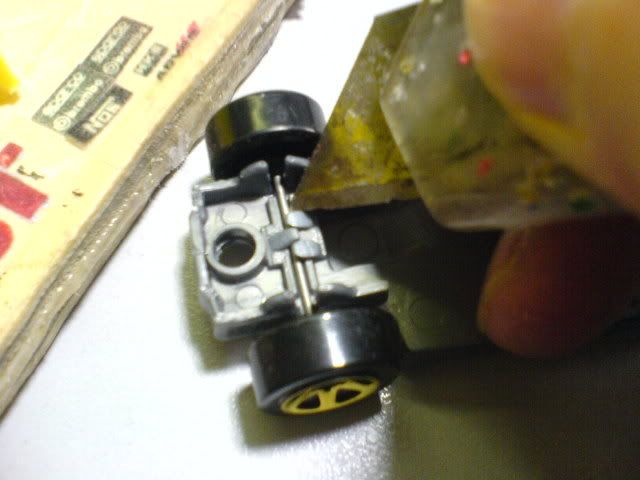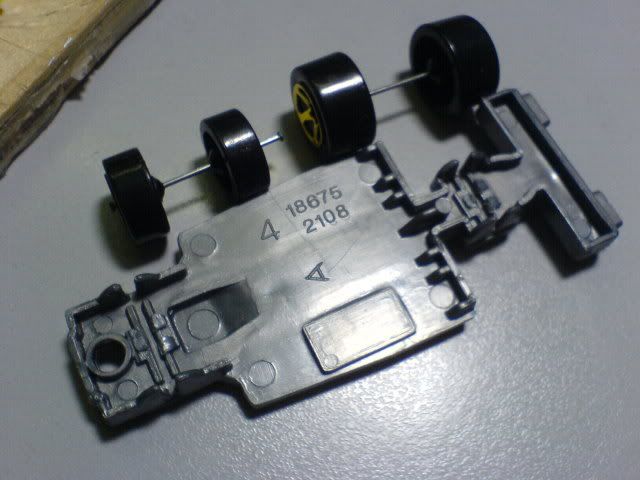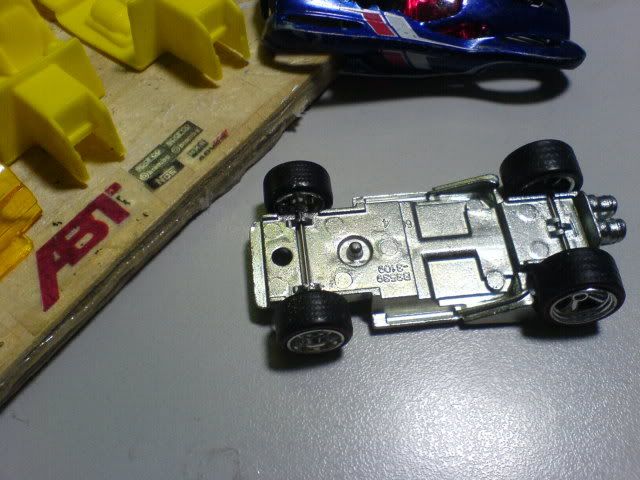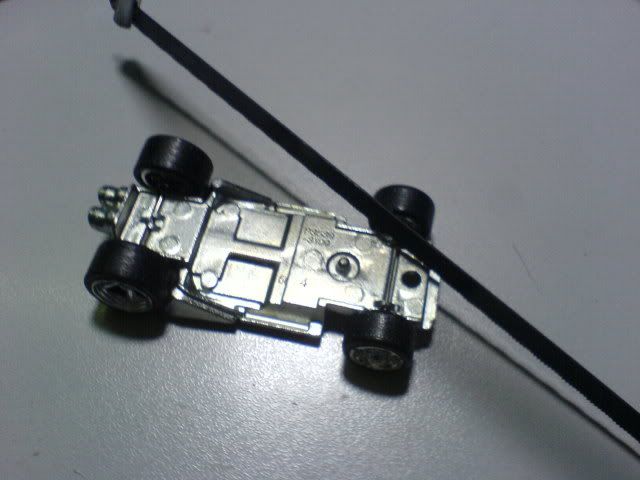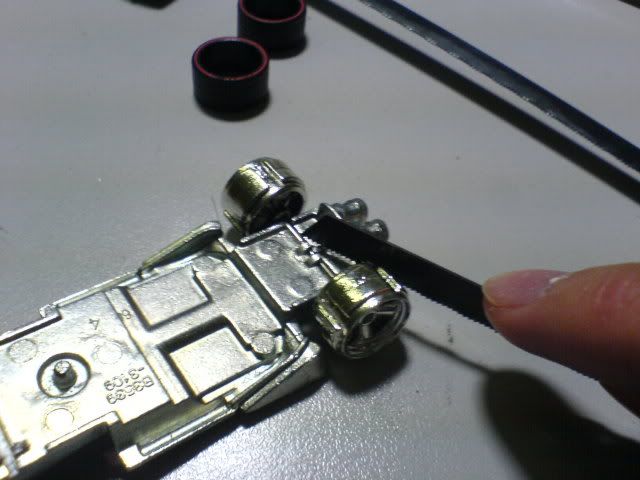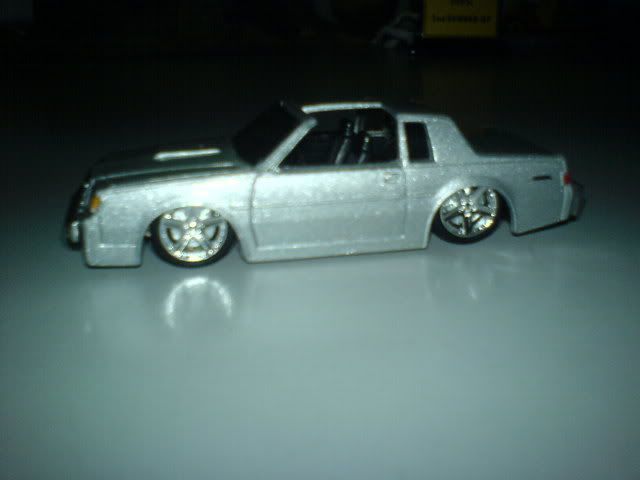
Showing posts with label Kustom Method. Show all posts

Saturday, June 6, 2009

Kustom Method: Tempo

KM tag

In this post, I hope to be able to cover as much as possible for tempo on your cars. As before, there are various ways to produce tempo for your cars. I found that, I am usually limited by two things:

1. Money.
After spending so much (for paint, wheels, tools), how much more are you willing to spend for tempo? Sometimes, a clean looking car with detailing is good enough.

2. Availability.
Customizing your die casts, as you found out by now, has no hard and fast rule to go about doing it. Nor is there a detailed step by step process to do one thing after another (like building a Lego set). Some materials are available in certain countries, and with some scouting and hunting, you will be able to find the thing that suits your needs. For example, decal paper is not available in stores locally back in Malaysia so I had to make do with other alternatives.

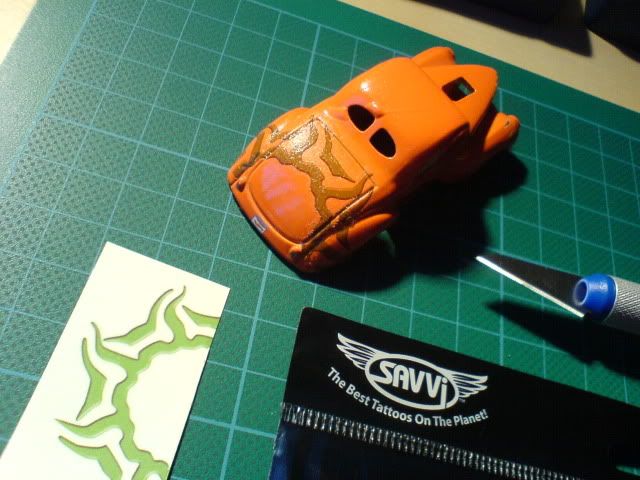
With that, many people use many alternatives to put tempo onto their cars. One method I have seen on a forum is using temporary tattoos (which is a pre-printed decal paper). Basically, you transfer the tattoo onto your car just as you do onto your skin, and then spray a layer of gloss on top of it.
Photobucket

Looks pretty good, doesn't it? If you happen to spot some nice temporary tattoos, you can make them a permanent tempo for your car instead!

Another method is just simply painting on the tempo yourself! Provided you have the skills and some extra paint lying around. Just whip up your paintbrush and start painting away! While browsing through the Flickr photos, I found that this was an impressive job since its hand painted.

Credits to Sjors Trimbach for this image.

From my previous works, you may have noticed that I am a fan of tuner decals. I love dressing up my cars with company logos, and I have been asked many times how do I do it. So here goes, I hope you guys can come away with something that will help you on your way in designing tempo for your cars.

First of all, I always google up some logos I want (eg. ADVAN, HKS etc).

Photobucket

Usually, I'd pick one that has a white background. This makes it easier for me to edit later on. Then, on Adobe Photoshop, I'll put them all together, resizing them so that they are almost the same size.

Photobucket

Once I am satisfied with the size and position, I will print it. As I mentioned above, I couldn't find decal paper but I found a good alternative in my local stationary shop: transparent sticker film. So I print on the film, cut it out and then stick it onto my custom.

As for printing, you will want to grab a ruler and measure roughly how big you want the printed decal to be. This is the beauty of photoshop, you can specify the image size before you print. Just click on File, then Print with Preview.

Photobucket

Once in the settings, look under the "Scaled Print Size" and set it to the size you want. Usually, it is very tiny and for this one I set a height of 1 cm. Also, a tip to save paper, you may want to put your print to the top corner so you can reprint using the same paper again next time, but different position since you will be cutting out the part you printed. :-)

Photobucket

Then just click OK!

Usually, since my paper is a sticker, all I have to do is cut the shapes out and stick it to the appropriate places. It's that simple! The same method probably applies for decal, but you may have to reverse the wordings since it is transferred upside down.
Photobucket
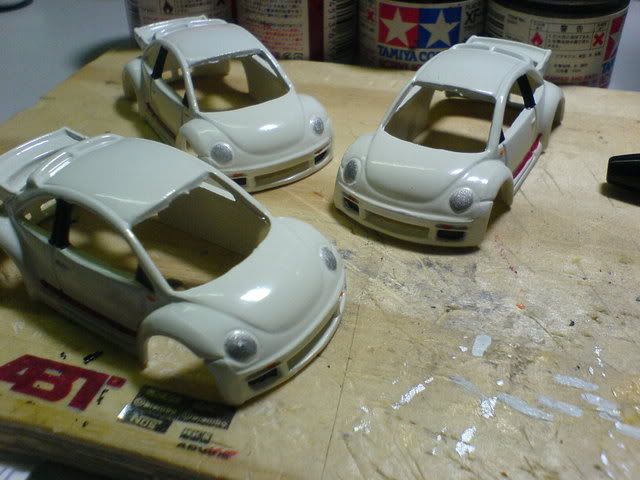
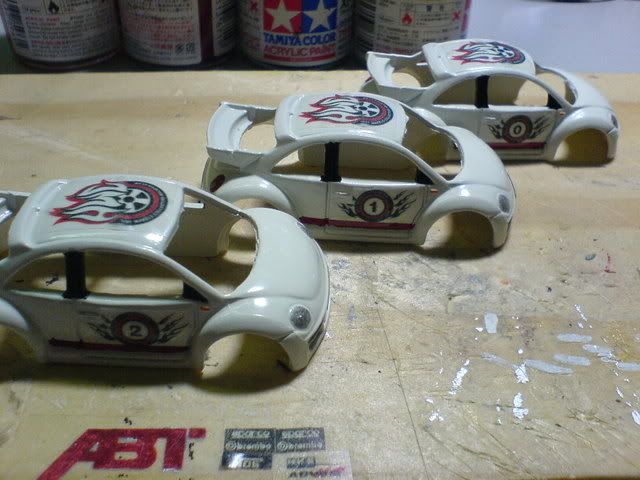
Cars after detailing and before applying tempo.
Photobucket
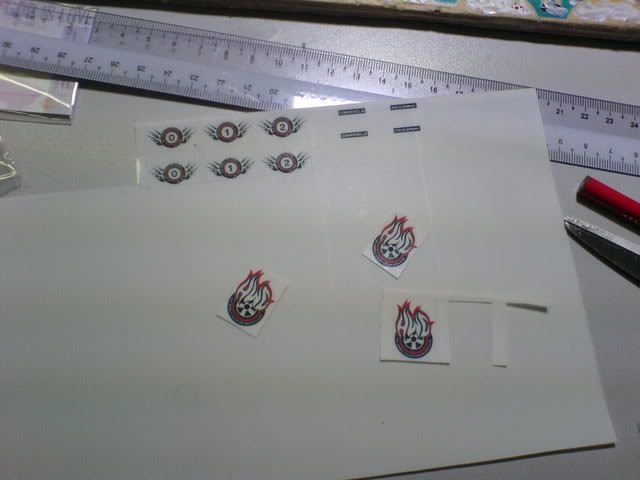
The tempos are printed out on transparent film, and cut out.
Photobucket
Photobucket
Finally, stick them on the car and you are done!

There are many more ways to apply tempo onto your car. Do you have one? Please do share with me! Also, feel free to drop any comments or any questions in the comments box. Cheers!

Next post: Reassembly
Previous post: Wheel Swap

Sunday, April 26, 2009

Kustom Method: Wheel Swap
KM tag

After a long layoff, I hope you haven't abandoned your customs but have been trying out some of your own ideas. Anyway, I am back with this post and although I haven't been doing much customs here, I hope that with pictures that I have previously will help me help you in your die cast customizations. :-)

Okay! So the order of today would be wheel swapping. So the bulk (or almost all) of my customs have been for Hot Wheels die casts, and through my experience I have discovered a few things:

1. Not all wheel axle lengths are the same.
2. Hot Wheels die casts' wheels are pretty much the same, so you may have to end up buying a more expensive brand just for the wheels to make your custom work. Sometimes there are better looking wheels that are cheaper, so if you can find those all the better then.
3. You may end up locking the wheels on the first time trying. I did. Its normal, and it doesnt mean you failed.
4. Die casts with metal base are a pain in the butt to swap wheels, try to avoid them unless you have proper tools.
Photobucket


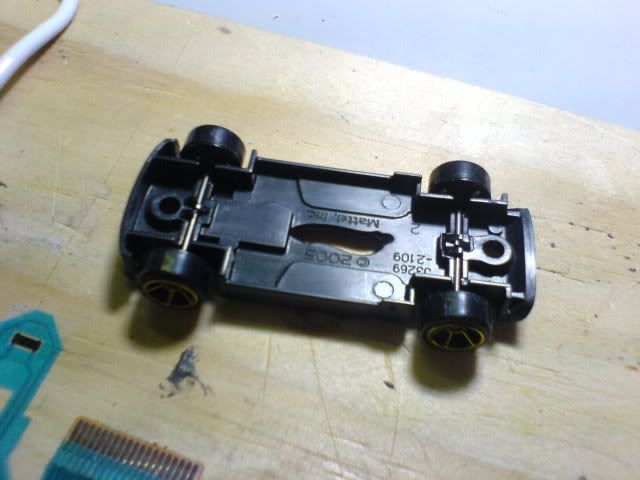
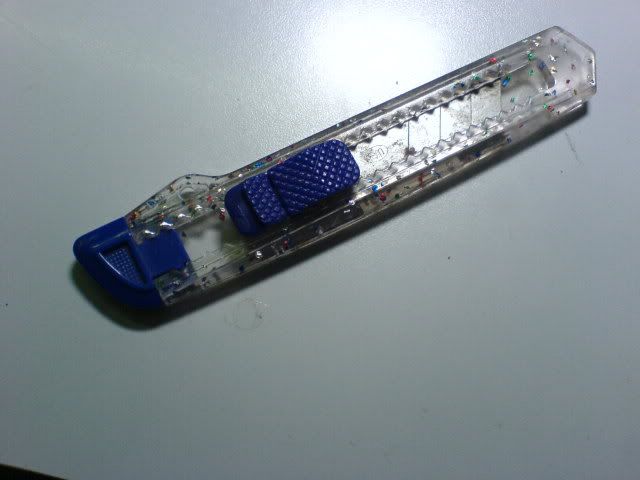
What tools do I need, you ask? I will first tackle on the matter of removing wheels from a die cast with a plastic base. Assuming you have removed the rivets (by hook or by crook), and got the base open, you will need just a normal blade cutter.

Photobucket

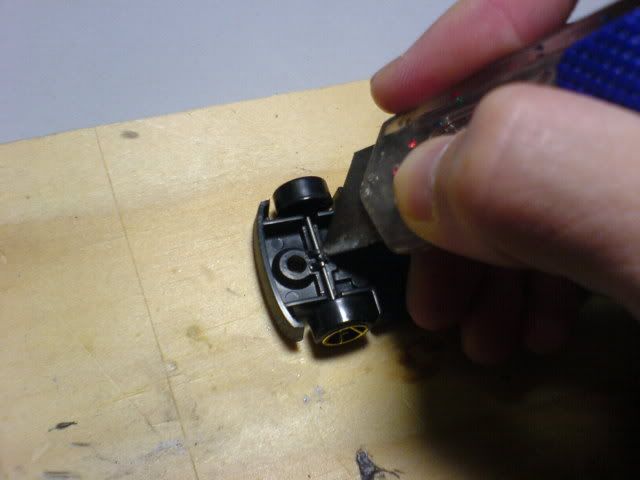
Then simply just use the blade to cut off the plastic tabs holding the car in place.

Photobucket
Photobucket

Here's another example, I removed the wheels off a Dairy Delivery:

Photobucket
Photobucket
Photobucket

By now you may or may not have noticed this method will not work for a die cast with a metal base. So for example, if I wanted wheels from a 16 Angels Super T-Hunt for the Dairy Delivery, how will I remove the wheels?

Photobucket


I would recommend you to use a rotary tool with a cutter for this, which is ideal since you can grind away at the metal tabs. However, I do not own a rotary tool of my own, so here's my best suggestion: Use a small handsaw or the blade of a handsaw. It is much cheaper, but you will have to get a bit creative on how to saw the metal tabs.

Photobucket
Photobucket

This method is a lot harder, since it will take some patience and a lot of effort to get the metal tabs off. However, if you have no rotary tool, this is the next best thing that I can recommend to you.

Now, the point of wheel swapping is to give your die case a better or more realistic wheel. Just keep your eyes peeled for various wheel sources in your local toys department. You do not always have to get wheels only from Hot Wheels or Matchbox. I have used wheels from various brands: Jada Toys, Maisto, High Speed. Granted, they may be more expensive than the Hot Wheels basic car that you bought, but investing in the right wheels will take your custom to the next level!

Here are some of the wheel donors for my previous customs:

Photobucket
Wheel source: Maisto.
Custom #1 - 26/8/08
Used for custom: Honda Civic Si.


Photobucket
Wheel source: Jada Toys.
Custom #3 - 12/10/08
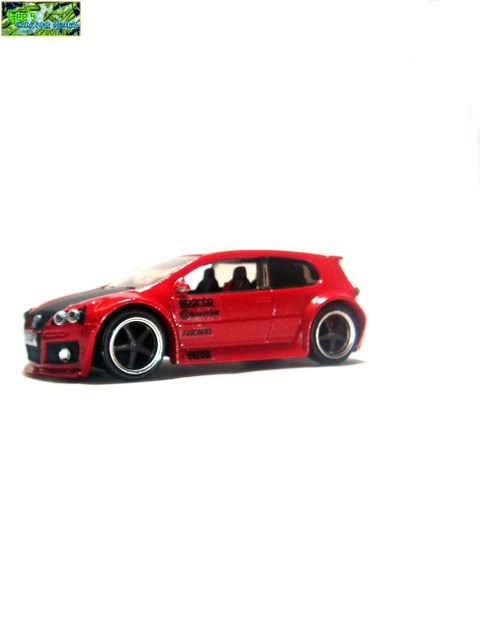
Used for: VW Golf GTI

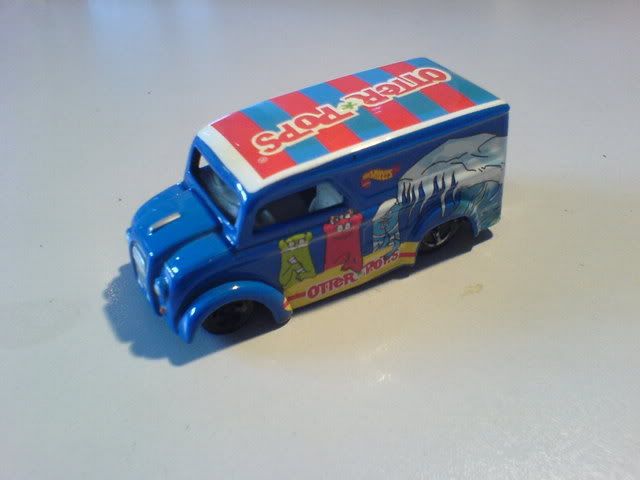
Here's how a simple wheel swap can drastically improve the look of a die cast. I simply swapped the worn out wheels with a Jada Toys' wheels for this Dairy Delivery.
restore dd
Before.
Restoration #2 - 12/11/08

After.

Already looks better, don't you think so?

Now, when you look for other wheels besides Hot Wheels wheels, you may have noticed that they are not the same. Wheels can be generally categorized into two types:

1. Free-wheeling wheels.
This are the type of wheels that you can find on Hot Wheels, Matchbox and Tomica die casts. They are independent of the axle and can rotate freely even when the axles are locked in place.
Pros: Easy to work with, available everywhere.
Cons: Many wheel axle variants, hard to adjust axle widths to suit the base.

2. Anchored wheels.
These wheels are locked onto the axles, and rotate as the axle rotates. Basically the whole wheel system rotates together (both wheels and the axle). Most of other toy cars besides those mentioned above carry these type of wheels.
Pros: Axle widths are easily adjustable.
Cons: Wheels may not be able to rotate after reassembly.

As mentioned above, there are problems with both wheel types. If possible, for free wheeling wheels, try to get donor wheels of the same axle length. If they fit, simply place the wheel back into the channel and glue where the metal tabs used to be. I would not recommend using superglue for this, for reasons I will explain below. If the axles do not fit, I have a solution, but it is not really recommended. However, in real life nothing is ever ideal so this is my best solution to the problem.

What I do is I cut the axles into half and trim them until they fit. Then i suspend the base high enough while I glue both parts of the axle back on the base. Make sure as the glue is drying, the base is suspended in such a way the wheels are aligned straight. This is because when the glue has not harden, the axle may tilt and move. For glueing wheels back into place, I recommend using Epoxy, not superglue. This is because superglue tends to run and it may seep to your wheels and end up locking the wheels on the axle. Epoxy will take a longer time (5-8 hours) to harden completely, but it is much stronger and it doesn't seep or run down the channel.
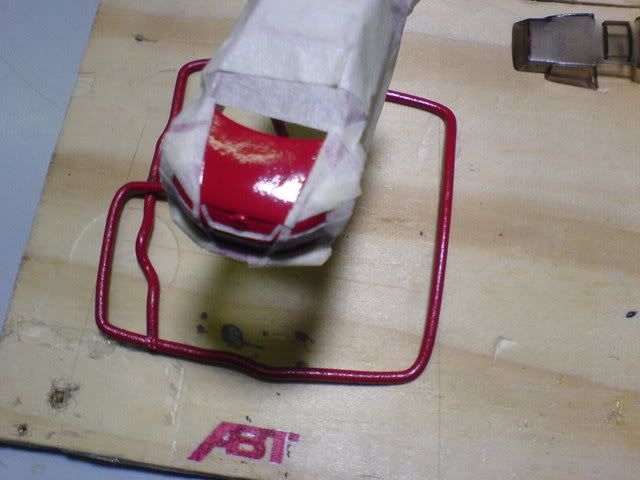
As for anchored wheels, shortening axles is easy. You just have to remove one wheel, cut the axle to the appropriate size then replace the wheel back into the axle. If the axle is too short, you may have to find some metal bits that will replace it as an axle. I use paper clips to do this, as I bend the paper clip straight and cut the length I need for the axle. If the channel is too small for the axle, you may have to saw it using a handsaw or sand it using a low grit, rough sandpaper. Since the wheels are anchored you do not glue the axle to the base. Hot Wheels die cast, in my experience, are usually made in such a way that when you have glued the base back onto the casting, the two pieces usually clamp the wheel axles. So you simply have to glue the car back together for this type of wheel. This does not apply for all cars so do remember to check out both your custom and donors' wheels and axles before deciding on what type of wheels to use.

Unfortunately I do not have photos to show these processes, and I apologize. Usually it takes quite a bit of concentration and precision so I always forget taking photos. Feel free to ask any questions in the comments box though, I will gladly answer them. Cheers. :-)

Next post: Tempo
Previous post: Painting (Interior)

Friday, February 6, 2009

Kustom Method: Painting (Interior)

KM tag

Welcome back to another segment of Kustom Method. Today I will be covering on painting the interior of a die cast. Cham once said that scale modellers bring out the detail of a model kit. It is the same case here; painting your interior is with the motive that it will bring out the details of the interior. If there are no details to bring out, fabricate it yourself (eg. seatbelts)!

I have so far used two methods to achieve this:

1. Masking and then spray paint.
2. Modelling acrylic paint and marker pens.

Honestly, you can paint the interior with a combination of those methods above. Get creative! Use different things to fabricate interior parts, like seatbelts and such. I must admit, there are a lot more possibilities that I have not explored yet to take the customization to the next level.

But for now, I will share with you my past experiences. When I only had spray cans, I just simply painted the interior the same way I painted the exterior. I masked up bits that I did not want painted, and then proceeded with spray painting it.

custom mustang gt
custom mustang gt

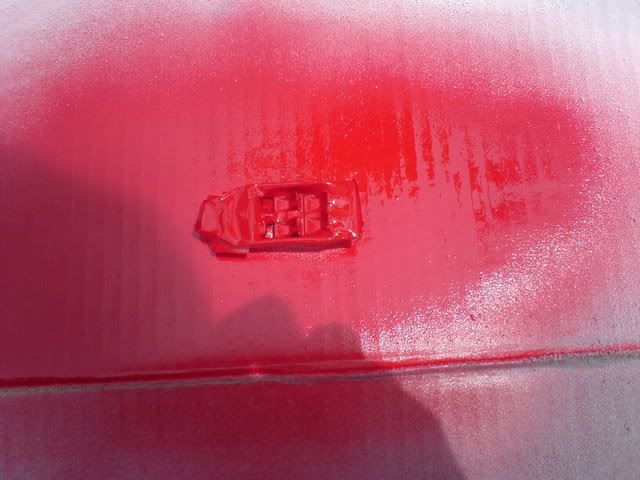
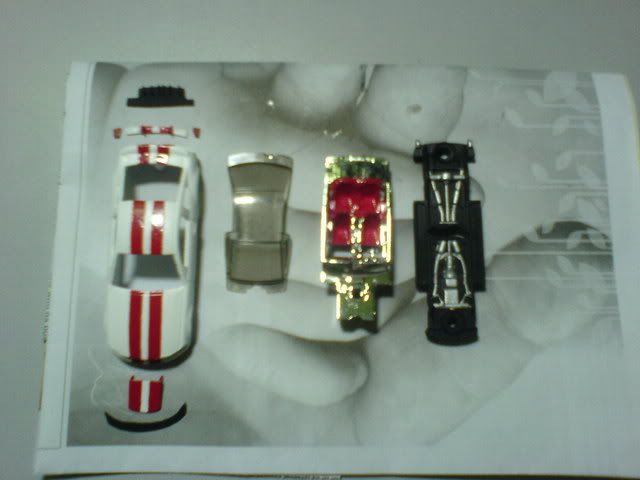
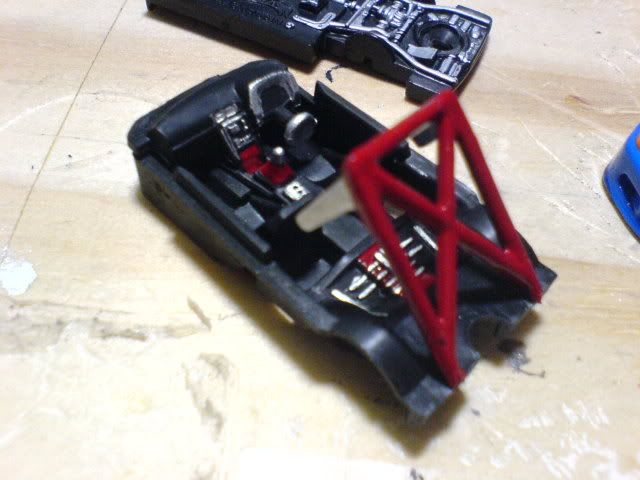
The first picture above shows the interior of this Mustang GT custom I did when I first started customizing. In that Mustang GT custom I wanted to keep the chrome but paint the seats red. So I masked up everything except the seats, and then sprayed red all over. Remove the masking and voila! You get the red seats that you see in the second picture above. The amount of work is quite tedious, but if done right it looks fabulous. If a small mistake is made, it can get a bit frustrating since you have to remask and spray all over again. :-)

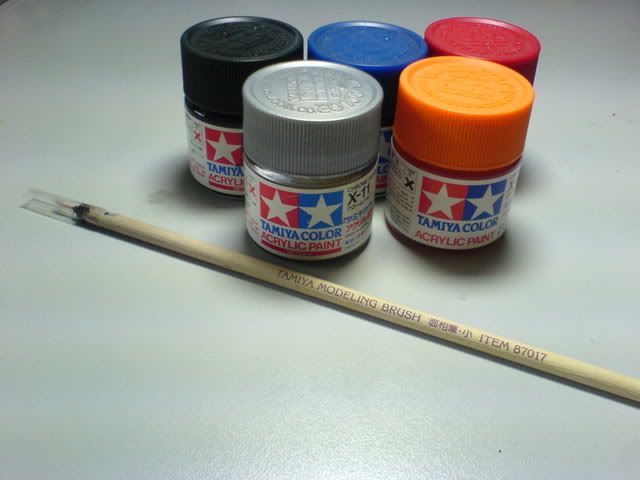
After I have some more money, I started investing in Tamiya Acrylic Paint and a paint brush. Its a modelling paint, and the paint brush is a fine tip paintbrush. You will need a paintbrush with a fine tip as the things you will be painting are about 64 times smaller than original!

Photobucket
Photobucket
Photobucket

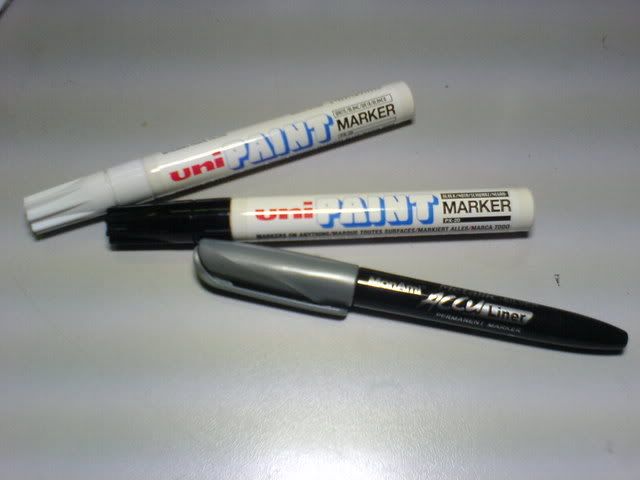
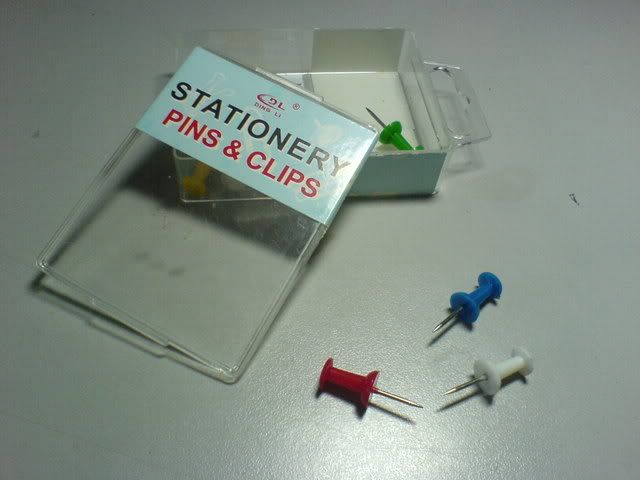
The first picture above shows the acrylic paint and the paintbrush I am using, the second picture shows the paint markers I use and the third picture shows some stationary pins. Hmm. Why stationary pins, you ask?

From my experience, if you are simply detailing the plastic interior with paint markers or acrylic paint, the paint does not stick on properly after it has dried. So, I use the stationary pins to remove small paint smudges and drips. It is a small touch-up tip that I use for my interior customs everytime. This method does not work, however, if you have sprayed a coat of paint or primer on your interior. (Edit: It does work if you want to remove paint seeps after you have removed your mask after spraying paint. It just won't work if you are trying to remove paint that is on top of another paint coat. You will end up taking out both coats of paint.)

There is one thing I have noticed about acrylic paint tubs. Once you open the cap, you dip your paintbrush in the paint, the paint is watery. But if you leave the paint tub open, the paint gets thicker and thicker. Eventually the paint on your paintbrush tip solidifies and it gets too difficult to control the paint. What I usually do is rinse the brush tip with water, close the cap of the paint and shake it so that the thinner mixes with the paint and it becomes watery again.

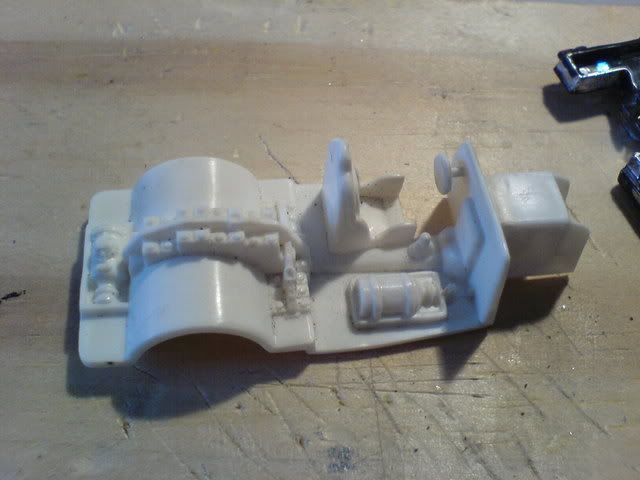
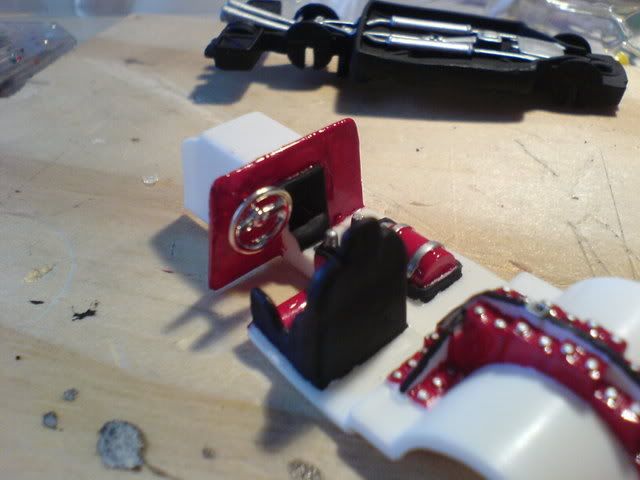
Ok enough talk, that is all I have to cover I think. Basically, just grab your paintbrush and paint, and start painting away! Remember, get creative! Explore more options and methods that I have shown and talked about here. Below are few examples of the interior before and after painting. Enjoy! :-)

Before
restore dd
After
restore dd
restore dd

Before
skyline custom
After
custom skyline
custom skyline


Next post: Wheel swap
Previous post: Painting (Enterior)

Tuesday, January 13, 2009

Kustom Method: Painting (Exterior)

KM tag

On this post we will tackle painting. If you have prepped the body properly, there shouldn't be too much problem painting. First of all I must let you know this method of painting is using a spray can. I have not used airbrushes, therefore have zero experience in it. :-)

Photobucket
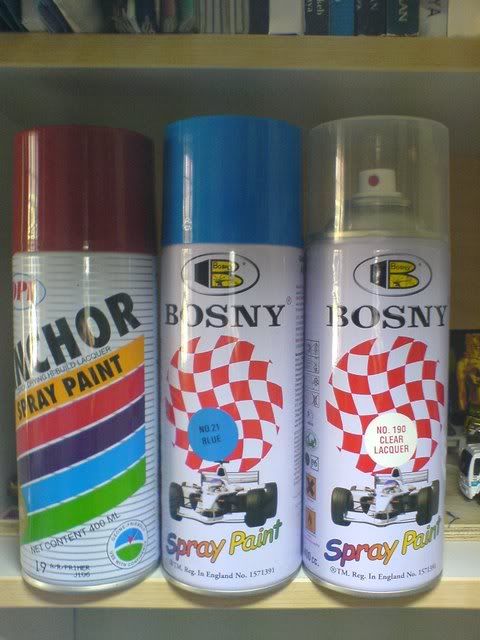
From left to right: Primer, Colour & Gloss Spray Cans.

So, first of all there will be the list of things you need:
1. Paint Primer - Spray Can
2. Paint - Spray Can
3. Gloss/Clear Lacquer - Spray Can
4. Paint Stand
5. Masking Tape (Optional)
6. Hair Dryer (Optional)
7. High grit sandpaper (About 1500 - 2000)
8. Water
9.. Your die cast (Optional... no wait, this is compulsory!) :-P

In this blogpost I will be using pictures from my past customs to illustrate my point.

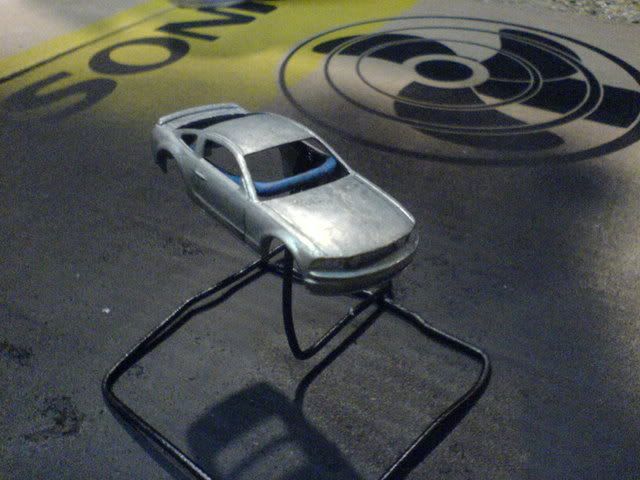
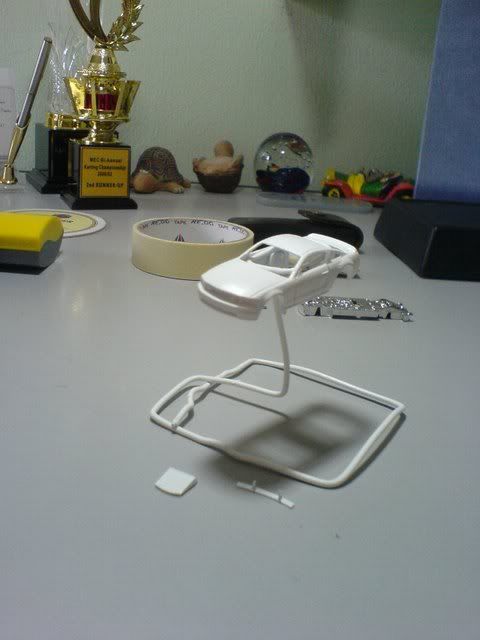
custom mustang gt
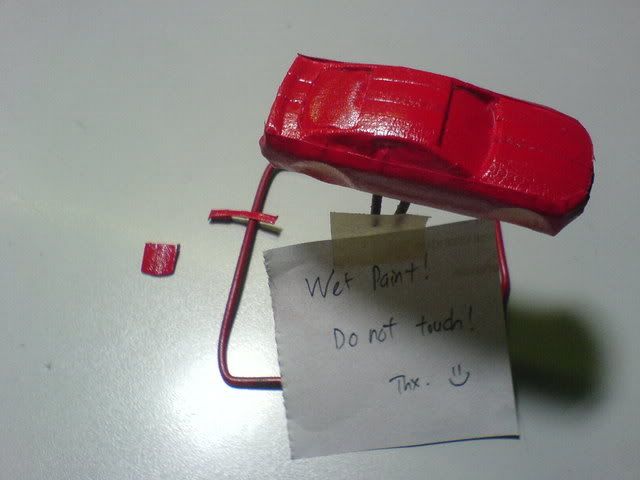
A Mustang GT die cast on a paint stand.

Right then, first of all you will have a your die cast body stripped of all its paint and sanded smooth. When spray painting you die cast, here are a few guidelines to help you get a nice coat of paint:

1. Spray on a sunny day, you will need the sun to help you dry the paint.
2. Pick an open area, do not spray in an enclosed area where you may be poisoned or spray colour/primer/gloss onto things you did not want recoloured.
3. Heat up the die cast on the paint stand with a hair dryer before spraying the primer. This is to make the paint dry up faster and more evenly, especially in areas that are in the shadow when put under the sun (Thank you Yeo for this tip). Alternatively, you can leave it out in the sun for about 10-20 minutes before spraying.
4. Hold the spray can about 20-25 cm away from the die cast at all times. Your paint on the die cast should be a moderate coat. If you see paint drip/buildup in some areas then your coat of paint is too thick.
5. When spraying, go consistently in one direction (front to back, or vice versa).
6. After a coat of spray, leave it to dry for about 10-20 minutes before spraying the next coat. Make sure your current paint coat is completely dry before spraying on another.
7. After every coat if you find that the paint is uneven, you can smoothen it further by wetsanding the paint. Simply dip your sandpaper into water and gently sand it over the body. Make sure your sandpaper is always wet and your paint coat completely dry. Do not apply a lot of pressure, and only wetsand the paint if it is not your last coat. Usually wetsanding is to smoothen the current coat so that the next coat that goes on top will not carry the same defects.

custom mustang gt
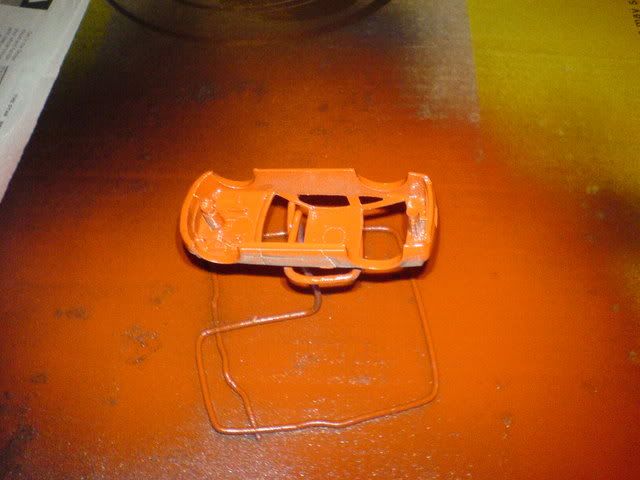
Spraying primer upside down.
custom mustang gt
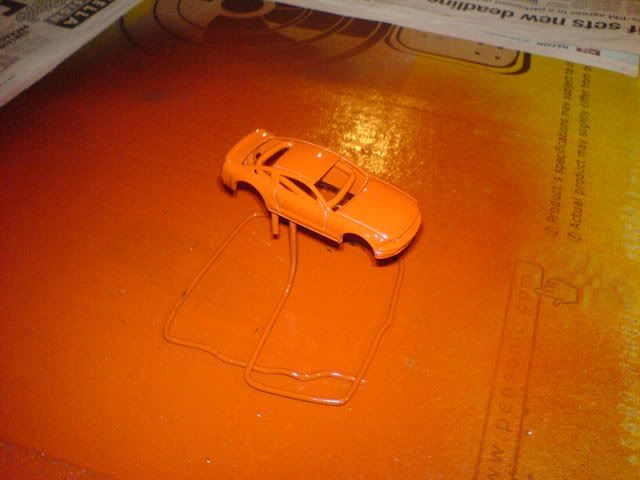
Spraying primer right side up.

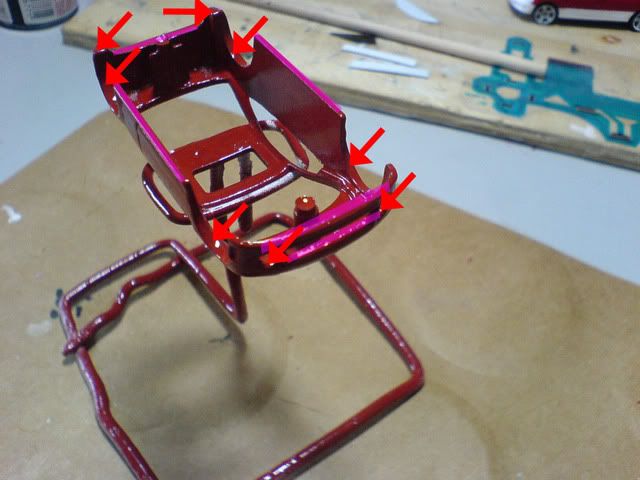
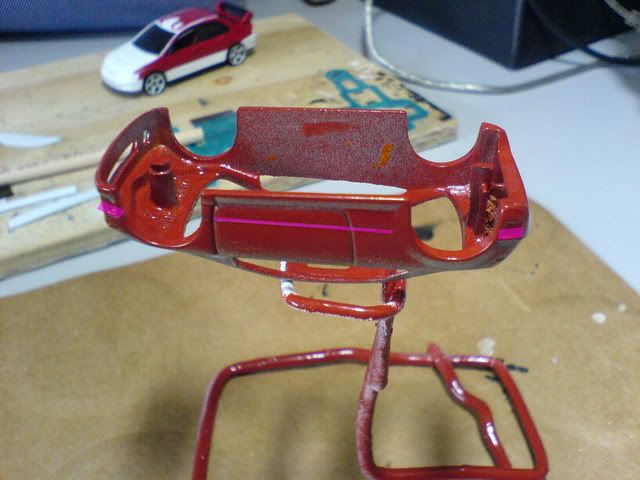
When you start spraying, I usually start by turning over the die cast and spraying the bottom first. The spray coat that comes out of the can will coat the die cast from top. The areas curved towards the bottom or facing downwards will not get any paint. So in order to get paint over the areas where the spray cannot reach when it is right side up, I start by spraying it upside down. Then after that I proceed with spraying it right side up.

Photobucket
Photobucket
Areas in pink and pointed by the arrow shows the areas the spray will not reach if sprayed right side up. Spraying upside down covers these areas.

Then the same applies for your base colour. Spray one coat upside down, and then proceed with as many coats right side up until the die cast is covered evenly with the colour you chosen. I usually go with two to three coats of paint. The point is to have an even coat of paint all over the die cast without compromising the details on the die cast mould. If your paint is too thick, the details will be covered. Try experimenting with the number of coats if you are painting for the first time to see how many coats is the optimum for you.

custom mustang gt
Custom Mustang in white after base colour coats.

From here, you can proceed to spraying a gloss (or clear lacquer) coat over the car to protect the paint. For gloss, just one coat is sufficient and there is no need to spray it upside down. You can, but I would suggest you not to.

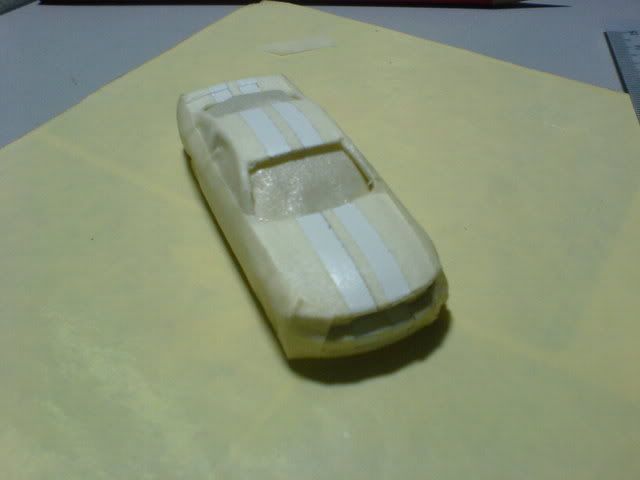
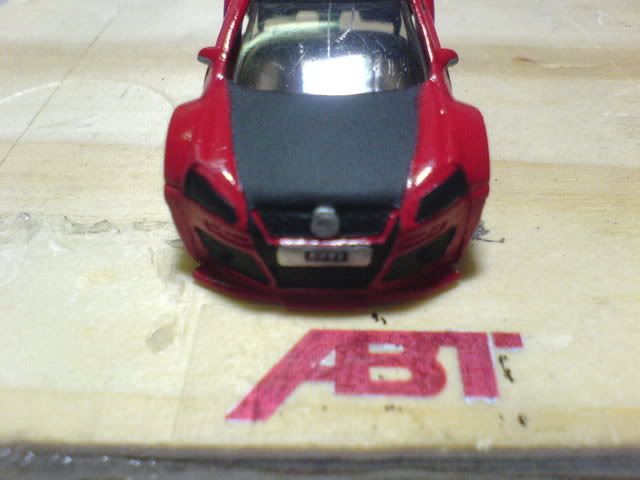
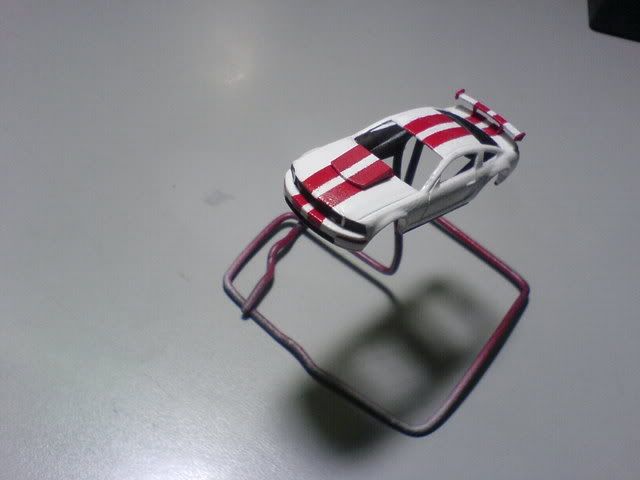
If you would like to take it to another level, Add a black hood or racing stripes! Right after your base coat, follow up by masking the die cast with masking tape and then spraying one or two coats of paint over the body before glossing. Below are some examples of masking that I have done previously.

custom mustang gt
custom mustang gt
custom mustang gt
Ford Mustang GT racing stripes.

custom vw golf gti
custom vw golf gti
VW Golf GTI's black hood, radiator grills & head lamps.

I know this post is quite long, so if you have any questions along the way feel free to ask in the comments section. Do suggest better methods too if you have discovered some, so we can all learn together! :-)

Happy painting!

Next post: Painting (Interior)
Previous post: Pre-paint Preparations (Part 2)