Friday, December 18, 2009

Kustom RideZ: 2009 Nissan GT-R (again!)

Kustom RideZ

The second part of the Nissan GT-R is completed! For this GT-R, the key parts were the hood and front bumper modification. Besides that it was the usual disassembly, paint strip, repaint and wheel swap.

Photobucket
Photobucket
The hood modification; parts fabricated using the card from the original hot wheels car

Photobucket
Some parts of the front bumper chopped off.

Photobucket
The bonnet is raised using putty.

Photobucket
Some more bodywork using card and putty on the chassis.

And the rest they say, is history! Here are the completed photos.

Custom #14 - 10/12/09


Hope you like! Leave any comments or questions in the section below. :-)

Saturday, October 31, 2009

Kustom RideZ: 2009 Nissan GT-R

Kustom RideZ

Two weeks since I put up a work in progress notice, and the GT-R is done. I have had less time due to preparations for my upcoming exams next week. I have been customizing as a method of destressing. :-)

Photobucket


Anyway, as I mentioned this was a co-custom build with 
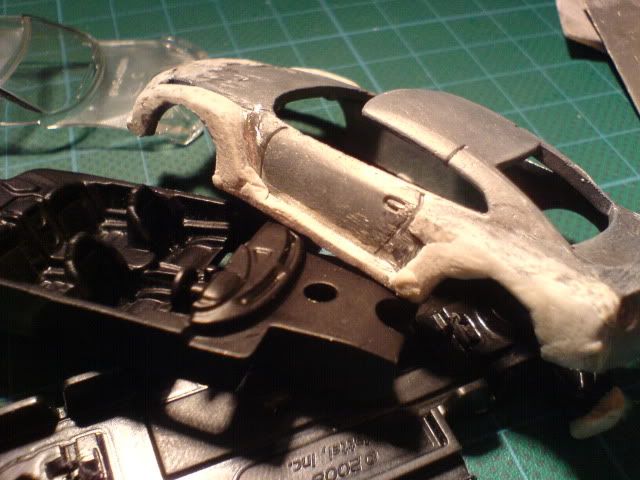
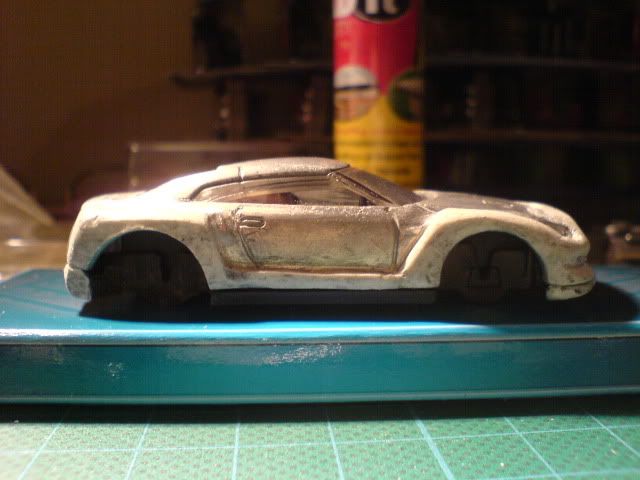
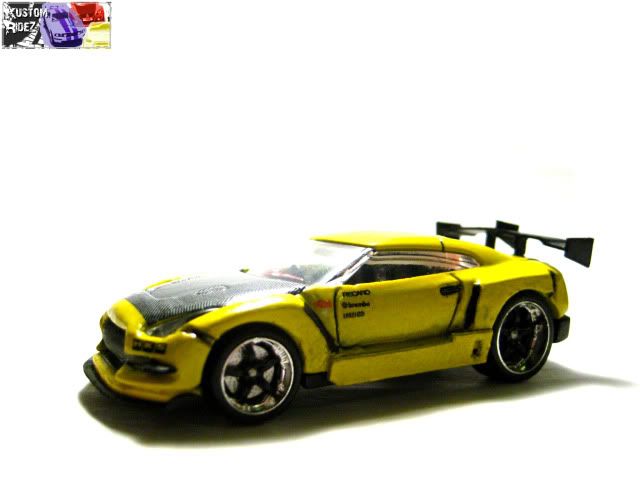
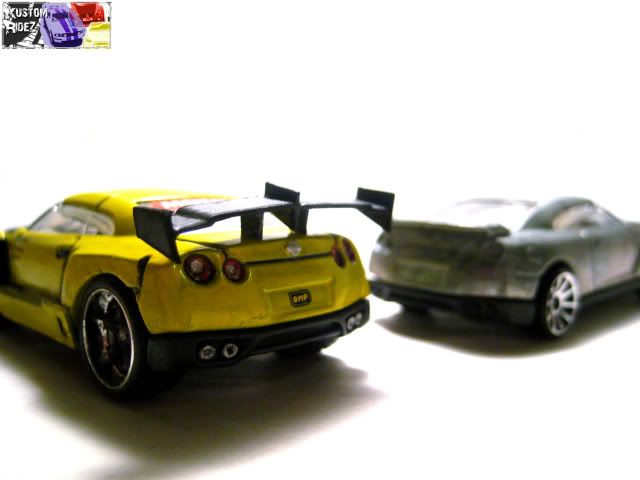
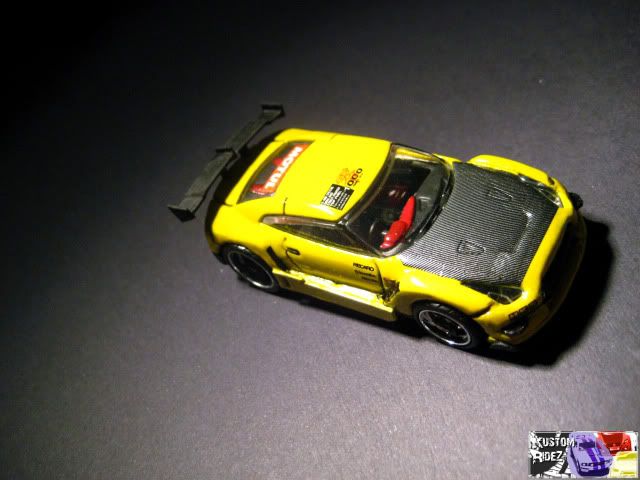
danielh. My plan was to build a street version of the GT-R, whilst he builds the track version. In this version, I used putty heavily to mould a wide body kit.

Photobucket

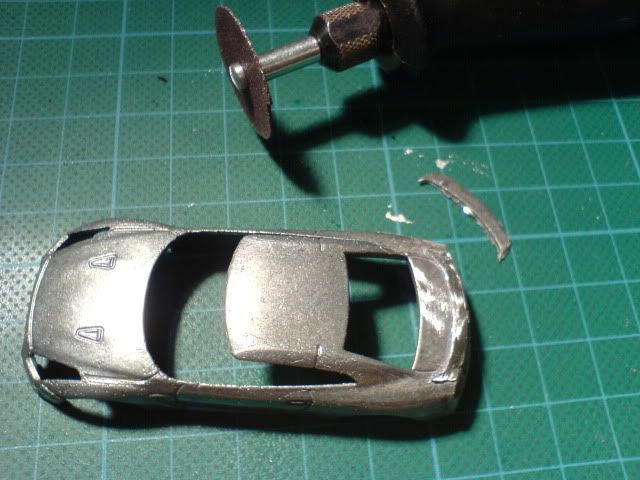
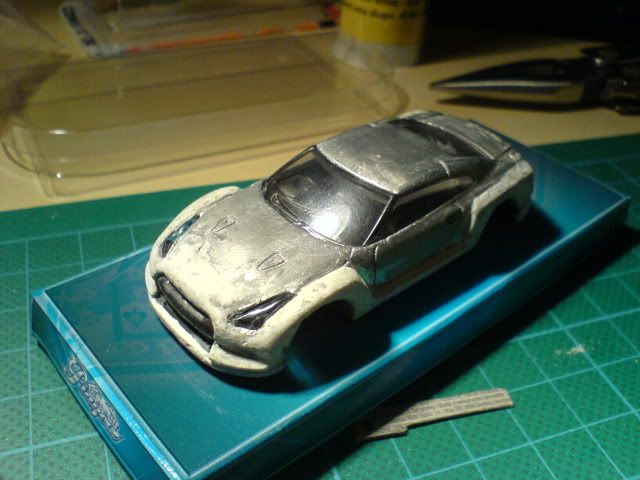
I started off by paint stripping the GT-R, then proceeded with cutting off the rear wing.

Photobucket
Photobucket

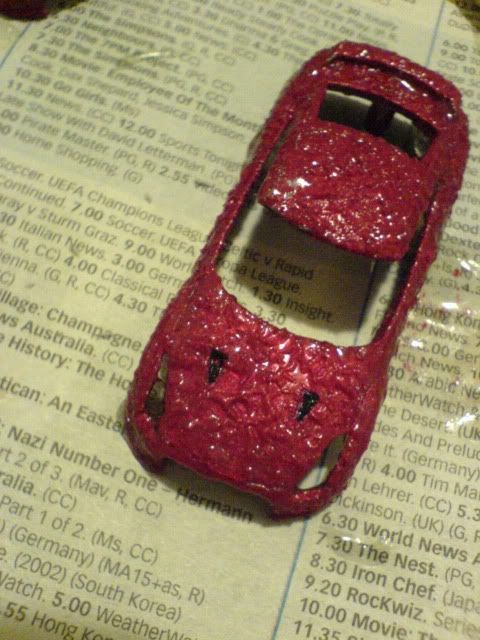
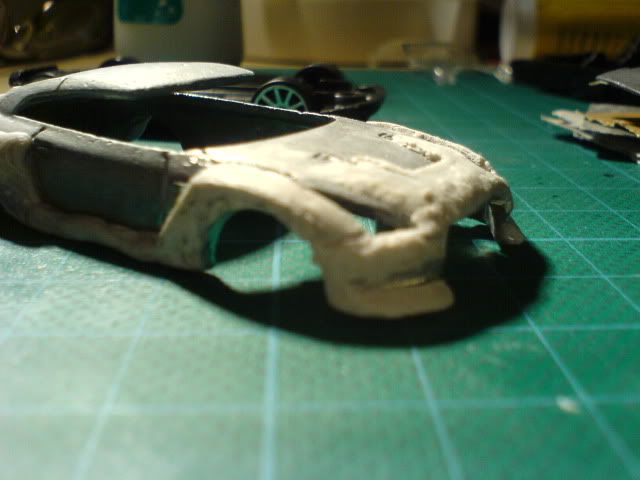
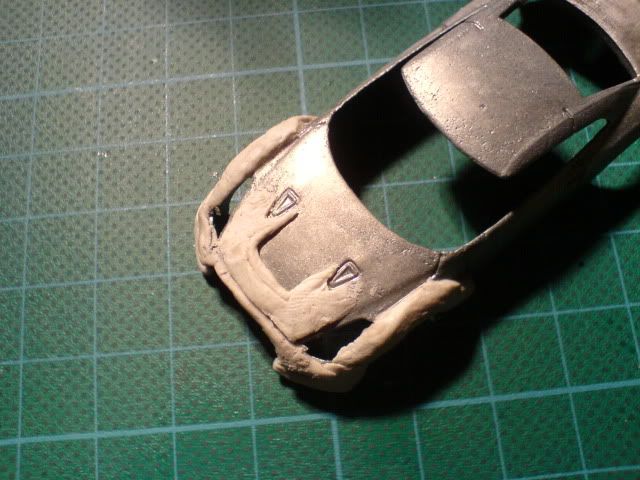
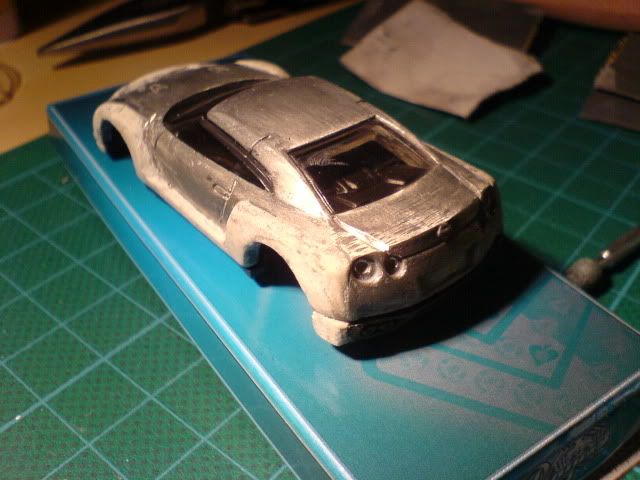
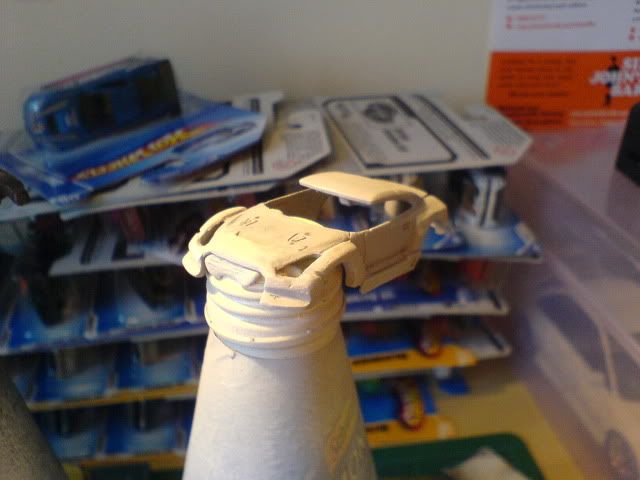
The next step was moulding the putty to get the shape that I wanted for the body kit. Basically, it was:

1. Knead.
2. Shape.
3. Let it sit.
4. Sand.
5. Repeat.

Then repeat until you get the desired shape. I used a dremel and the sanding stone attachment to get shape the putty into a smooth and flat surface. Then I use sandpaper to further refine the surface.

Photobucket
Photobucket
Photobucket
Photobucket
Photobucket
Photobucket
Photobucket
Photobucket

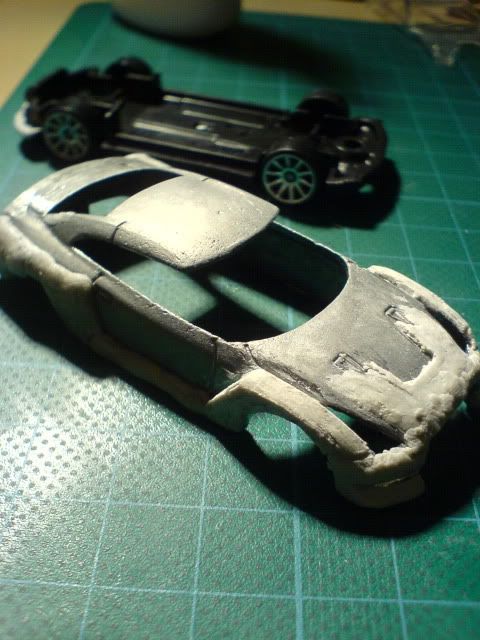
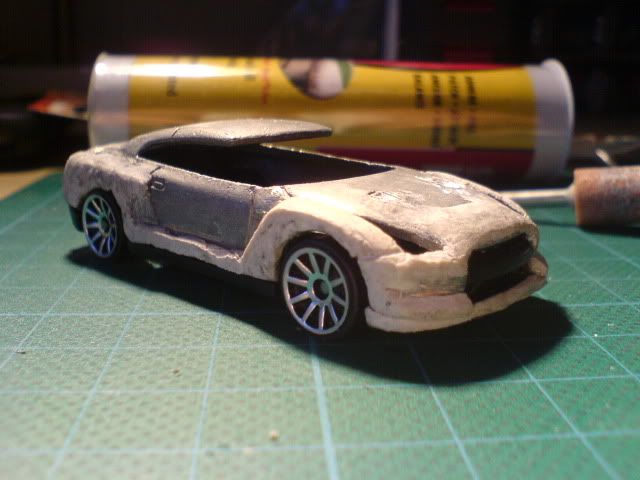
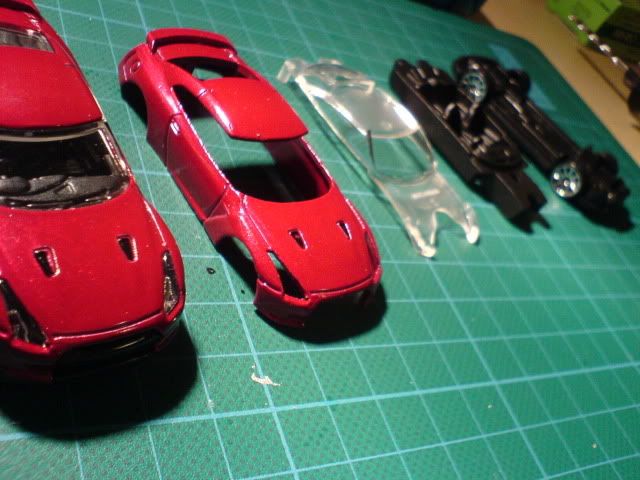
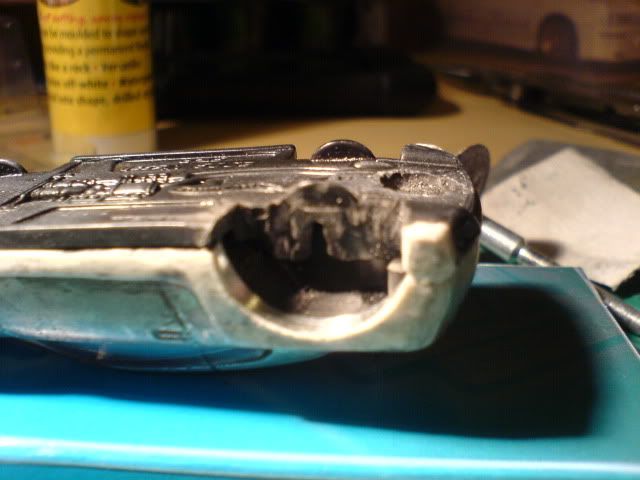
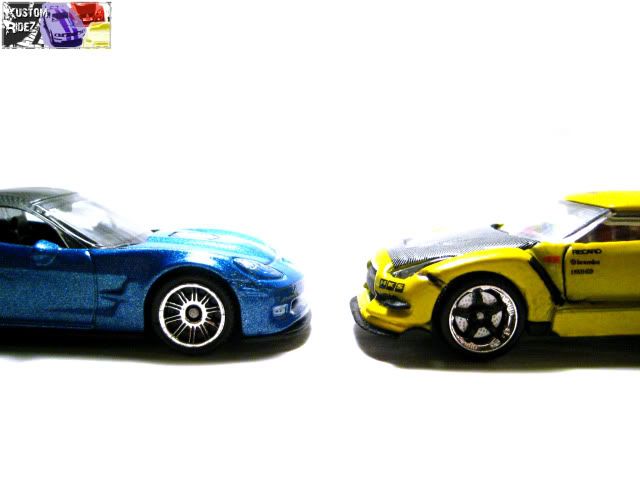
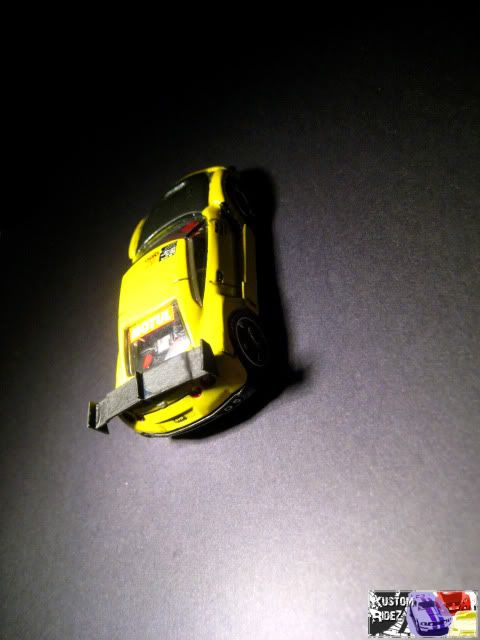
Then next step was to fit the replacement wheels I got from Maisto for it. Since the rear wheels are larger, I had to make a larger wheel well.

Photobucket
Photobucket

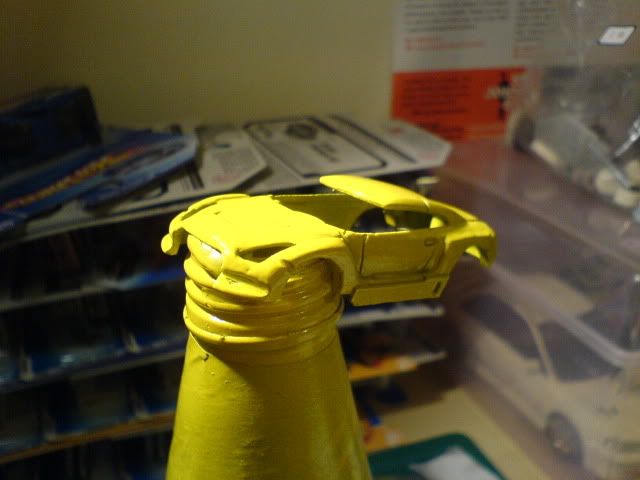
The following steps should be elementary if you have followed my customs so far. Primer -> Paint -> Decal + Detail -> Gloss. If you need more info, click on the Kustom Methods tab located on the right sidebar.

Photobucket
Photobucket
Photobucket

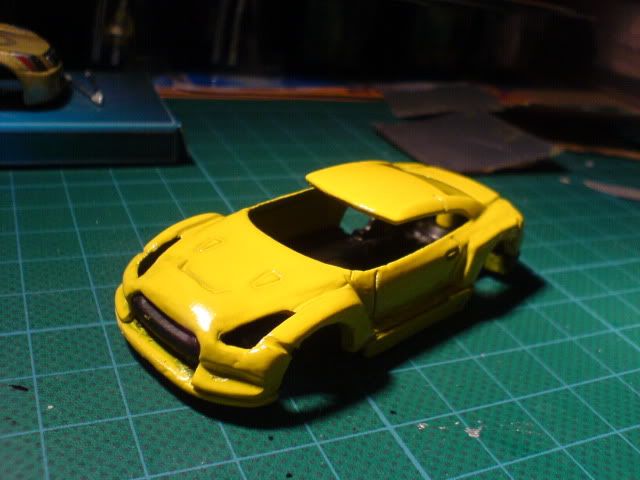
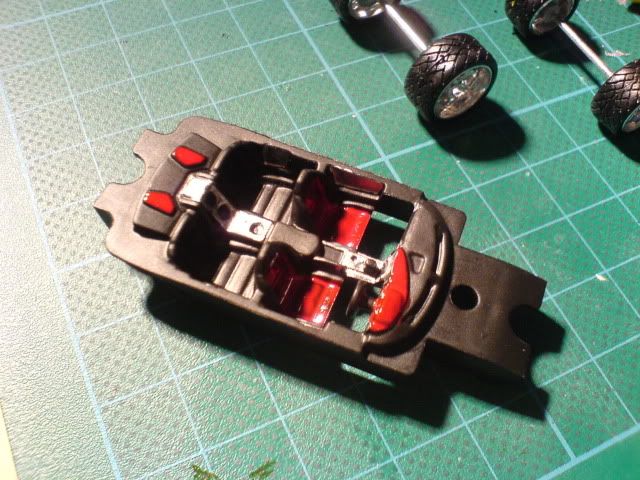
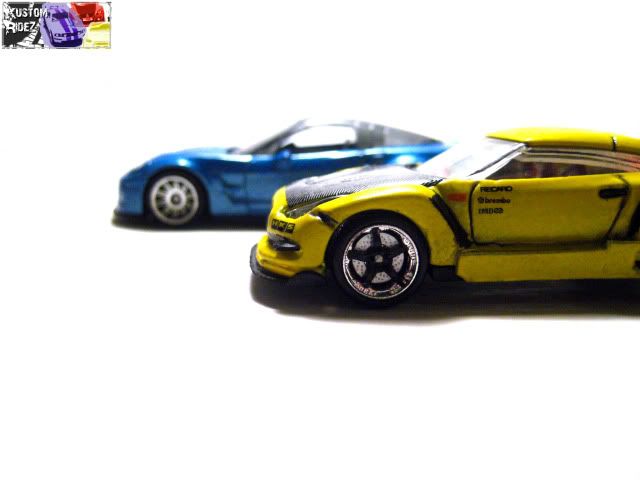
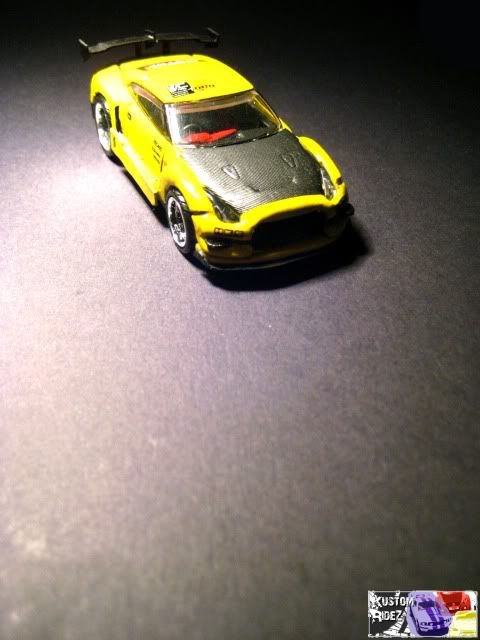
I detailed the interior, painted the rims, painted the chassis fabricated parts and painted them.

Photobucket
Photobucket


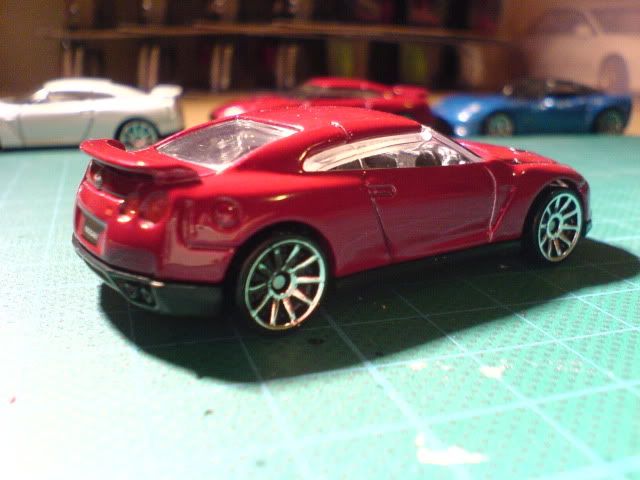
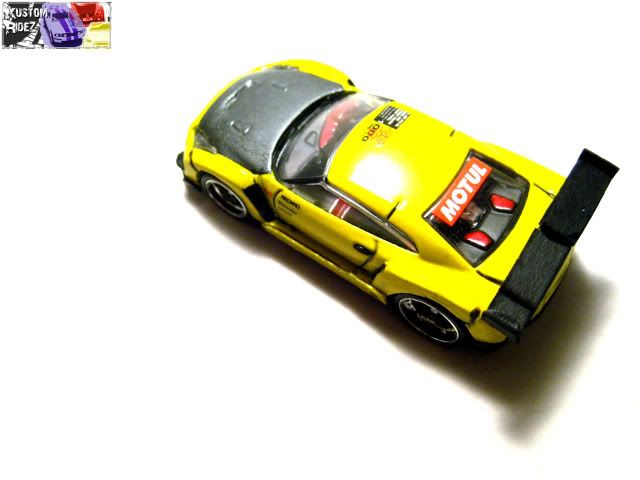
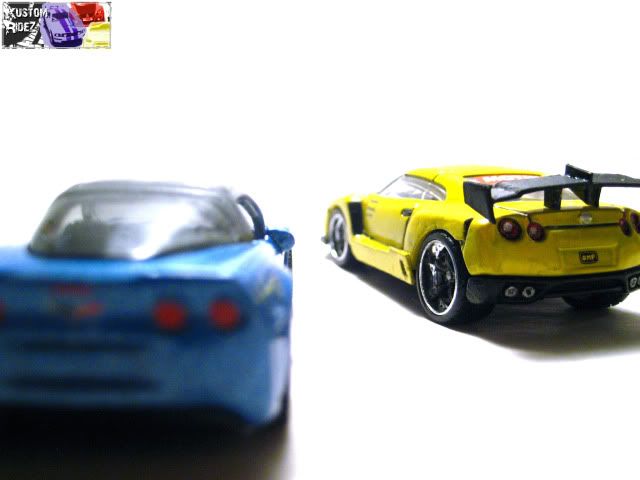
And then, voila! The end result!

Custom #13 - 31/10/09

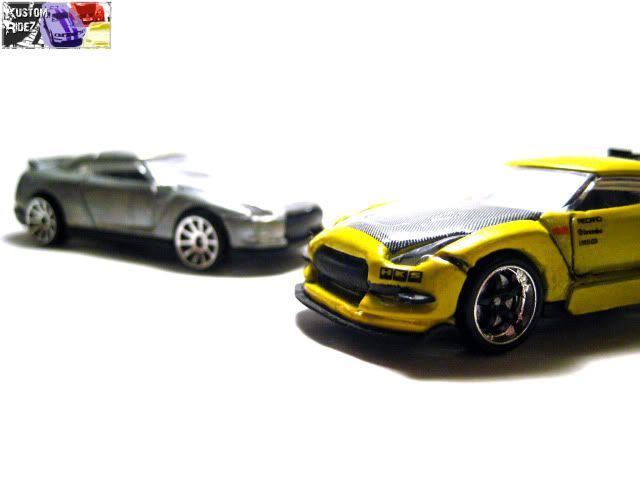
This is not the last of the GT-R customs, danielh and I will be rolling out another one each after this! Stay tuned!

Tuesday, October 13, 2009

Work In Progress: Nissan GT-R (Co-custom build with danielh).

After my recent foray (albeit quite unsuccessful) into 1:24 scale modelling, I'm back to customizing 1:64 cars! This time, I have decided to be slightly ambitious and I'm going to do the Nissan GT-R.

Photobucket
Photobucket

Check back soon for updates, or you can track my progress on the HWCM thread as always. Cheers!

Photobucket

P.S.: This Nissan GT-R customs will be part of a joint venture with a fellow customizer danielh. You can follow our builds on this thread in HWCM.