Saturday, February 21, 2009
BRB
This blog will be put on hold for the time being as the author of the blog has recently moved and needs time to settle down in new surroundings. It will be back soon enough, check back in a month or so. :-P
Friday, February 6, 2009
Kustom Method: Painting (Interior)
Welcome back to another segment of Kustom Method. Today I will be covering on painting the interior of a die cast. Cham once said that scale modellers bring out the detail of a model kit. It is the same case here; painting your interior is with the motive that it will bring out the details of the interior. If there are no details to bring out, fabricate it yourself (eg. seatbelts)!
I have so far used two methods to achieve this:
1. Masking and then spray paint.
2. Modelling acrylic paint and marker pens.
Honestly, you can paint the interior with a combination of those methods above. Get creative! Use different things to fabricate interior parts, like seatbelts and such. I must admit, there are a lot more possibilities that I have not explored yet to take the customization to the next level.
But for now, I will share with you my past experiences. When I only had spray cans, I just simply painted the interior the same way I painted the exterior. I masked up bits that I did not want painted, and then proceeded with spray painting it.
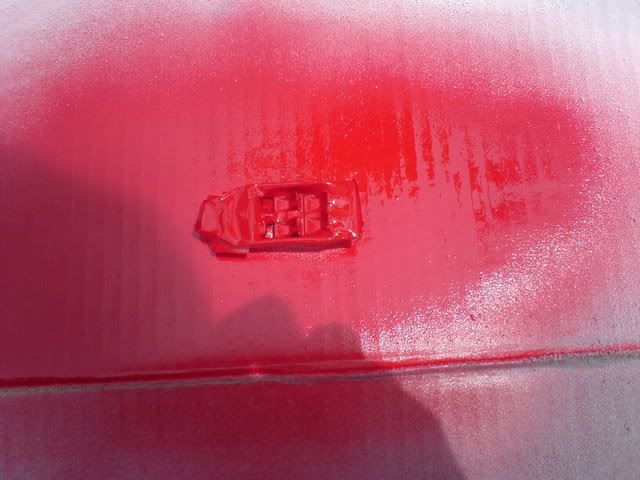
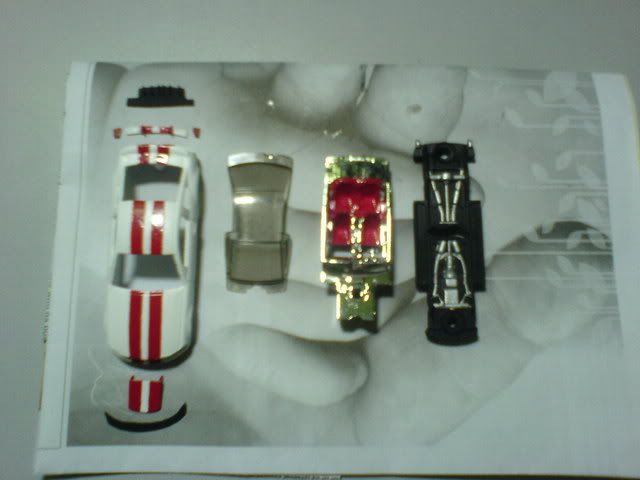
The first picture above shows the interior of this Mustang GT custom I did when I first started customizing. In that Mustang GT custom I wanted to keep the chrome but paint the seats red. So I masked up everything except the seats, and then sprayed red all over. Remove the masking and voila! You get the red seats that you see in the second picture above. The amount of work is quite tedious, but if done right it looks fabulous. If a small mistake is made, it can get a bit frustrating since you have to remask and spray all over again. :-)
After I have some more money, I started investing in Tamiya Acrylic Paint and a paint brush. Its a modelling paint, and the paint brush is a fine tip paintbrush. You will need a paintbrush with a fine tip as the things you will be painting are about 64 times smaller than original!
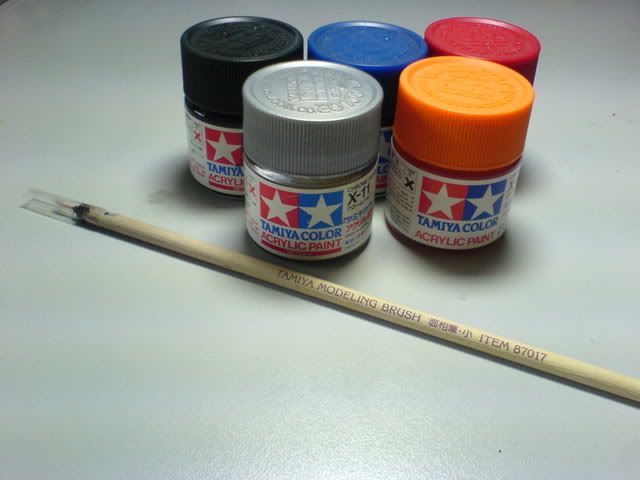
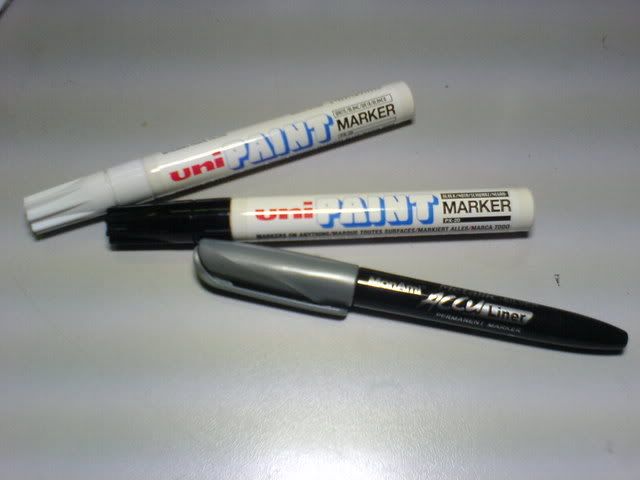
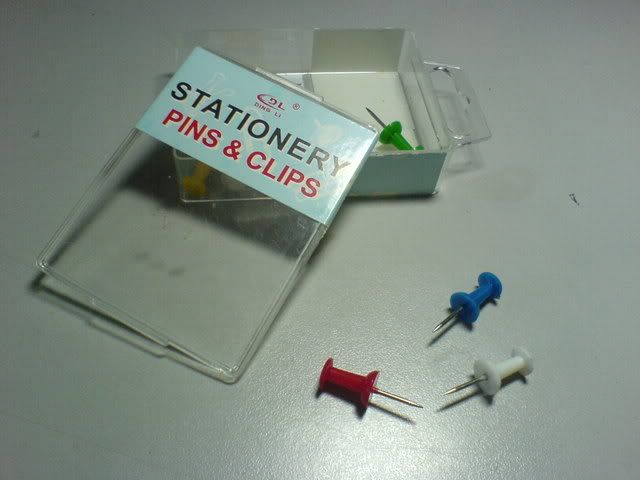
The first picture above shows the acrylic paint and the paintbrush I am using, the second picture shows the paint markers I use and the third picture shows some stationary pins. Hmm. Why stationary pins, you ask?
From my experience, if you are simply detailing the plastic interior with paint markers or acrylic paint, the paint does not stick on properly after it has dried. So, I use the stationary pins to remove small paint smudges and drips. It is a small touch-up tip that I use for my interior customs everytime. This method does not work, however, if you have sprayed a coat of paint or primer on your interior. (Edit: It does work if you want to remove paint seeps after you have removed your mask after spraying paint. It just won't work if you are trying to remove paint that is on top of another paint coat. You will end up taking out both coats of paint.)
There is one thing I have noticed about acrylic paint tubs. Once you open the cap, you dip your paintbrush in the paint, the paint is watery. But if you leave the paint tub open, the paint gets thicker and thicker. Eventually the paint on your paintbrush tip solidifies and it gets too difficult to control the paint. What I usually do is rinse the brush tip with water, close the cap of the paint and shake it so that the thinner mixes with the paint and it becomes watery again.
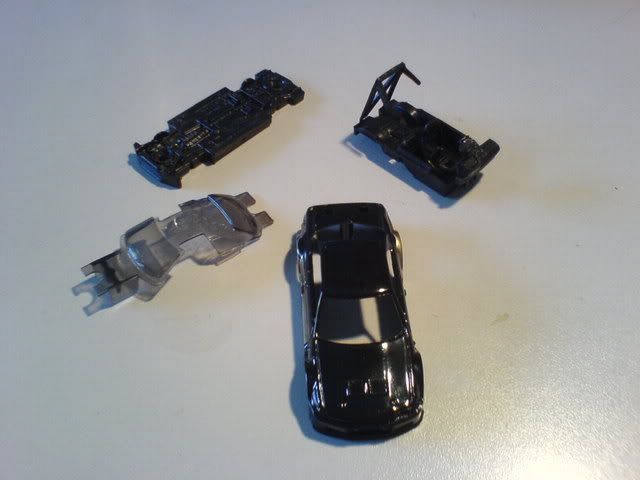
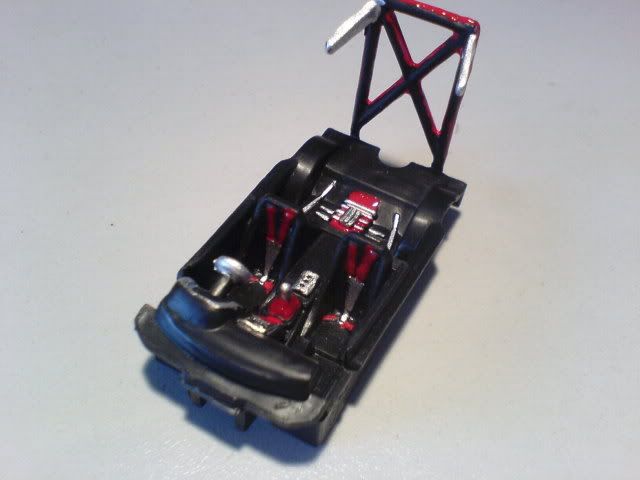
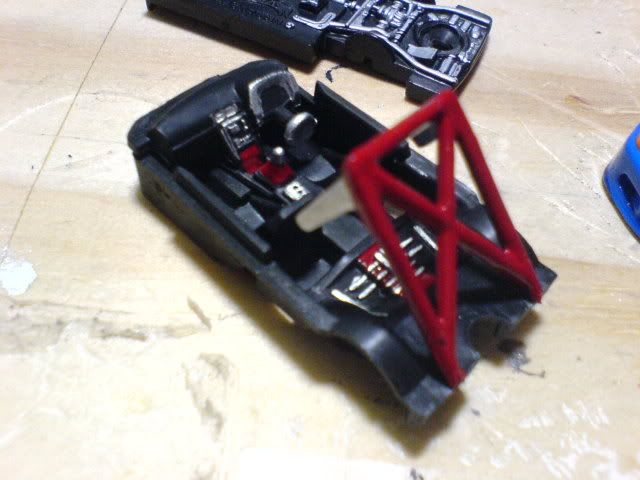
Ok enough talk, that is all I have to cover I think. Basically, just grab your paintbrush and paint, and start painting away! Remember, get creative! Explore more options and methods that I have shown and talked about here. Below are few examples of the interior before and after painting. Enjoy! :-)
Before
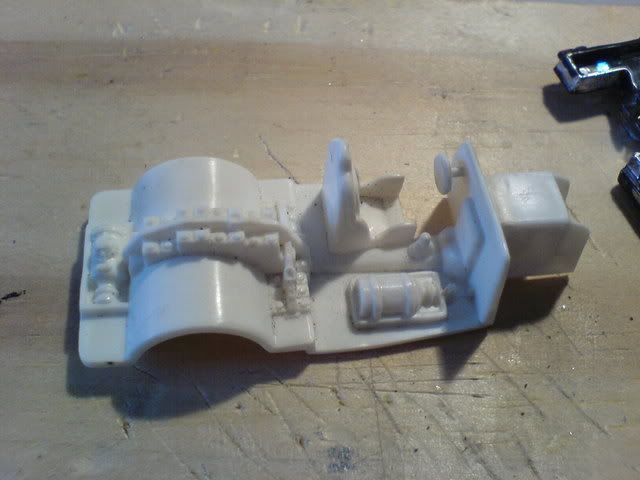
After
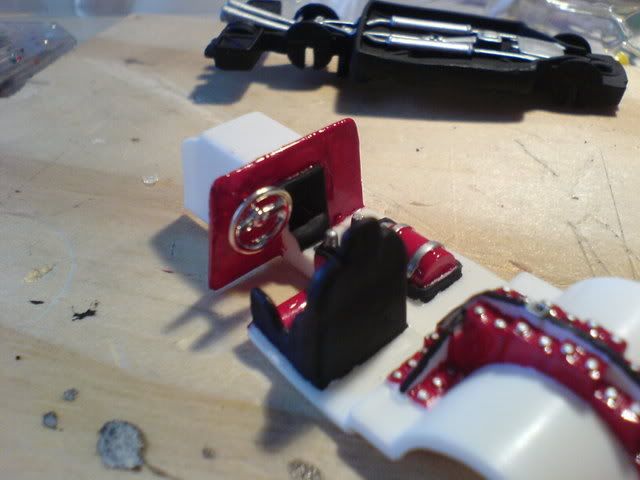
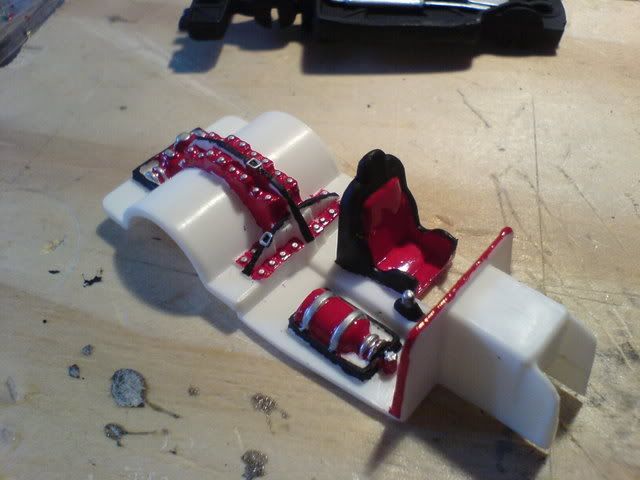
Before
After
Next post: Wheel swap
Previous post: Painting (Enterior)
Wednesday, February 4, 2009
Kustom RideZ: Toyota AE86 Corolla
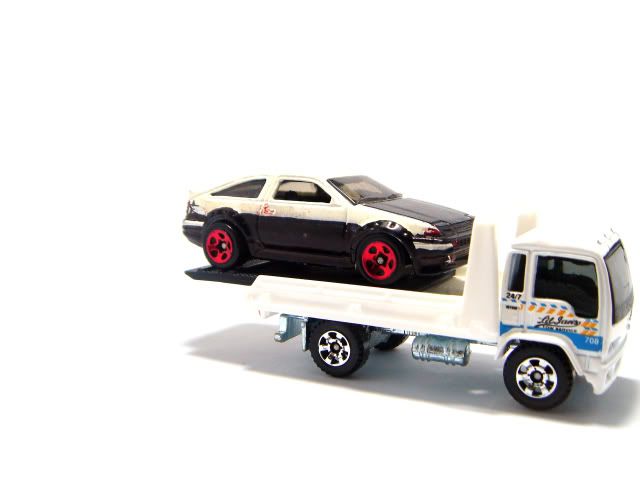
Previously, I did a body restoration of an AE86 into one that is similiar to the Fujiwara Tofu Delivery Car in Initial D. A fellow blogger, scale modeller and friend, Cham, liked it and so he sent me his unit to be customized. Being a plastic car modeller himself, he spotted a few of my mistakes and notified me about it.
This was the condition of the car when I first received it from Cham. It was quite obvious he attempted to do a customization of the AE86 before. ;-)
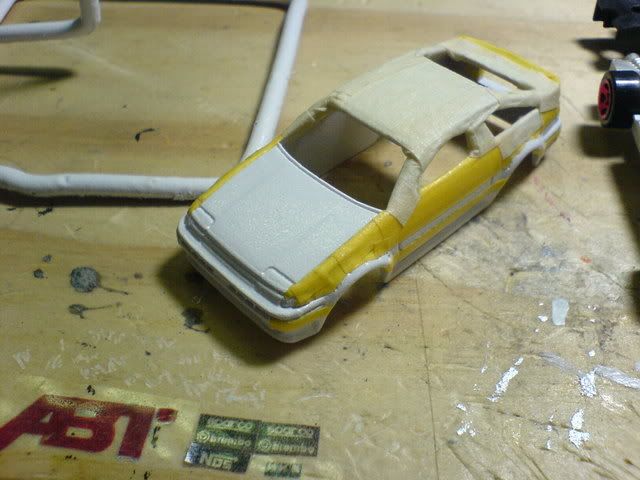
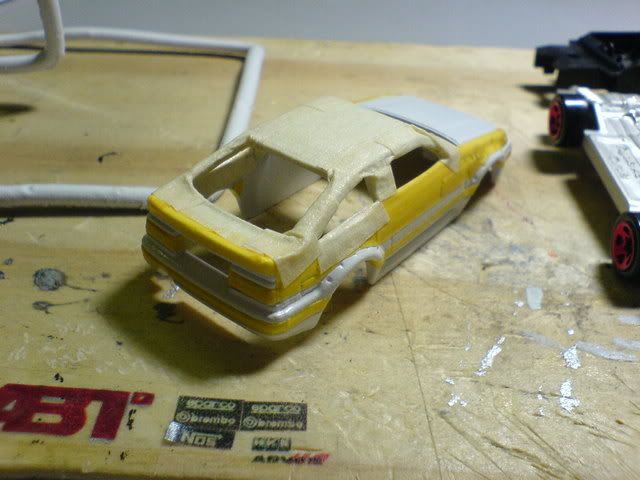
So, I set about customizing the car. I used Googled pictures and the manga as references for the car. Also, it involves the usual steps I have mentioned in my Kustom Methods segments. Drilling, paint stripping, painting, detailing and then reassembly. The only thing I want to highlight in this custom is the masking. I sprayed a base coat of white, then proceeded to mask the white bits out before spraying on the black.
For the edges, I used Tamiya Masking tape. It is a brand of masking tape for hobbyists, which is significantly better than industrial/commercial ones as the lines that are masked will turn out razor sharp. You will not get jagged edges like those when you use industrial/commercial ones. The edges are masked with the Tamiya Masking Tape, and the rest are covered with a commercial masking tape.
There were some mistakes with the AE86 in the past, such as unpainted window outlines, unpainted fenders, mistakes on the rear lamps, overly thick fender lines, etc. I hope to have corrected it with this custom. Unfortunately though, towards the end of my custom I kind of rushed it. The paint and gloss coats did not turn out as smooth as I preferred. Sorry Cham!
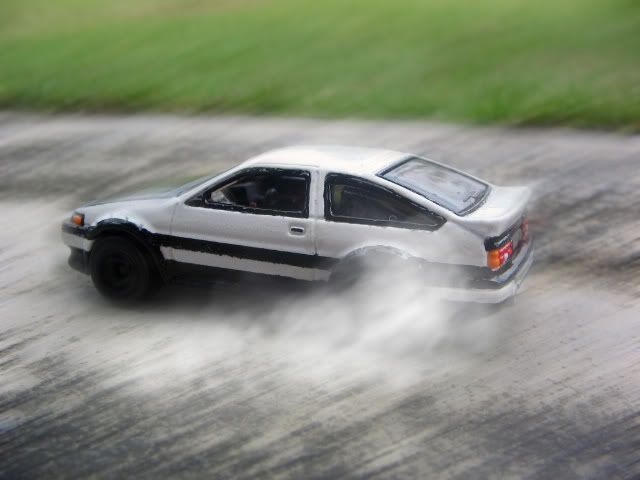
Finally below, is the picture of the completed car, along with some shot with a Tomica D1 Drift AE86. Enjoy the pics, and do let me know if you have any comments or questions!
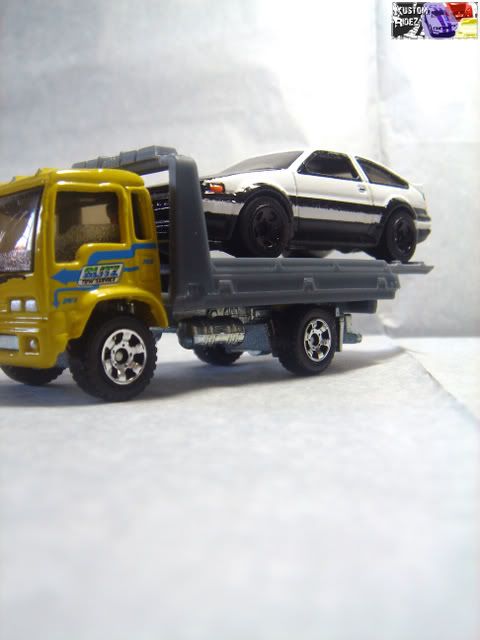
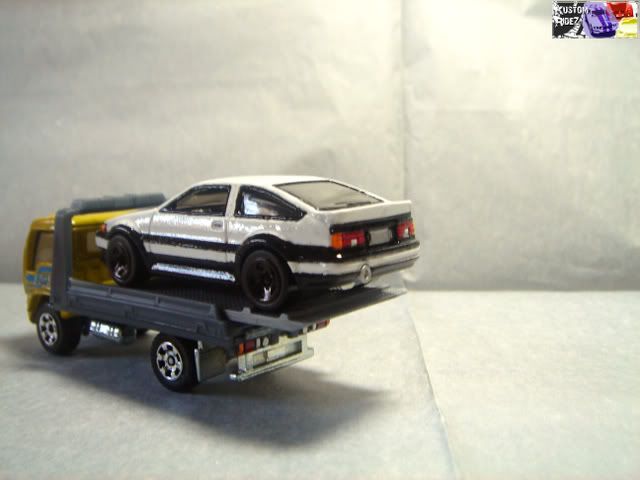
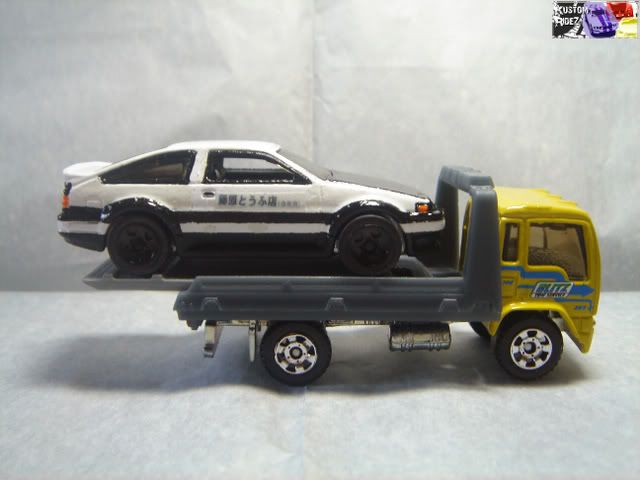
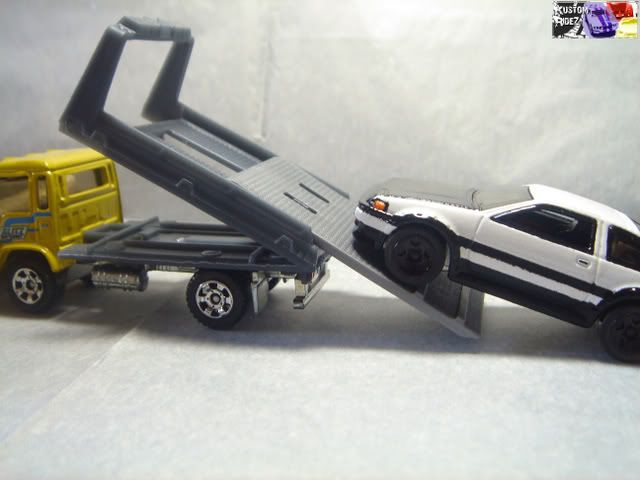
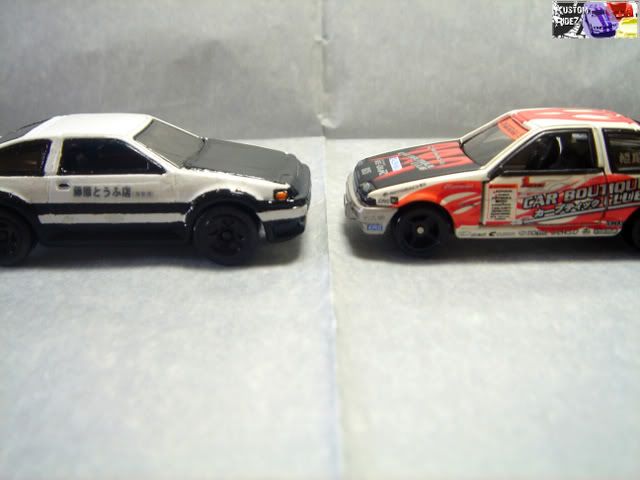
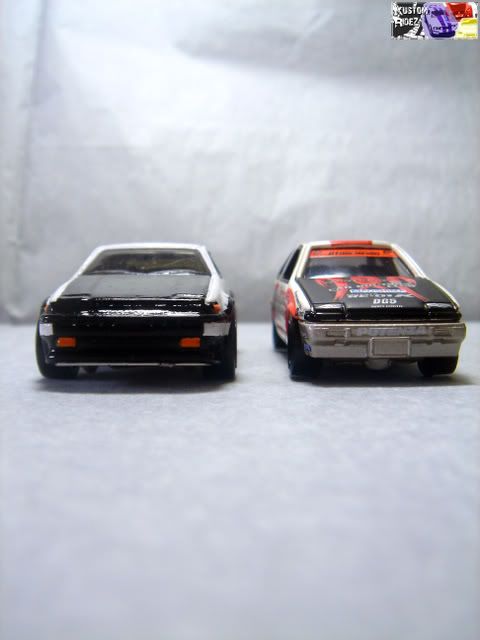
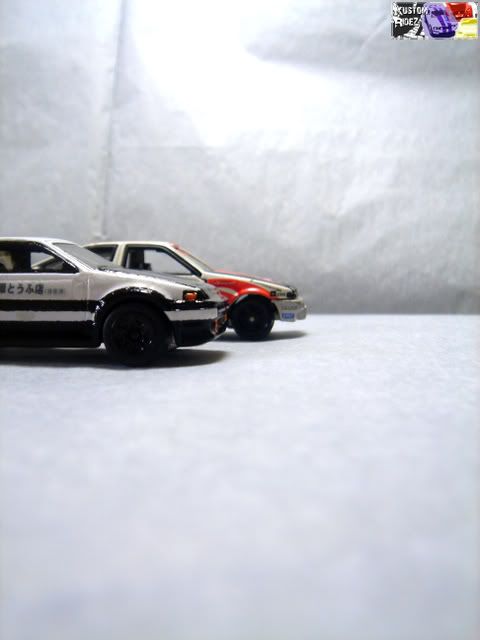
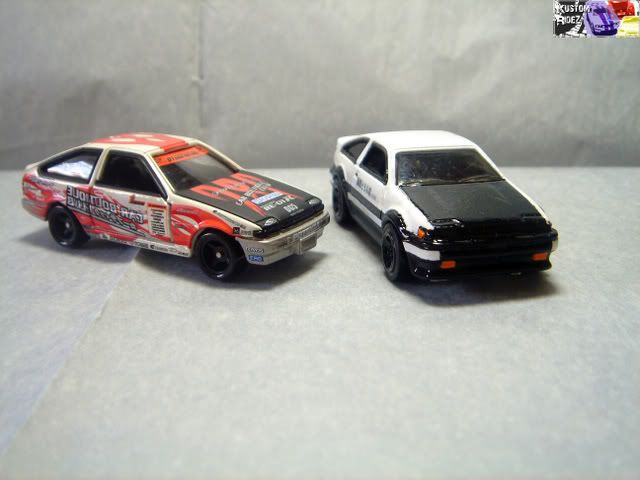
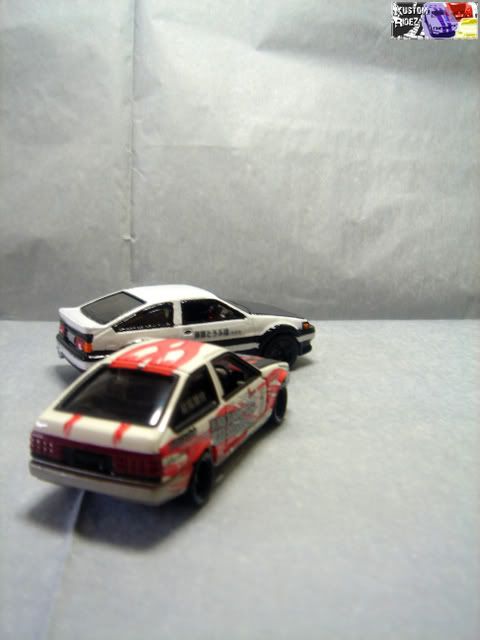
Cham has taken some photos after receiving his car, and I photoshopped two of it. He has posted this customization on his blog, go check it out to see his collection and works too! :-)

Subscribe to:
Comments (Atom)

