
Okay, today we go back to some custom tips! After all your putty has hardened, shaped and sanded, it is time to prep the rest of your die cast body for painting. What we will cover in this blogpost, is basically sanding out the body so that your paint job will be smooth and removal of mould lines and seam lines (thanks cham for teaching me on this).
In this prep, you will need:
1. A low grit sandpaper (About 100-200)
2. A high grit sandpaper (About 1200-1500)
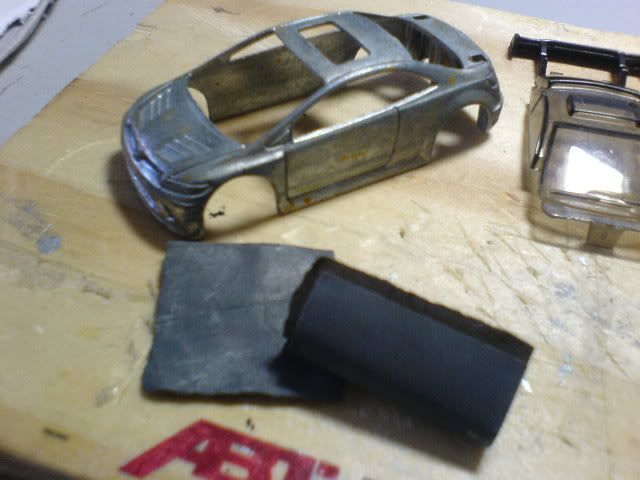
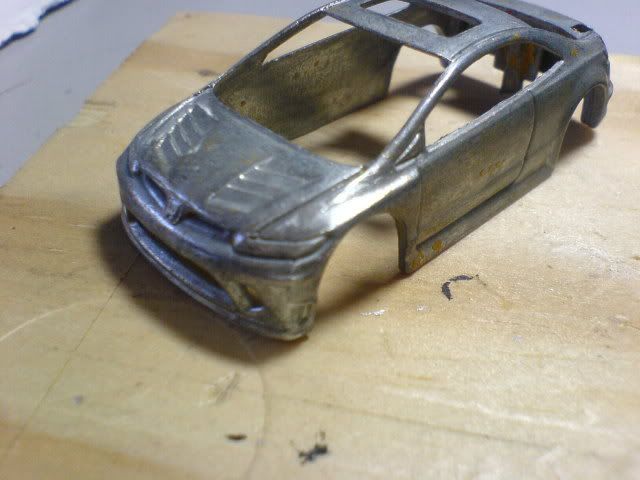
For this post, I will be using the Civic Si custom as illustration. And if you remember, after paint stripping on the body, there was still bits of paint and the surface was not smooth as you can see from the picture above. So we are going to iron those issues out.
Let's tackle the mould lines and seam lines first. What are they? Mould lines are lines protruding out of the die cast body which is not part of the car's body structure. They usually run from top to bottom, and are found at the corners of the body. Seam lines are like a gutter that run across the body, and is opposite from mould lines. Instead of protruding, they look like they are dug in.
How do we deal with mould lines and seam lines? For mould lines, we usually sand them off since they are extra bits of metal sticking out. As for seam lines, you will have to fill them using putty as I have described in part 1 of the pre-paint prep, and then sand off the excess putty till it is smooth.
Let me show you an example of a mould line. In the Honda Civic Si custom that I am doing, mould lines can be found at all four corners of the die cast. Look at the picture below:
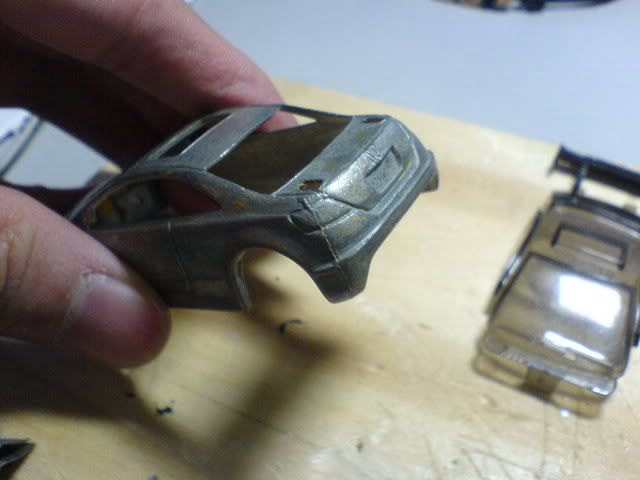
See the vertical line running from slightly above the rear lamps all the way to the bottom of the bumper? That's a mould line right there. To remove it, I first use a low grit sandpaper (I used 180) and then smoothen it using a high grit sandpaper (I used 1200).
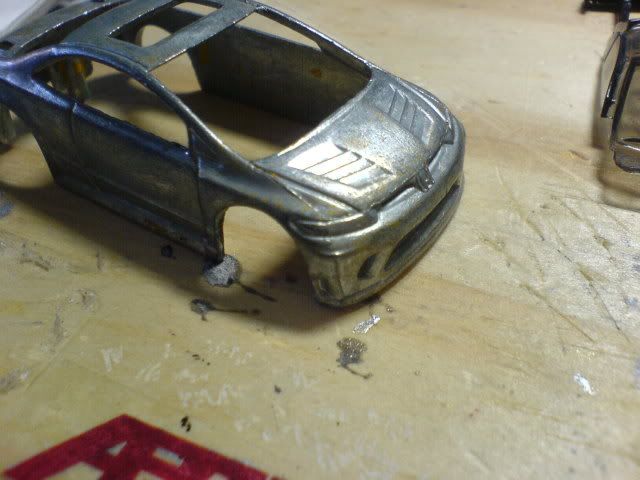
This is another example of mould line, running from the top of the hood till the bottom of the front bumper. Again, I sanded them off using a low grit sandpaper, then smoothened the surface using a high grit sandpaper.
After sanding, this is what the rear and front looks like.
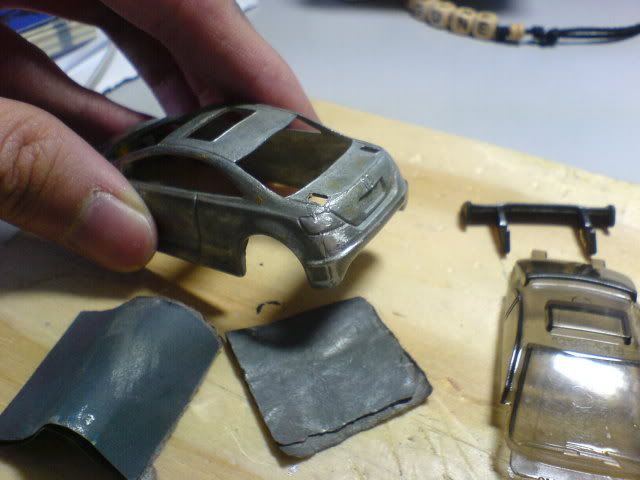
Notice the rear mould line is not completely gone. The bit above the headlamps is a bit too rough so i just sanded off as much as I can. Perhaps I was not hardworking enough. As for the front, the mould line is almost invisible. After a few coats of paint, it will be covered and invisible.
To smoothen the rest of the body, simply use a high grit sandpaper (I used 1200, again), and sand all over the body until you can feel that it has become smooth. If there are stubborn bits of paint, simply use a lower grit sandpaper and sand it off before smoothening it with a high grit sandpaper.
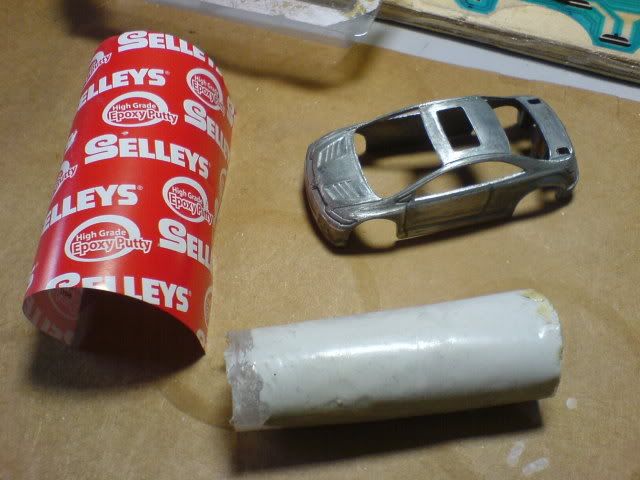
After you're all done, the body should be like in the picture above. No mould lines or seam lines, and the metal is smooth and shiny! To be honest I actually sanded the body first then filled the holes, but I blogged it the other way round. Both ways are alright, just do whichever that suits your style. :-)
Hope this post has been of help! Once again, any questions or comments just fire away in the comment section. Cheers!
Next post: Painting (Exterior)
Previous post: Pre-paint Preparations (Part 1)

3 comments:
Hi, can I have ur permission to use ur guide and picture for my website? I want to post it on my site it is cool.
by the way, my website is projectsmt.wetpaint.com, if you want to know.
sure thing mr helltank, feel free to link me up. im honoured to be linked at your website. :-)
Post a Comment