
Welcome back to this segment for the new year! I will be picking up where I left off, which is the process of preparing the die cast body for painting. This will be a two-part post, as this part will be covering on the putty work and the next part will be on sanding.
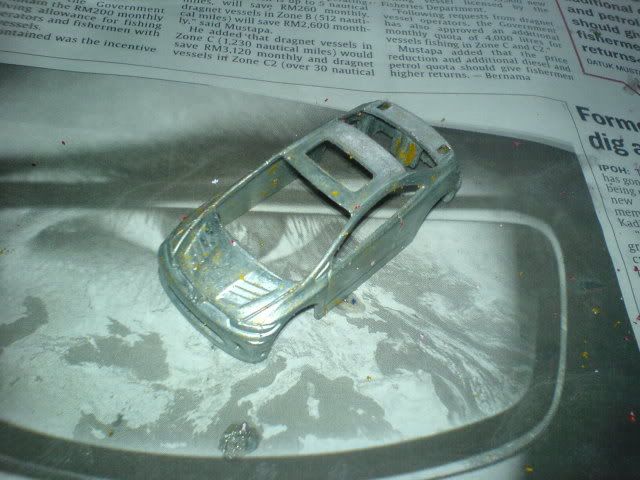
When we last left the body, the paint has just been stripped. What's next?
For this Civic custom, my friend has requested that the rear wings to be removed and left flat, so there are two holes at the back of the car to be filled. Sometimes, there are other holes that you would like to fill, such as the hole in the headlamp in the Nissan Skyline custom. To fill up the holes and make a smooth surface, I use a multipurpose epoxy putty. I will knead the putty, then use it to fill up any holes, and finally sand it into shape. Get it?
Let's begin.
You will need:
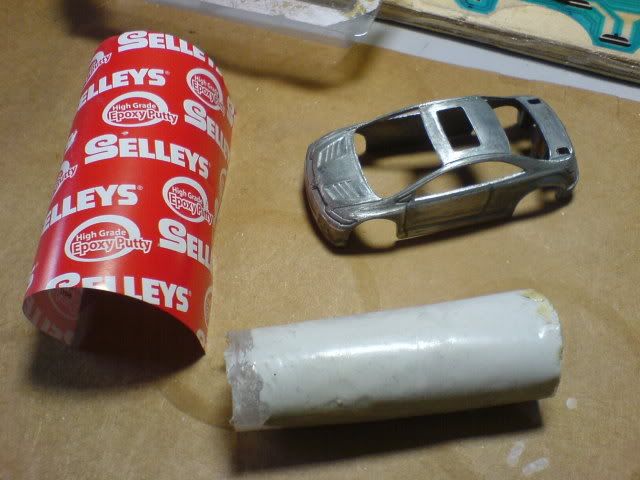
1. Multipurpose Epoxy Putty (I used Selley's Knead It)
2. A blade
3. Your die cast
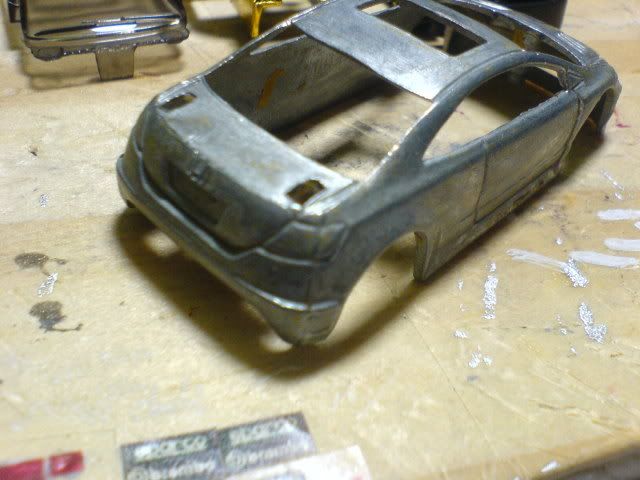
As I have mentioned before, we are to fill the two holes left by the rear wing that has been removed from the body as shown in the picture above.
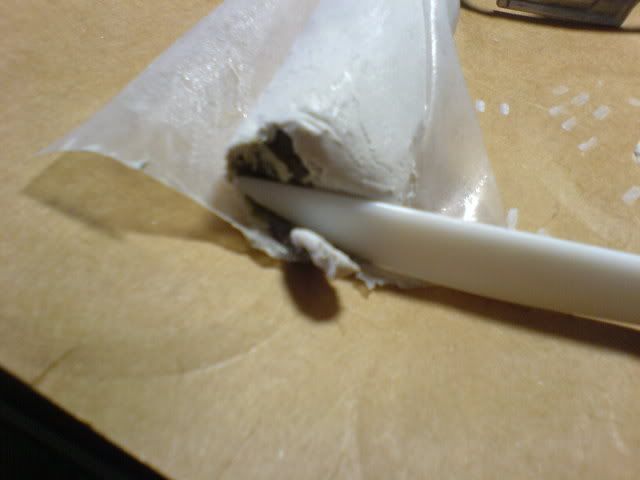
First, just slice out as much putty as you need.
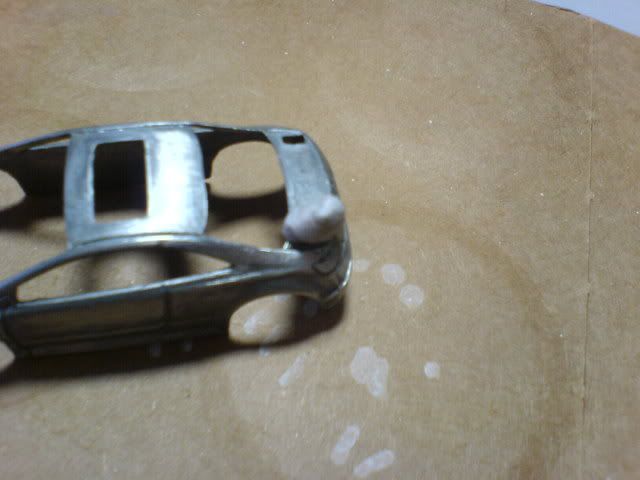
Then place it above the area you want filled. Then shape or take off the putty bit by bit until it is fits the shape of the body. You have about 3 minutes from the time you knead the putty to do so before it hardens. I have done it for both the holes, it should look like the picture below.
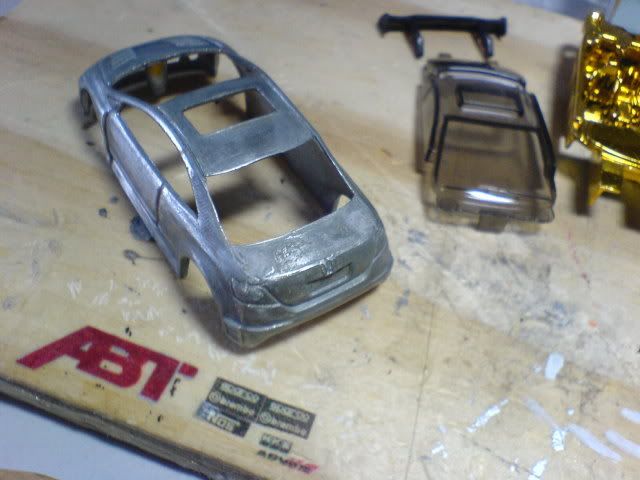
I don't know if you can see it from the photo, but the area filled by the putty is still quite rough. However, we cannot sand it yet. The putty must be left to dry for approximately 5-10 hours so that it hardens. Once it is completely hard, you can sand it so that it becomes flat and smooth, blending it together with the body. I used a 1000 grit sandpaper to sand it flat, then a 1500 grit sandpaper to smoothen the surface.
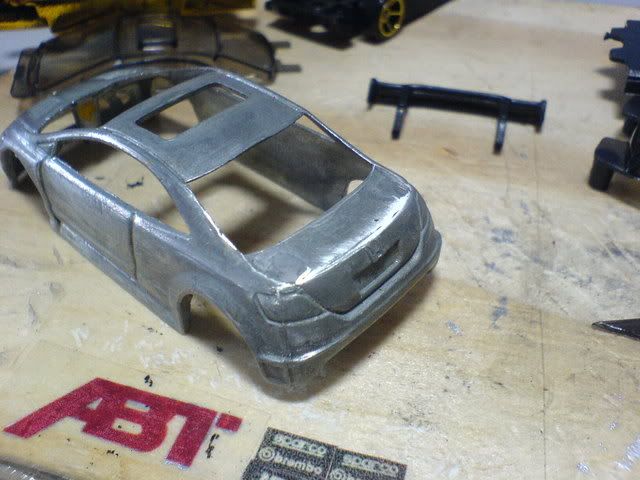
As you can see from the picture above, the putty has been sanded and it is now flat. After all the filling is done, you are ready for the second part of the pre-paint preparations!
Questions? Comments? Use the shoutbox or the comment link below. Thanks for looking! :-)
Next post: Pre-paint Preparations (Part 2)
Previous post: Paint stripping

2 comments:
Keep it up, very educational for custom newbies like myself :P
SS - will try to do as much as possible, thanks for the compliment! :-)
Post a Comment