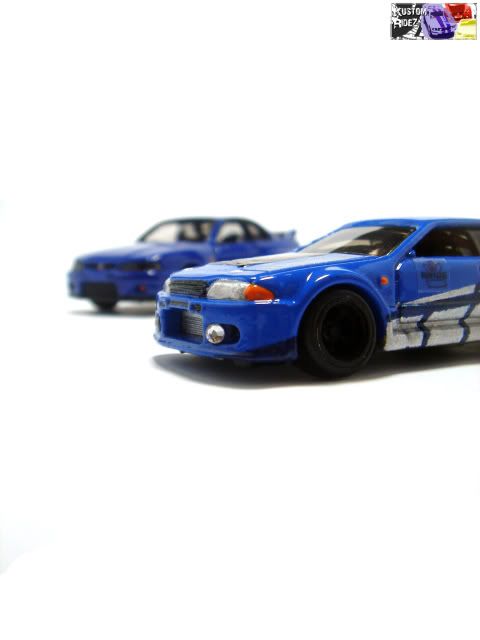
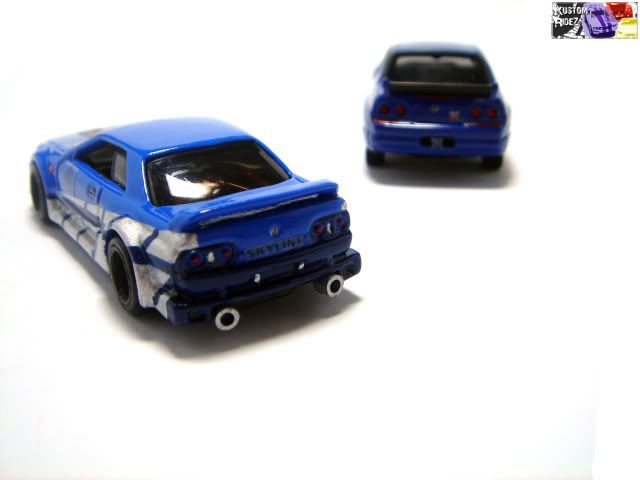
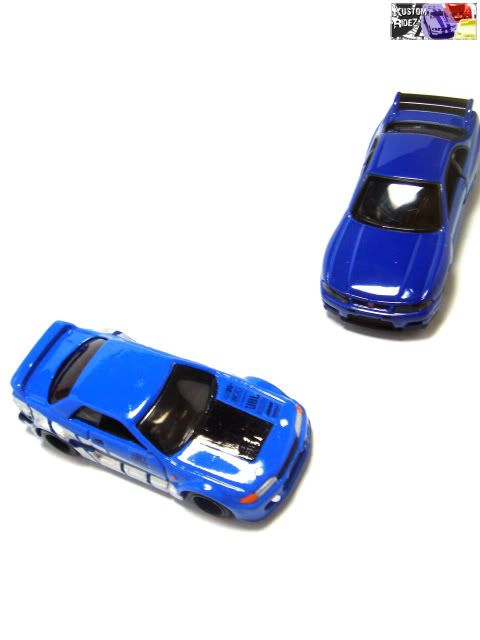
Yes, you seen it right! It is finally done! Firstly, many apologies because I have been busy going on holidays and organizing quite a few things so I haven't been able to work on this custom for quite a bit. Nevertheless, it is done. :-)
So, I used a 2008 Hot Wheels Stars Nissan Skyline casting this time. Why? I believe the casting had a few flaws, notably the hole in one of the headlamps. To do a full mod job, I drilled the car open to separate the body, chassis, windows and interior.
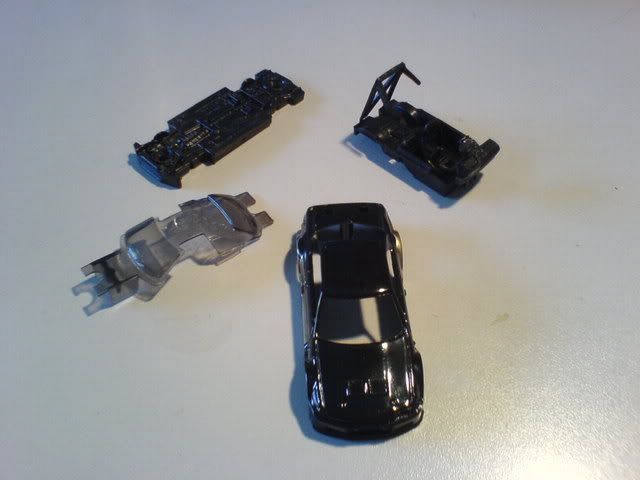
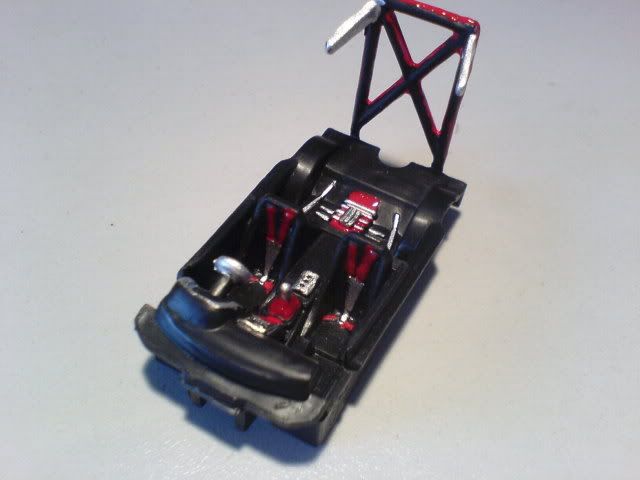
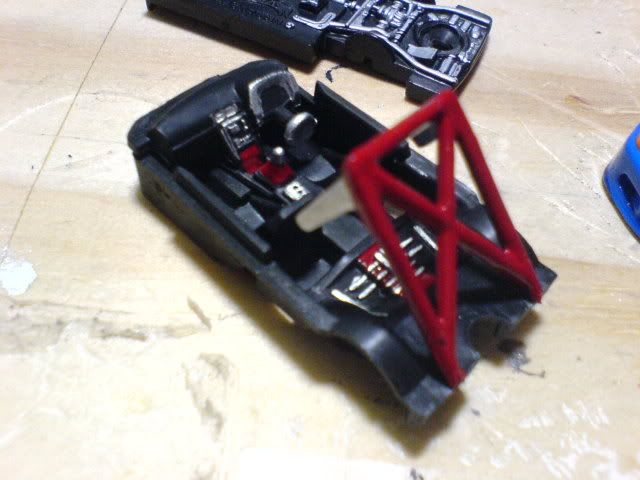
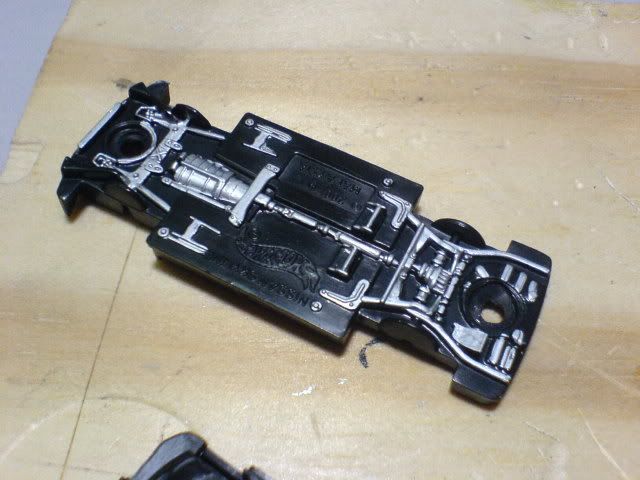
Despite the small flaws in the body, the interior and chassis is pretty well done. The interior has been moulded to 3-point harness seatbelts, a roll cage in the back, and no backseat but stripped bare to reveal the chassis. The undercarriage is also quite detailed, so I did not have to fabricate new parts for the chassis and interior.
First of all, I tackle the body as it requires the most work. I used the usual method of paint stripping: apply paint stripper, let it set in for a few minutes, then brush it off with a toothbrush to get down to the bare metal.
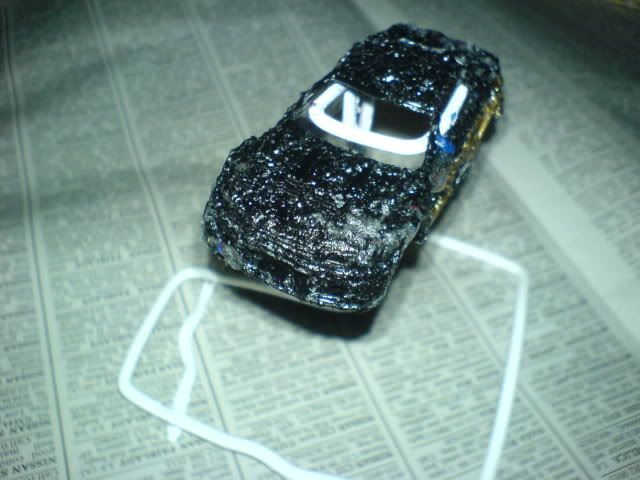
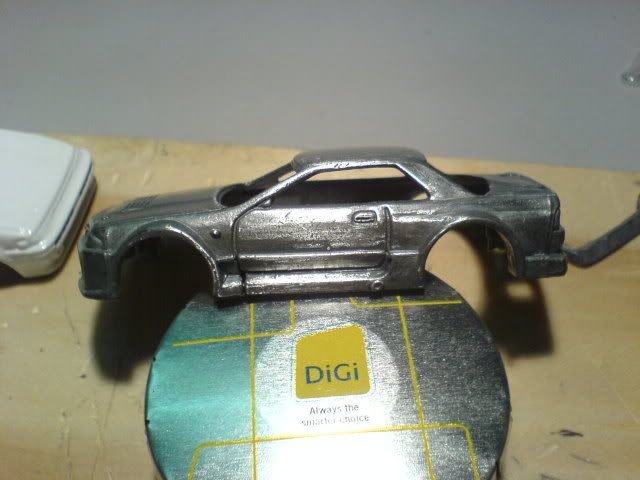
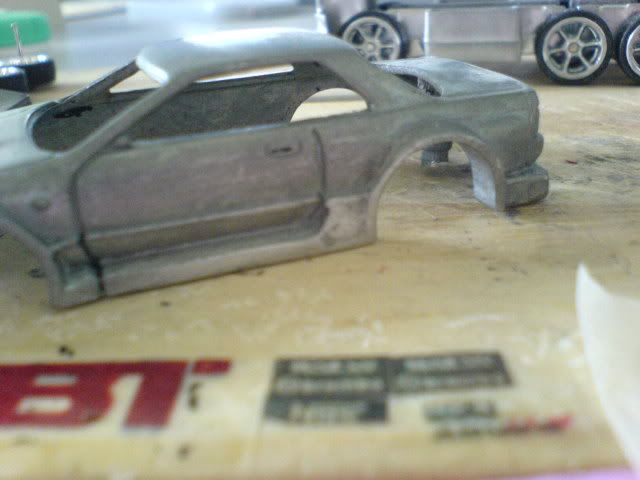
If you notice on one of the sides of the body kit there is something that looks like a pipe sticking out. I didn't like that so I sanded it with 800 grit sandpaper till it is flat, then smoothened it by sanding it further with a 1500 grit sandpaper.
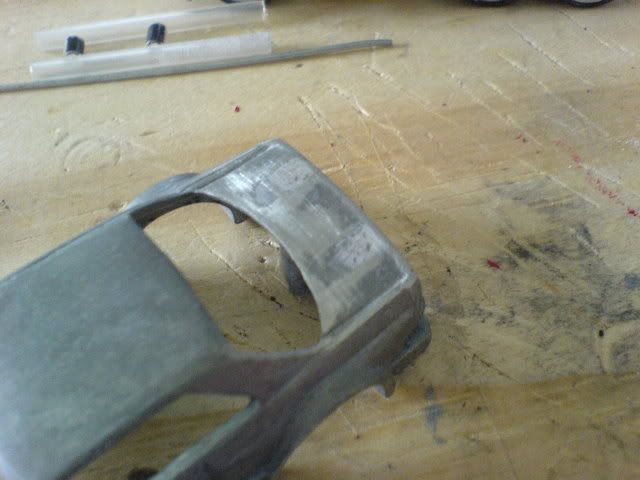
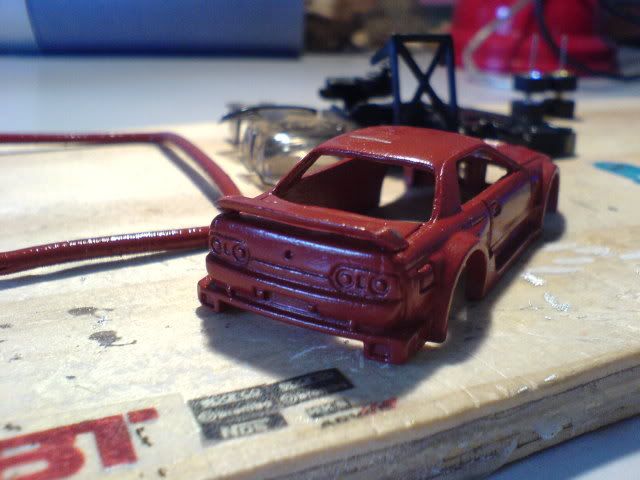
I intended to do a drift version of the car, so I removed the stock rear wing. Because of that, there were two holes, so I filled it with epoxy putty and then sanding it to smoothen it out. The headlamp with a hole was also filled out and sanded flat.
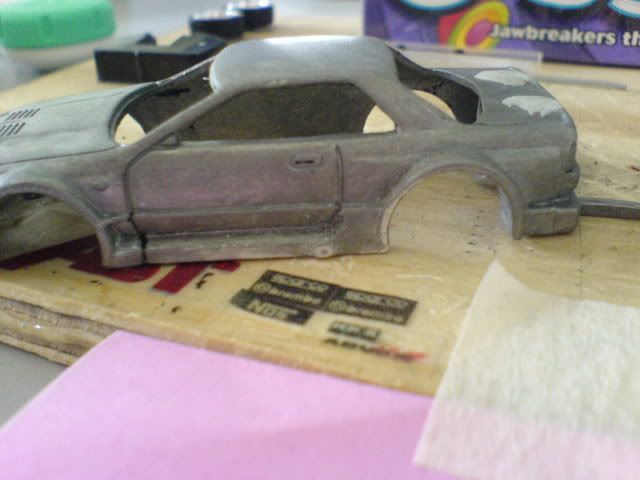
As you can see here the picture on top shows the bulge and the putty has been filled in the holes. The bottom picture is what it looks like after sanding.
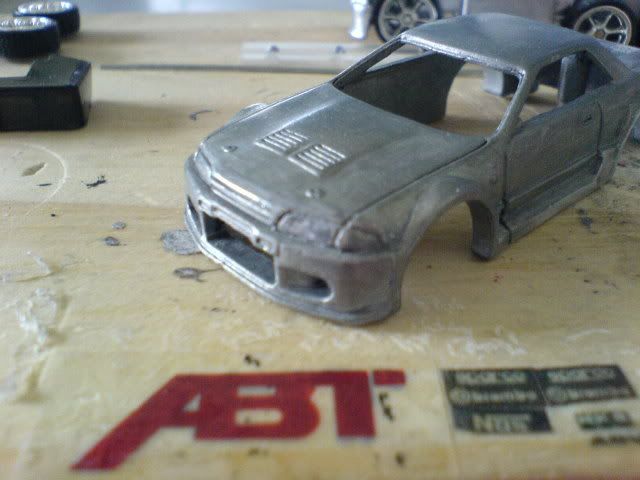
After the refining work, I proceeded to spray primer on the body. I also found a donor rear wing that I wanted, and sprayed primer on it too. Once both the primers dried I glued on the rear wing onto the body.
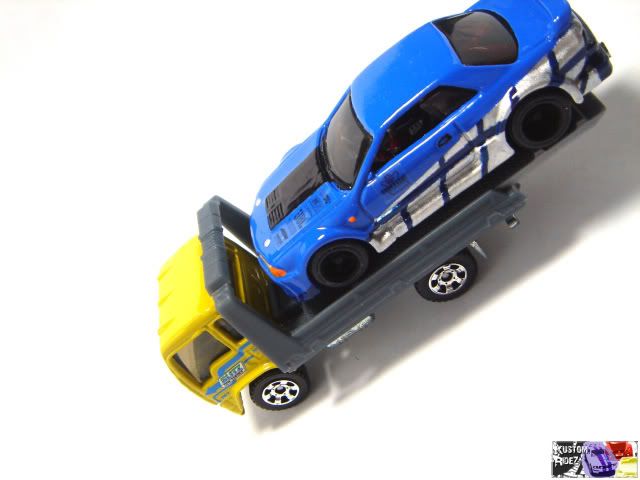
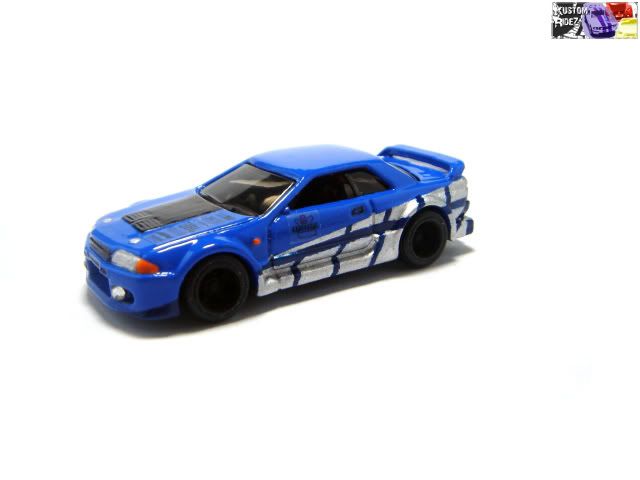
Then it was time for colouring! I picked blue, as it is quite a popular colour for the Skyline. The only other car which I can think of that has a lot of blue would be the Subaru Impreza WRX. However, I went with the two tone blue with silver tempo for this one. I must admit it I took some ideas from the Fast and Furious Skyline. So I sprayed on the base coat blue, which is the lighter shade of blue.
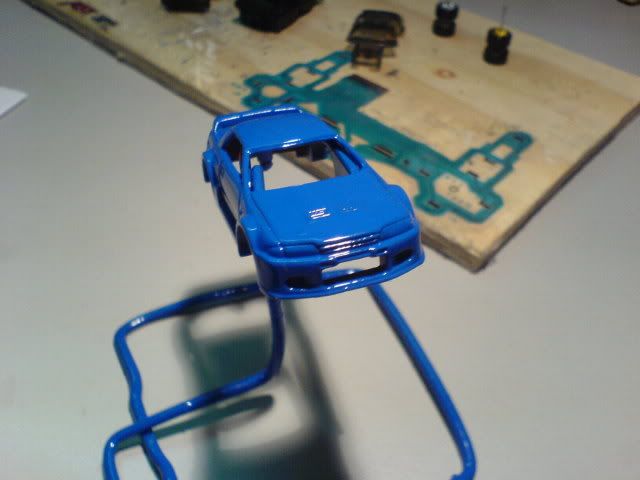
I then did some masking and some painting. Then some masking and painting some more. And then some touch up. I did not take pictures of these cos I did it these in small parts, little by little in between long periods of time. This was when I was quite busy and was just posting my collection photos. :-P
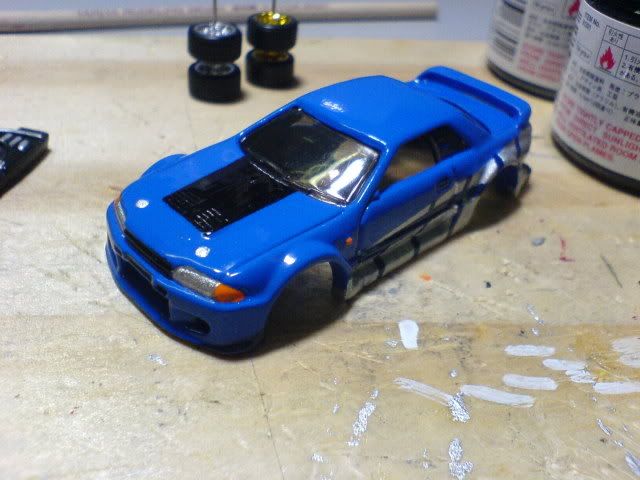
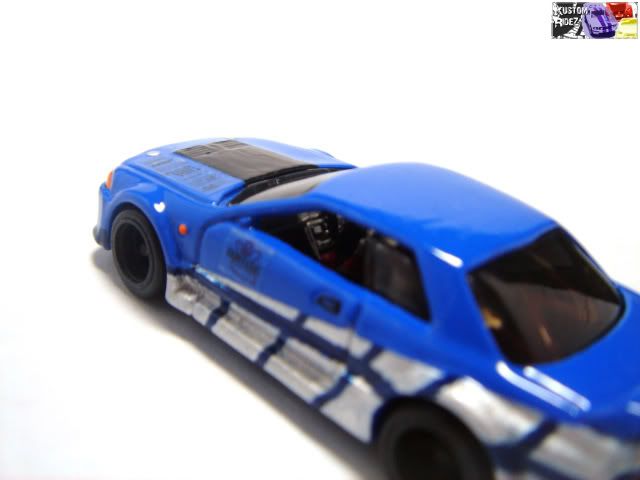
The Skyline ended up with a tempo that looks like this below. Once I was done with the tempo I sprayed on a coat of gloss to protect the paint of the car.
As for the interior, I detailed the dashboard, seat belts, gearstick, steering wheel, chassis and roll cage. As I have mentioned before, both the interior and chassis carried a lot of detail so all I had to do was paint it to bring out the details.
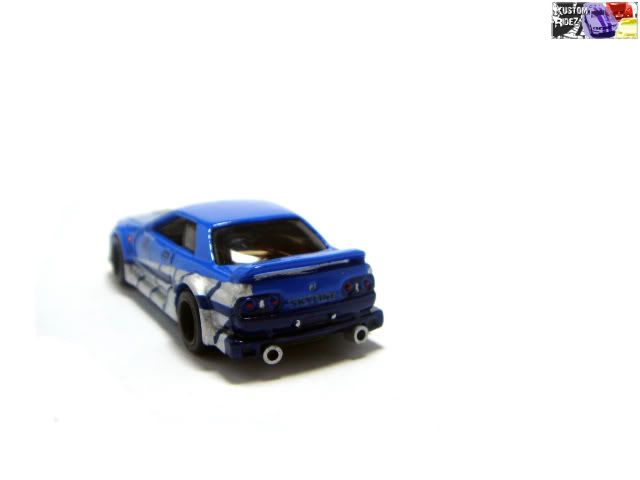
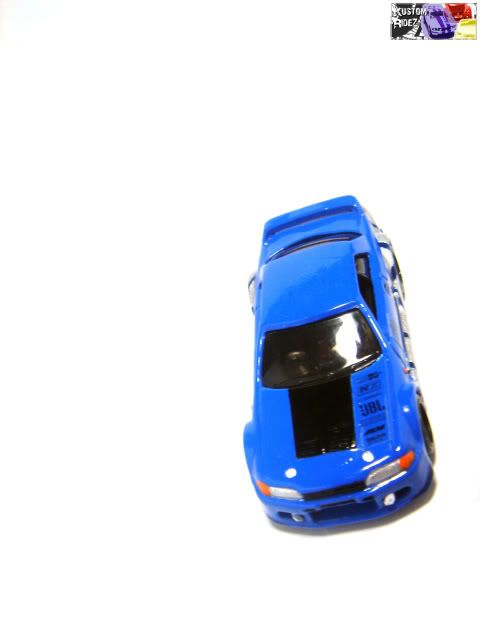
I fabricated two exhaust pipes and painted them silver. Then I glued them on the back bumper, along with two rhinestones in the front bumper. I also got donor rubber front wheels from two different Treasure Hunt$ cars, and painted the rims black. Finally, I fabricated some sponsor logos and then the car was glued back together.
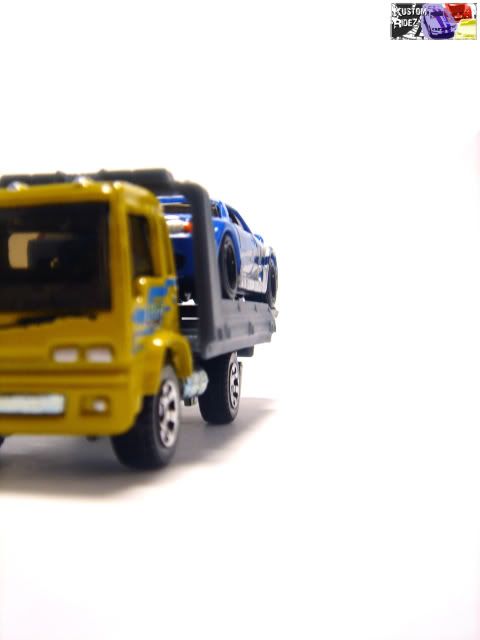
Enjoy the pictures below. Do leave a comment and let me know which areas I can improve or do better, I'd love to hear from you. :-)

8 comments:
AWESOMENESSS!!! love ur skyline bro. still waiting for u to help me wit my BMW! =D
Takecare man!
ben.
Fwah.. keep going and you might be able to make a living doing professional custom jobs =)
wao great interior and base detailing.....nice!
benpaul - thanks bro! yeah you're free now right? we should meet up some time. :-)
ss - thanks! but the market for this here is not that great, i gotta move overseas to make it work i think. :-P
zehobby - thanks!
This is beautiful! Great job!
Can you also help me customize my Hot Wheel sometime?:)
(Sorry for the triple post, my computer is having problems with blogs :(
Thanks!
Post a Comment