
For this project, I decided to be more radical in my customizing. After tinkering with spray paint the first time, I felt was ready to start repainting the whole car. The car I picked out for my project this time was the 2005 Ford Mustang GT. The reason? Well, everybody loves tuning Japanese makes. But the Americans are not that far off in tuning their muscle machines as well. So after searching up a few tuned Mustang pictures online I had a general idea of what a customized Mustang will look like. Then I set about starting to customize the car.
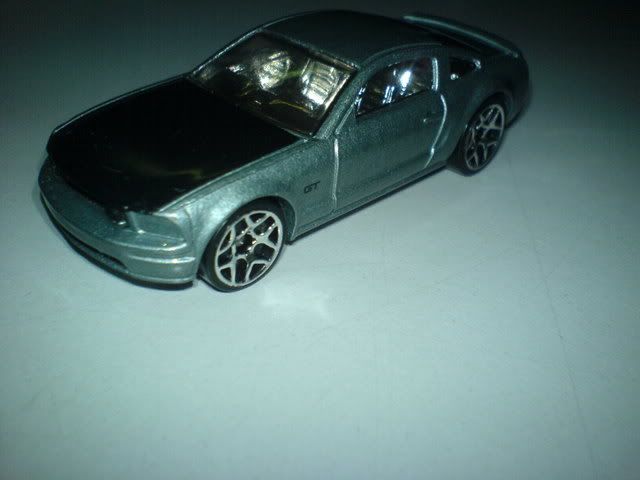
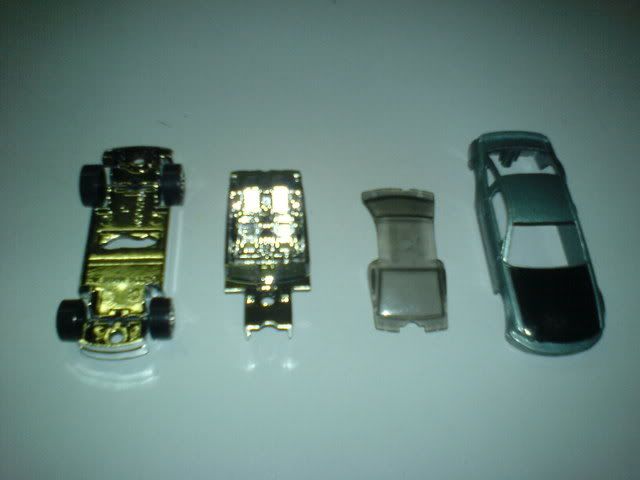
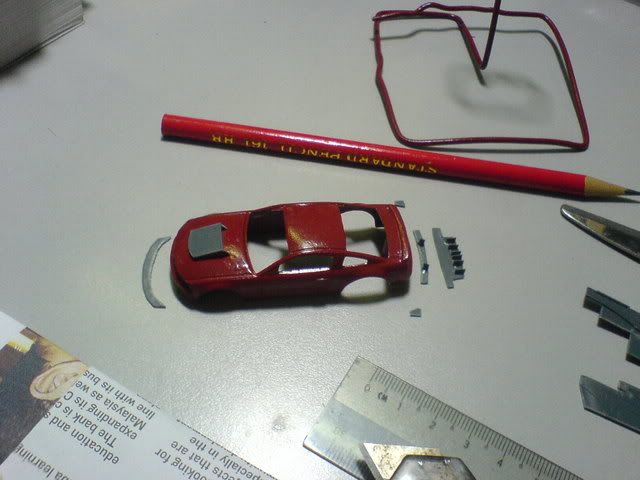
That was what the car looked like initially before any modifications was done on it. A Mustang is a muscle car, and it should look strong and intimidating. For this mustang, it was neither. So I fabricated a front spoiler and rear diffuser using a floppy disc. This technique was learnt from a fellow blogger JDMike (who can already be called my master ;-) )
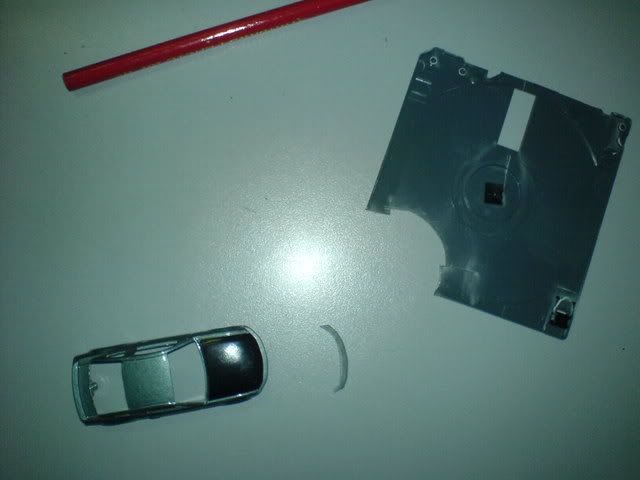
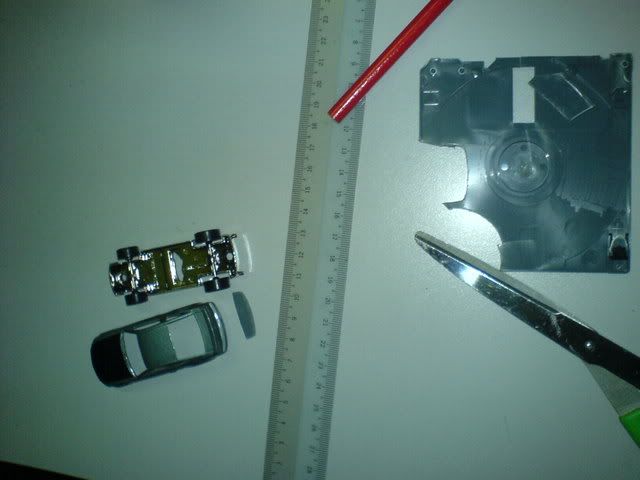
The paint was first stripped down to the bare metal, as I disliked the dark grey base and black hood. I find it very dull. Its a Mustang, an American muscle car! When it pulls up nearby the sound of the engine roar should deafen your ears and the look should make animals scamper to safety... :-P
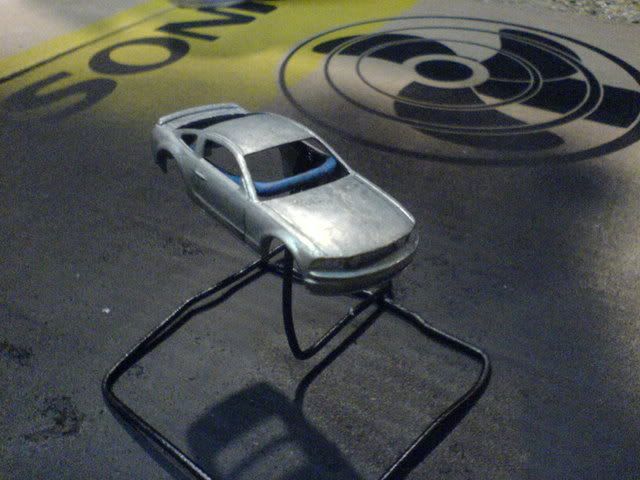
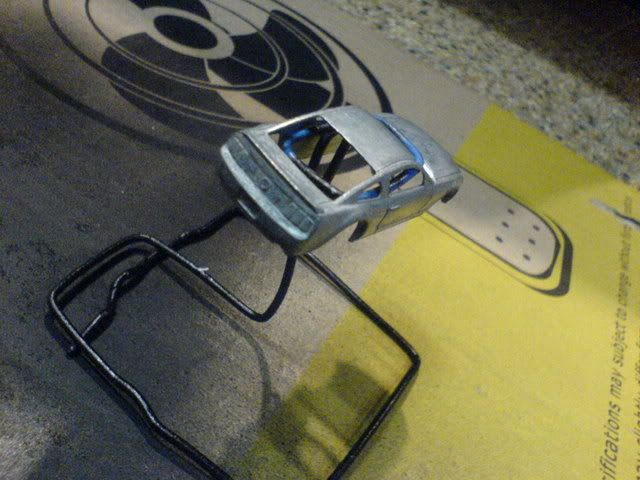
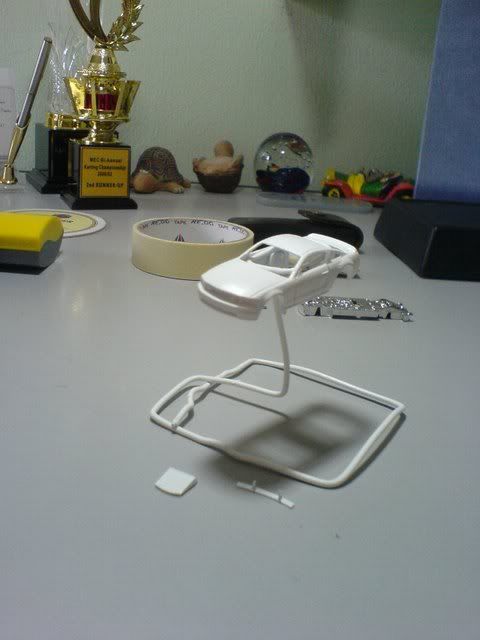
After the car's paint has been stripped off, a coat of primer is sprayed on to protect the bare metal.
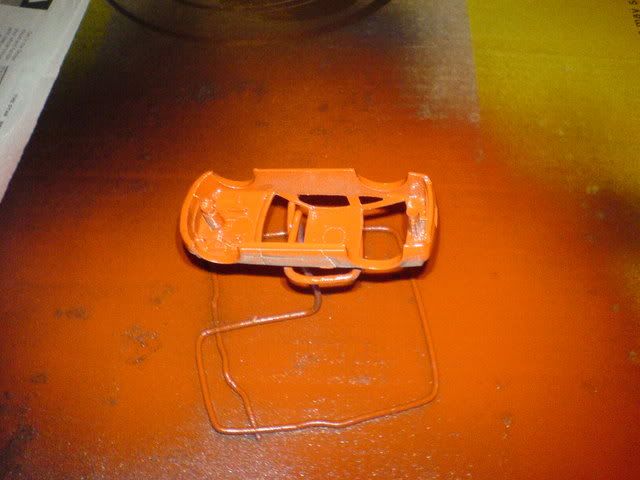
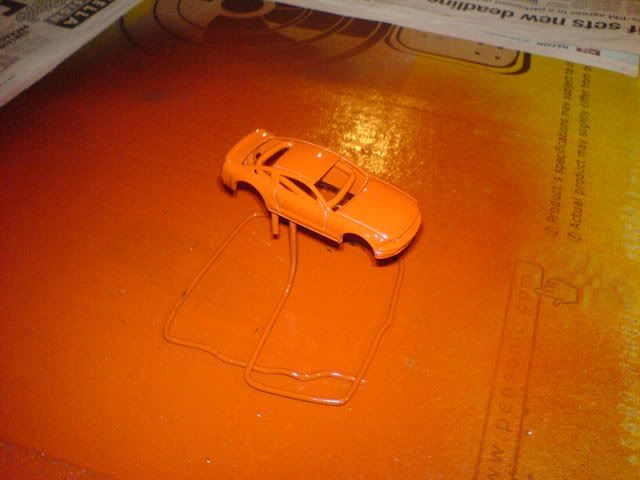
Then the primer is left to dry overnight. While waiting for the primer to dry completely, I fabricated more parts for the car. A roof scoop and rear wing were fabricated.
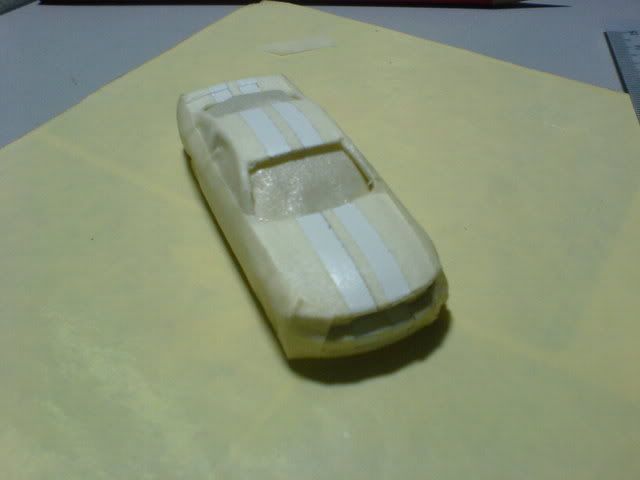
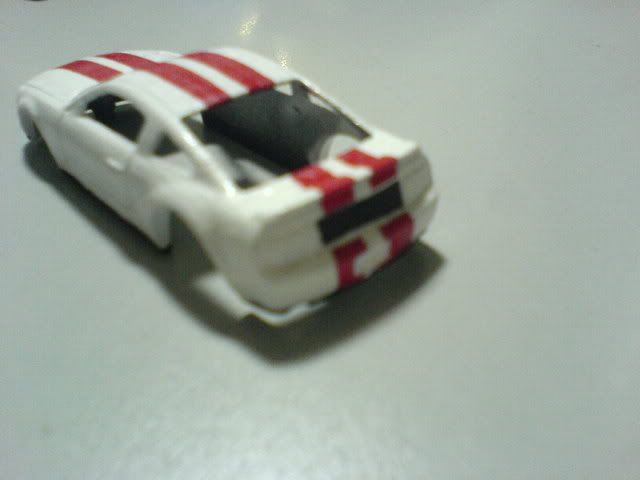
The base colour I picked for the Mustang is white. It seems like a choice colour for both tuners and manufacturers alike. Sticking with the theme of making the Mustang strong and intimidating, I also decided on that this car should have dual red racing stripes. Therefore, after the white base was completely dry, I masked up and sprayed the racing stripes.
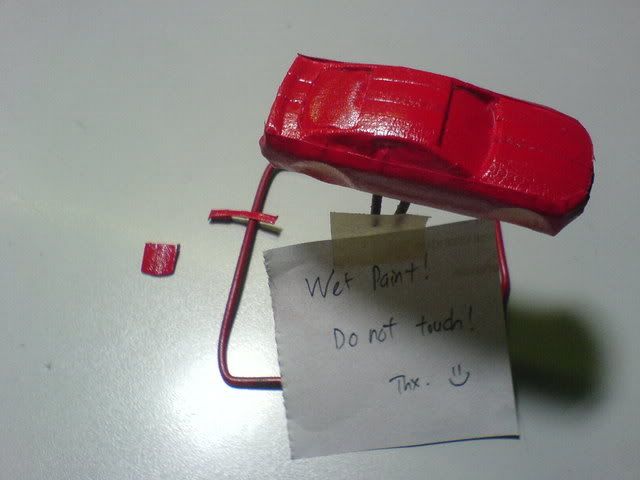
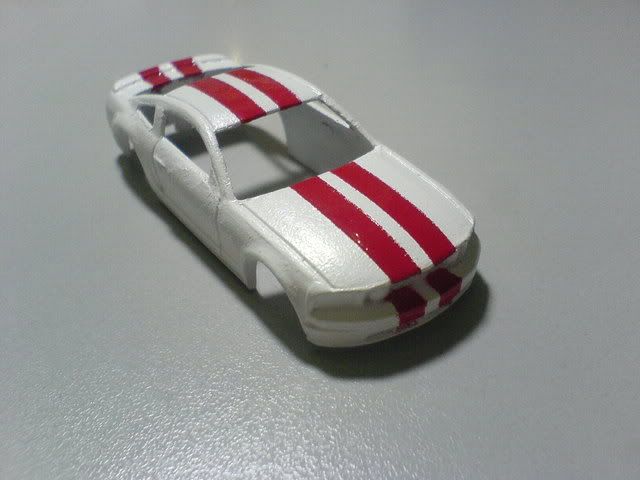
The paint work shifted to the interior, spoiler, diffuser and chassis while the paint for the body dried. I sprayed the seats red as the all-chrome interior looks rather fake. Thus red was chosen for the seats, making it also consistent with the racing stripes.
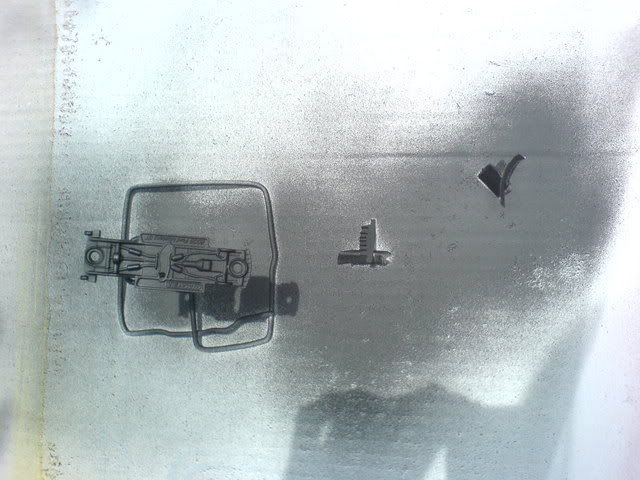
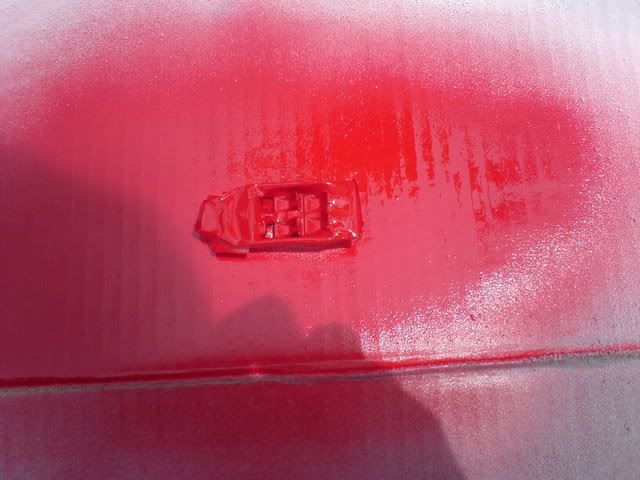
Black and red detailing for the body was done before gloss coating everything. All my paint work, including detailing was done using spray cans and mask as I did not have paints as yet.
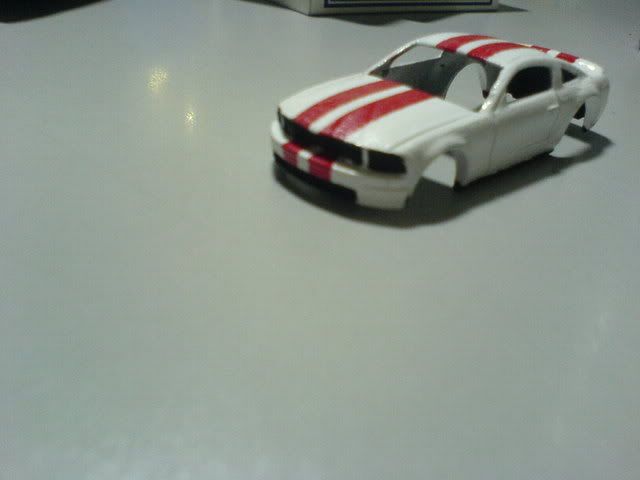
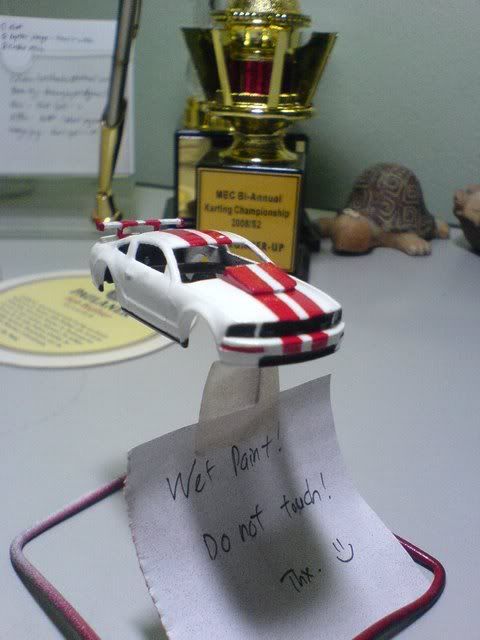
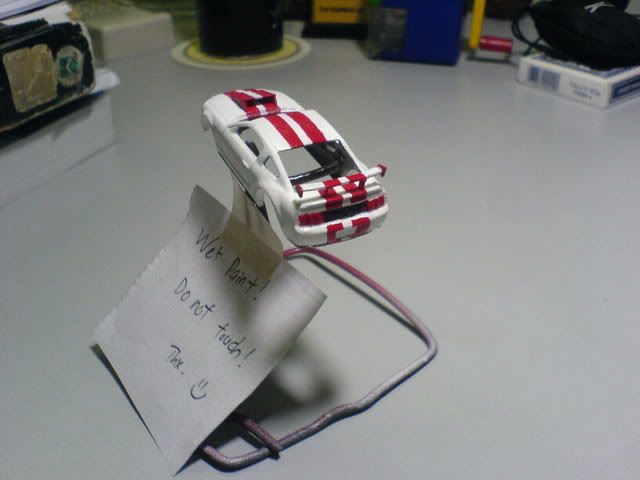
Rhinestones were used as the headlamps (another technique from master JDMike) and the famous Mustang logo was fabricated and painted silver. The roof scoop and rear wing were also glued into place.
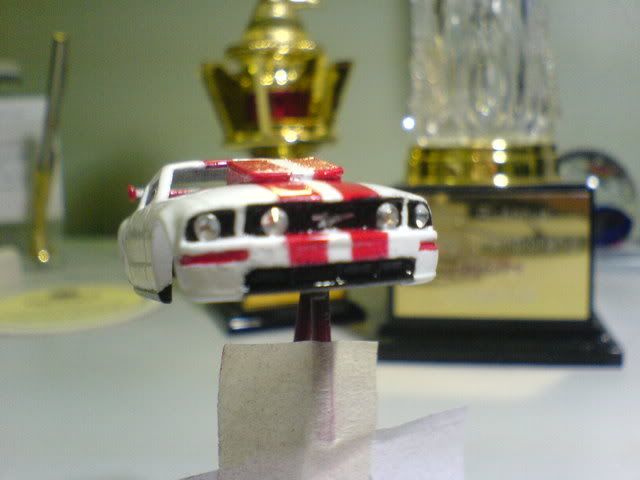
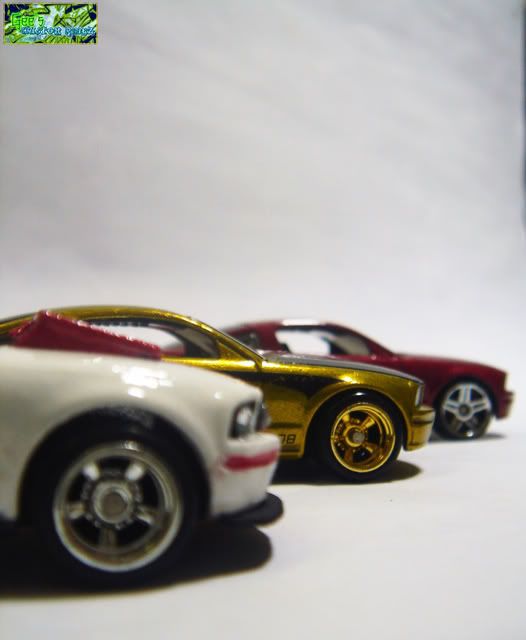
Finally the rest of the car was put together, starting with the wheels, then chassis and finally front spoiler. I decided the throw out the rear diffuser because it looked a bit silly. Pictures of the finished article below this and also some group photos with this year's TH$ Mustang, First Edition Mustang GT and also the original Mustang GT carded.
Hope you enjoyed this post as much as I did!
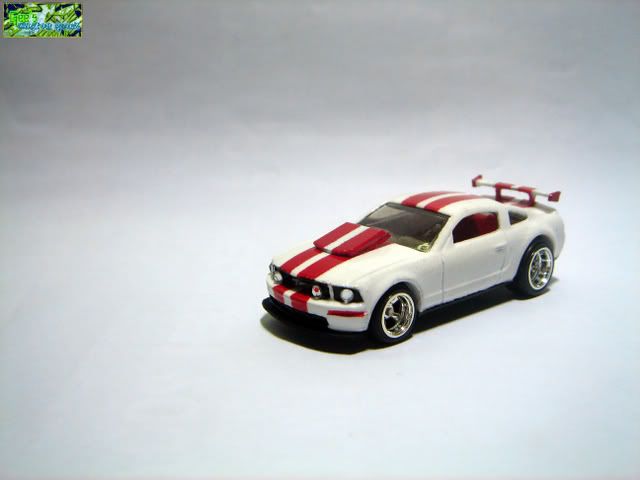
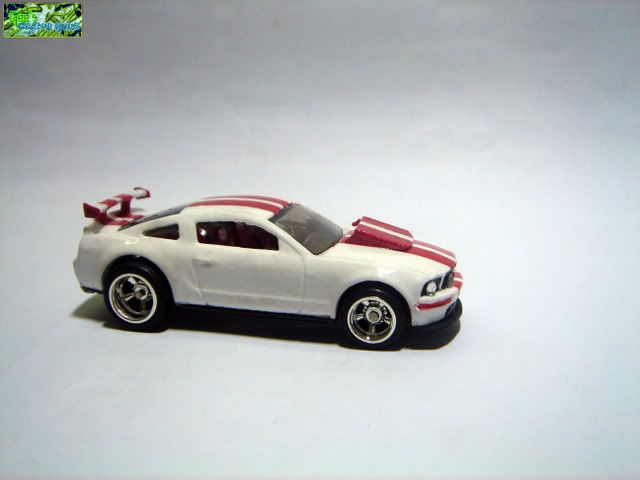
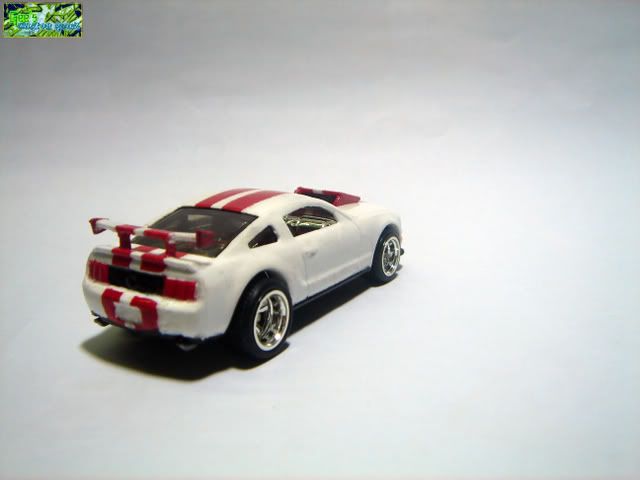
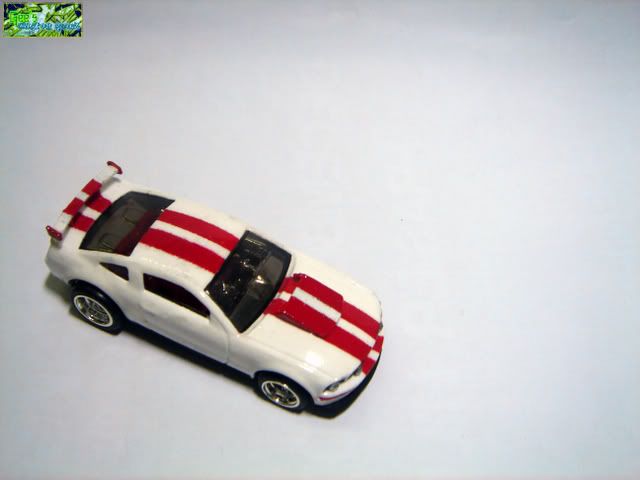
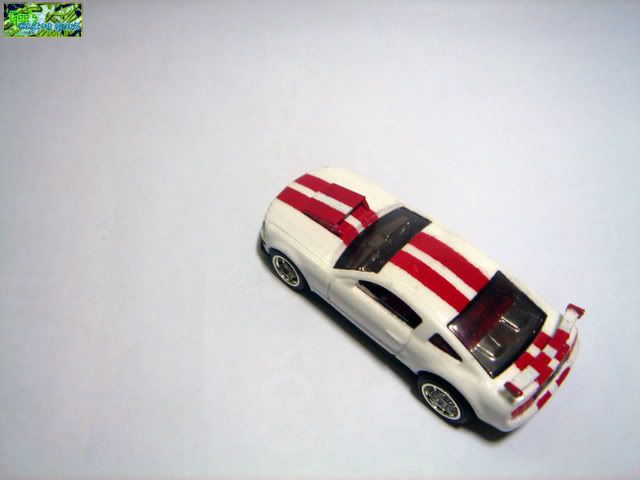
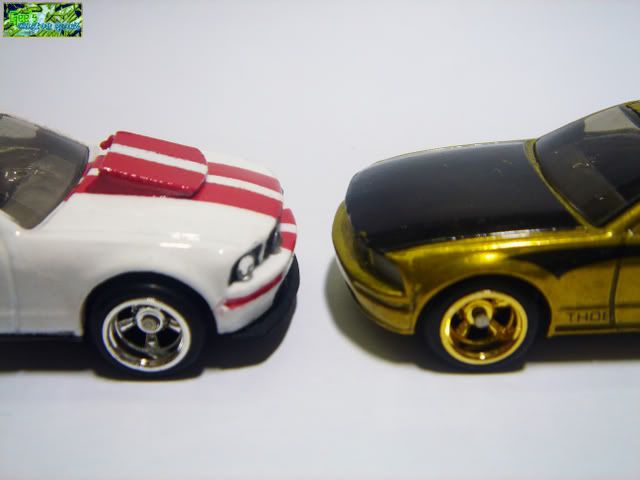
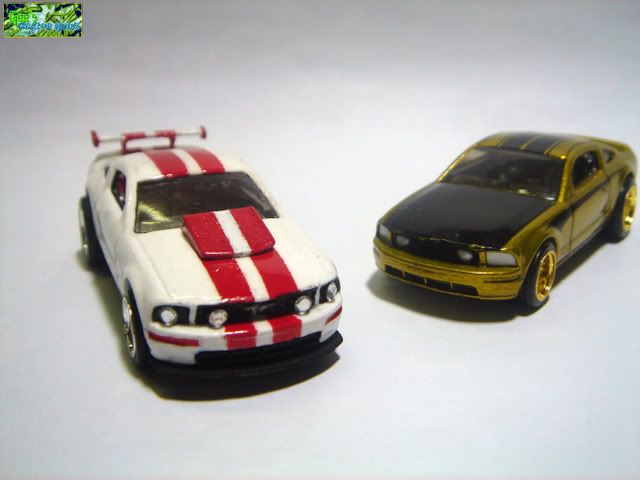
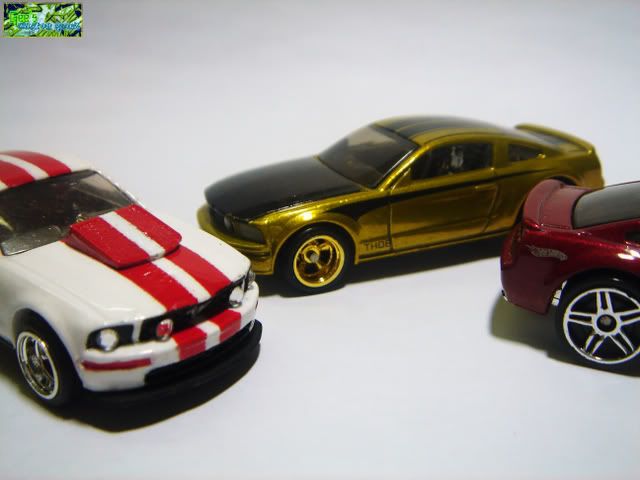
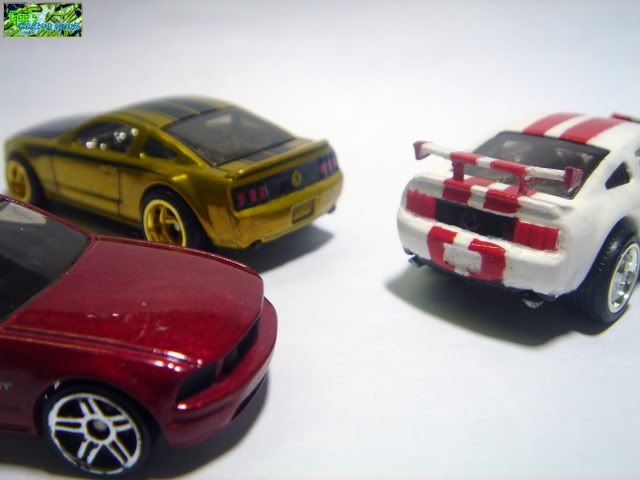
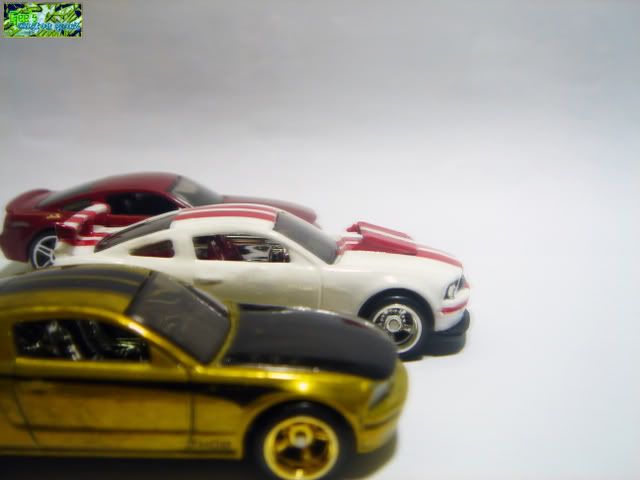
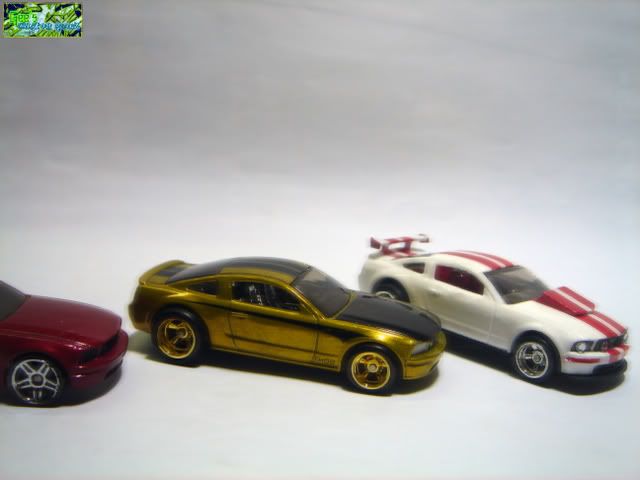
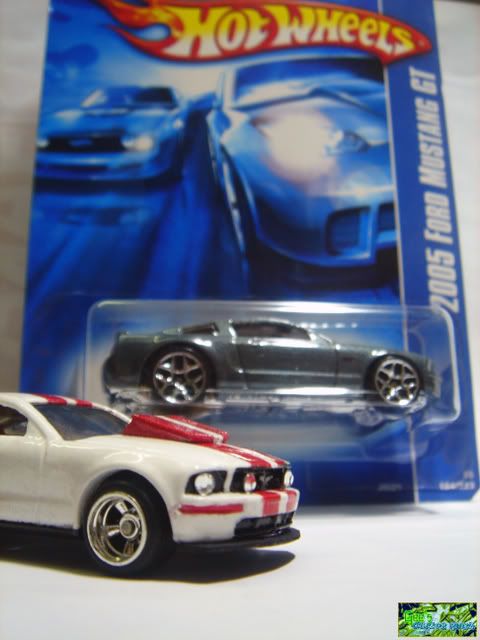
Project started: 29th August 2008
Project completed: 8th September 2008
Project completed: 8th September 2008

9 comments:
Very impressive about your customized Mustang... So great!
thank you for your compliment! i was hoping to make this mustang resemble those ferocious cars in real life, glad it somewhat did! :-)
bro whr did u get the rims ?? did u destroy a real rider diecast and take the rims =( ?? i wish sum1 is selling those rims for ppl to buy.. ppl like me! btw nice custom! JDmike is the great sifu! i am also doin a custom now.. a model of my real car =D
thanks bro! :) i used a super thunt viper's rims. yeah i had to take apart that car to get the rims. felt a bit pitiful because nice rims are a bit hard to find. plus even if you found it, its usually pretty expensive.
oo, looking forward to seeing your custom soon. do inform me when its ready, it sounds interesting! thanks for the visit again! =]
bro this is the link... check out my new die cast. http://145alfa.blogspot.com/2008/09/perodua-vivamira-diecast.html hehe.. no as pro as u and JDmike yet... anyways enjoy =D
reply on my blog comment*
wow thx eugene.. i really needed that tip.. no wonder my paintjob turns out horrible... btw how many coats u usually spray and what sand paper u use..? i think my sand paper is too rough.. and my bumper i fabricate using a thin card board with a mix of a lil toilet roll paper and strong glue so it became rock hard like fiber material.. but it didnt get smooth tho =(.. thx for the tips eugene
Hey!!!
i almost missed this!
it came out really great Eugene!! two thumbs up!! :)
the wheels look great on the mustang, too bad you have
to strip a HWs TH for that..but sometimes you have to sacrifice some to get something better. :)
keep up the great work!! :)
benpaul - no problemo bro! hope it helps and i also have replied in your blog. :-)
jdmike - haha you almost did! ;-) yeah i had doubts about stripping the TH, but i certainly didnt regret it. :-) thanks for dropping by, keep in touch mate!
Man you rocks!! and the Ford Mustang custom is the best ever, my favorite by the way, my wife love it, she said that is like make a real scale custom.
Great job bro!!
Post a Comment