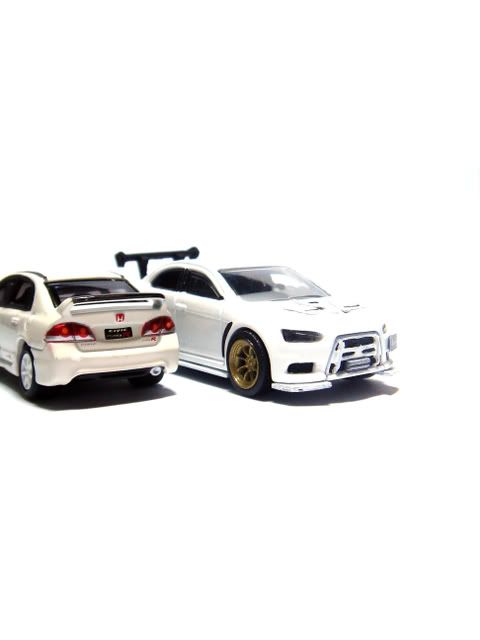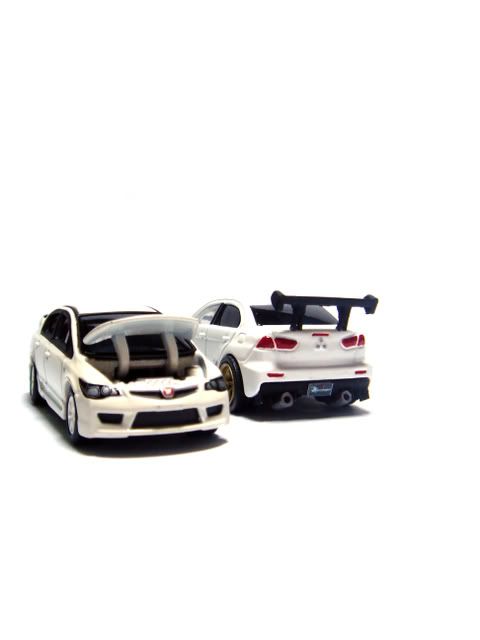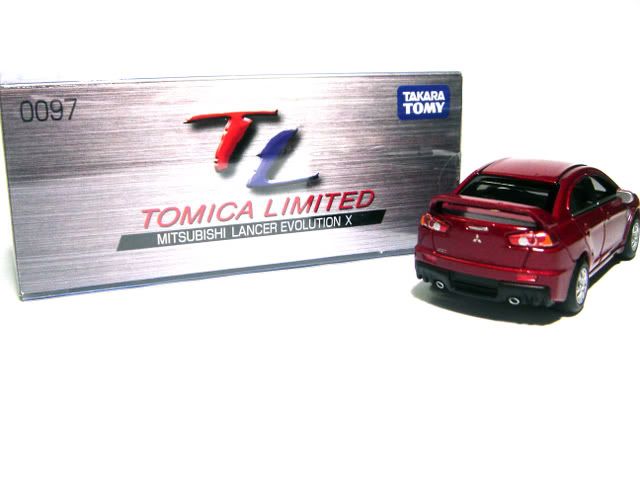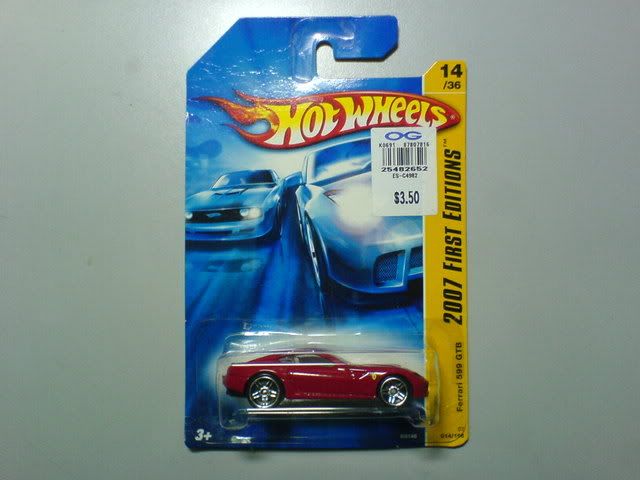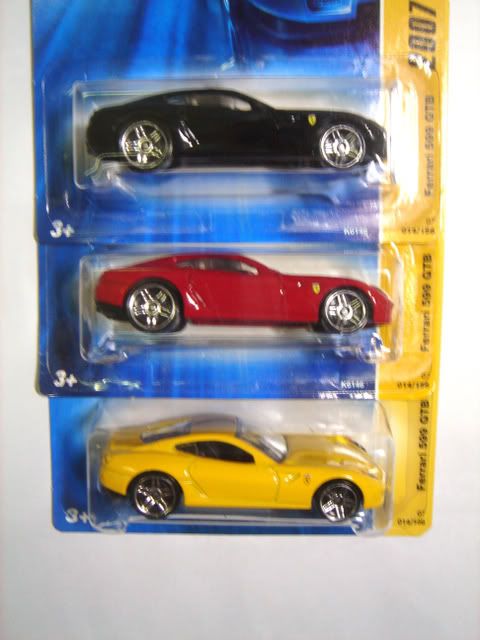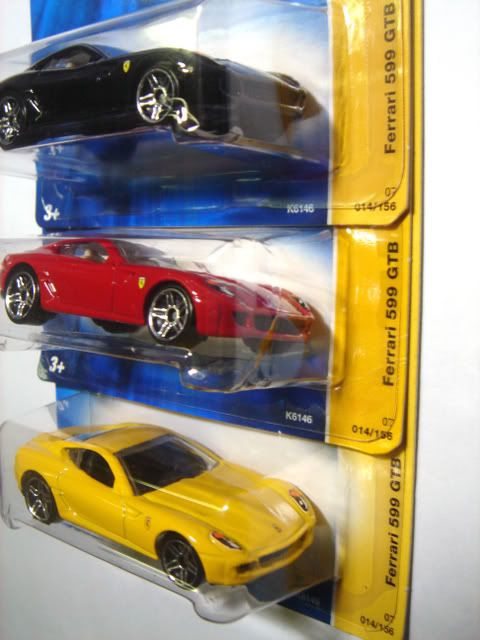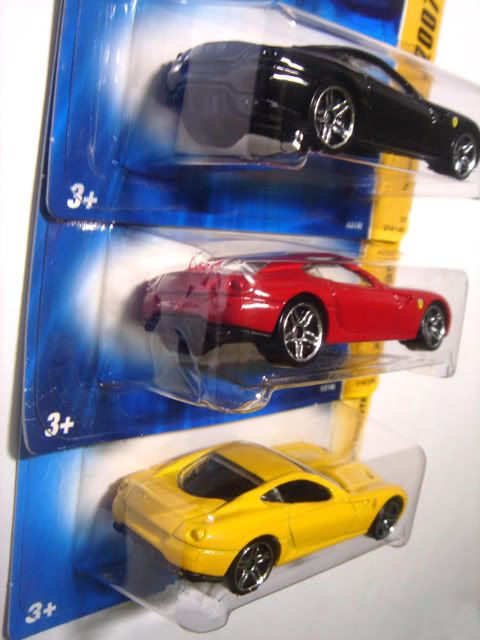
The Evolution X. No need for any introductions when you hear this name. Apparently, this is a hot favourite amongst you guys too, since this car has won more than 50% of the votes in the choice of the car to customize.
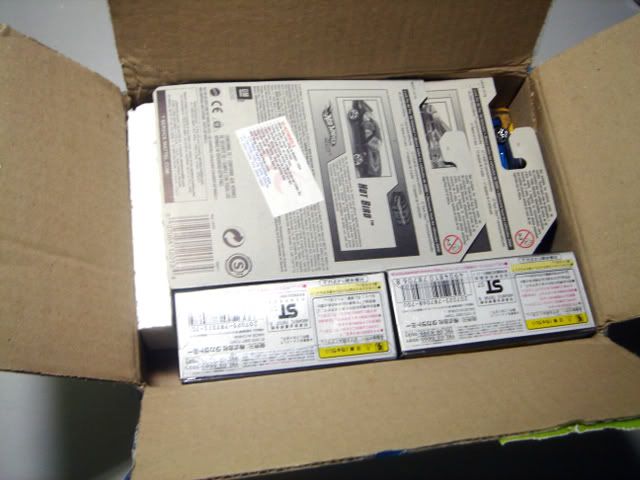
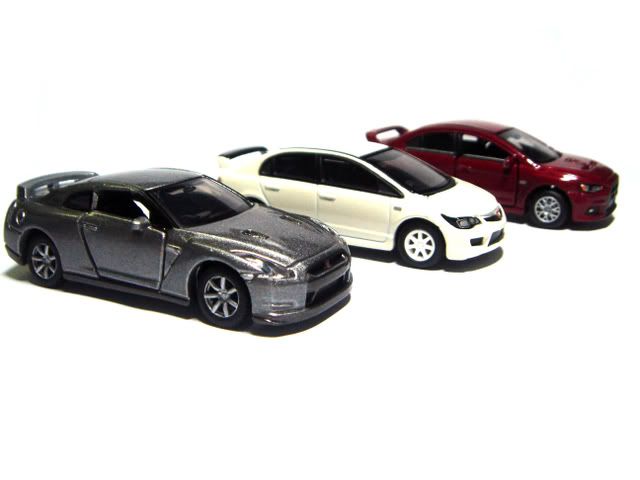
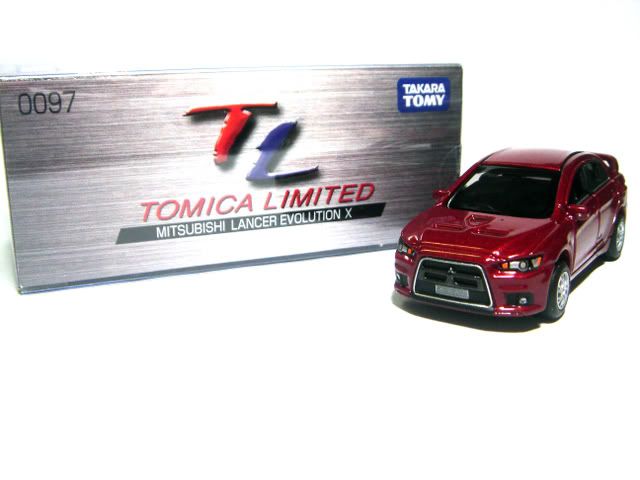
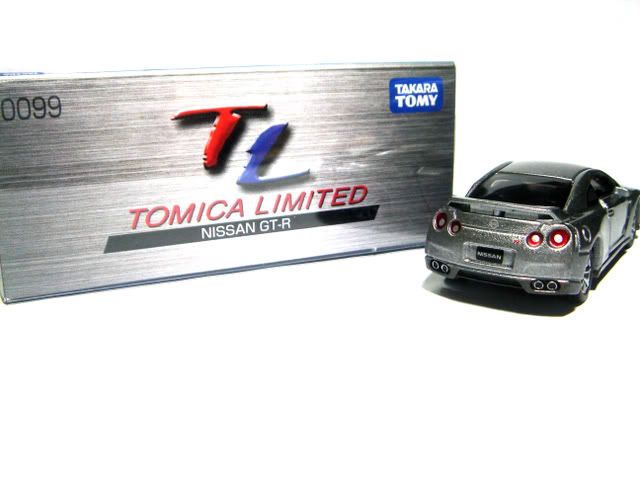
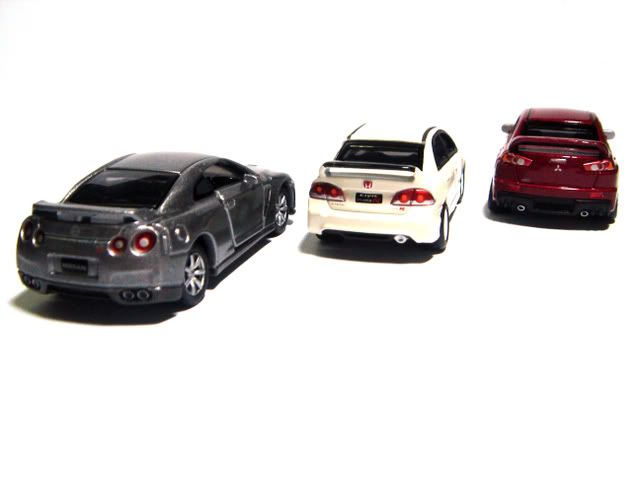
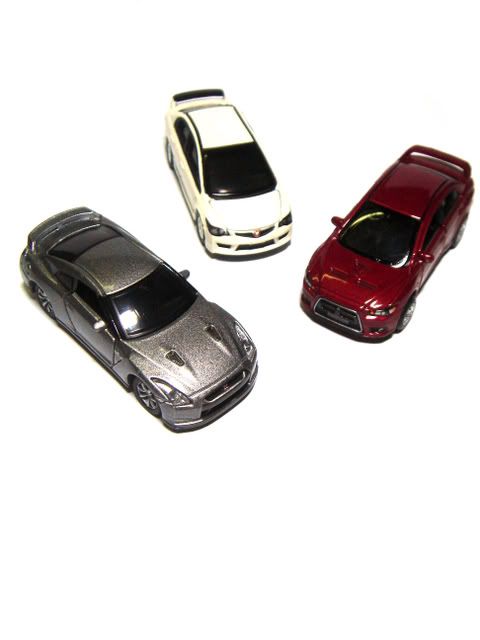
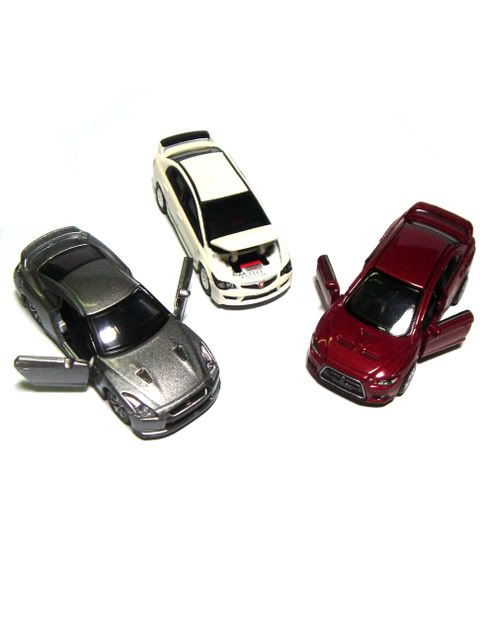
So when we last seen the Evo, it was whisked off to the custom shop to be stripped down and customized. If you have already forgotten what the Hot Wheels Evo X looks like, here're pictures to remind you how the car most of you voted looks like. ;-)
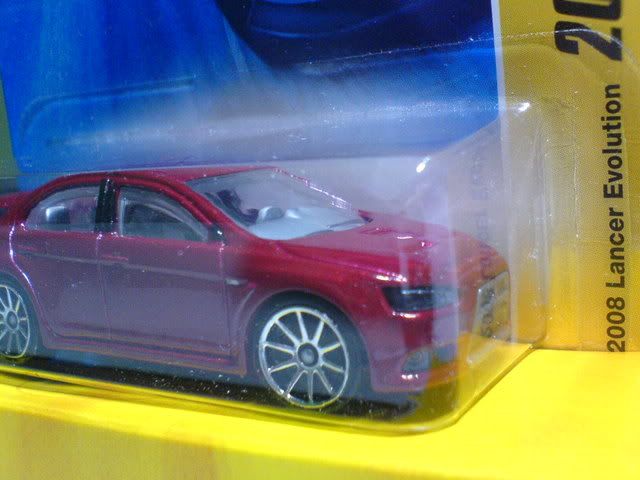
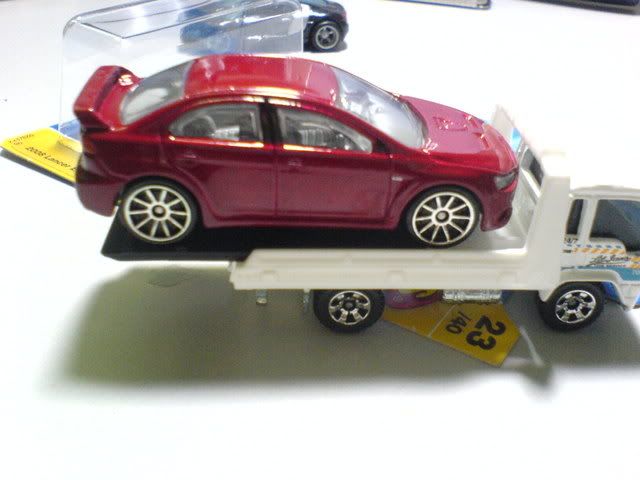
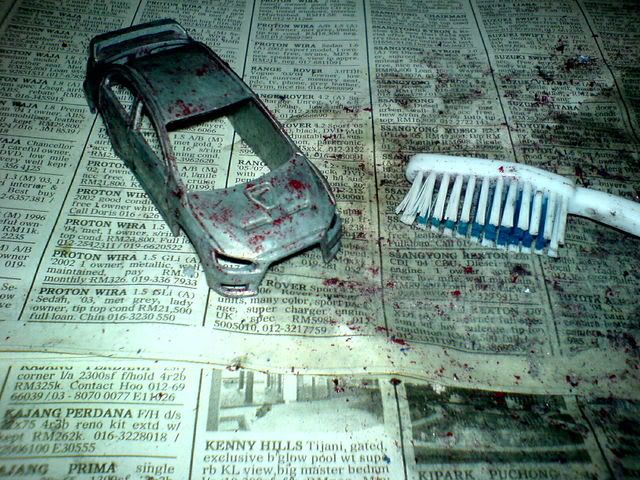
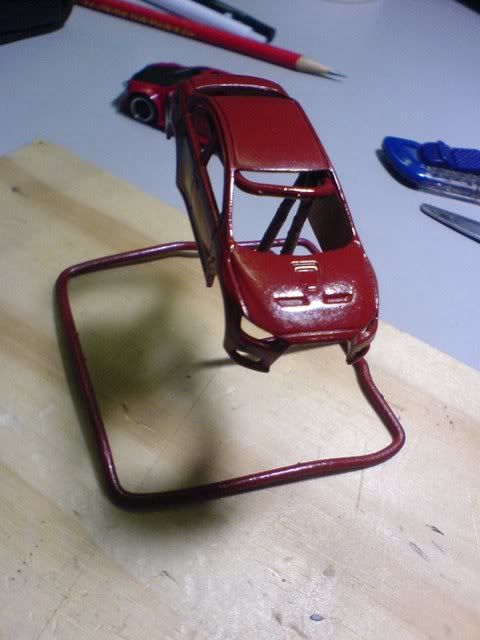
Although this car's best colour is the stock red painted, I wanted to do a colour that has has not been produced by any toy car makers before. So first thing's first, paint stripping! A note about this car's paint: Hot Wheels has used a high quality paint and finish for this car, evidenced by the metallic shine of the dark red. Among all the cars I have paint stripped, this Evo's paint has so far been the hardest to strip.
Then I proceeded to cut the rear wing using a jeweler's saw, as I wanted a very aggressive tuner Evo look, which was suggested by my friend Cham whom I talked to quite elaborately about ideas for this Evo mod. Throughout the process of this customization, I checked out JDMike's Evo customizations from
his blog. They are a great source of reference, and I learnt a lot from them. A word of thanks to the both of them, thanks guys! :-)
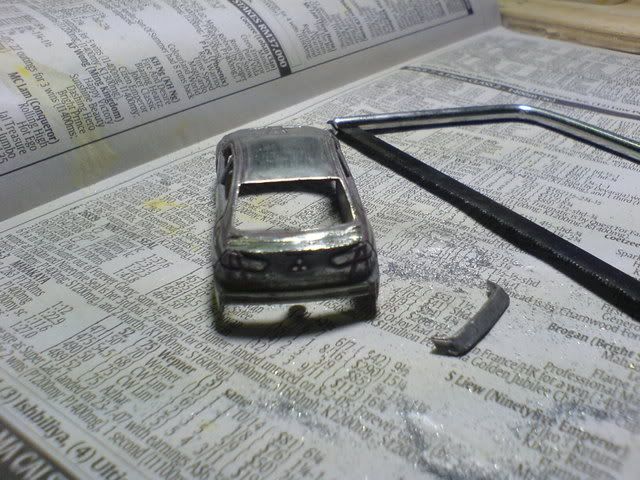
After removing the wing, it was fabrication, fabrication and more fabrication. As mentioned before, I wanted a very aggresive tuner look for the Evo, so I had to fabricate various additional parts, most of which involves additional body kits around the car.
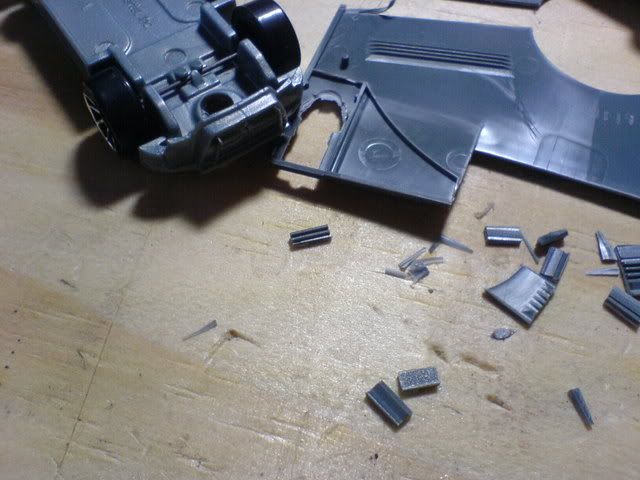
For the front diffuser, side spoilers, hood and grille mods, I fabricated them by cutting out the shapes I wanted from an old floppy disc. JDMike has mentioned you can fabricate loads of stuff using the floppy disc, and he was right. :-) As for the exhaust pipe, I cut out the small cylinders off an ink tube of a ball point pen. Also, after cutting the rear wing, the boot area was uneven so I smoothened it out using putty, sandpapering it and then made grooves for the boot lid.
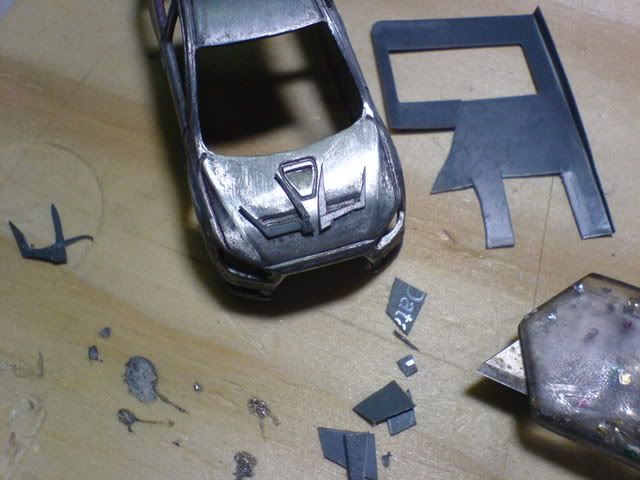
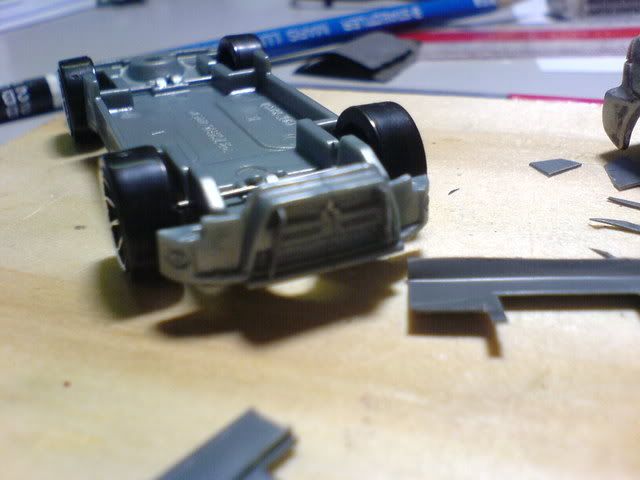
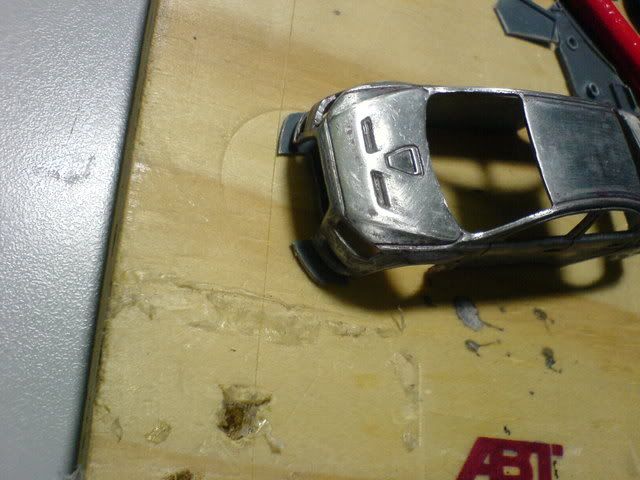
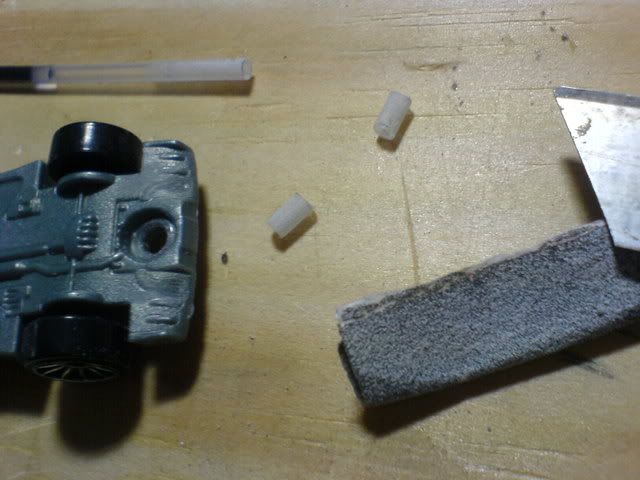
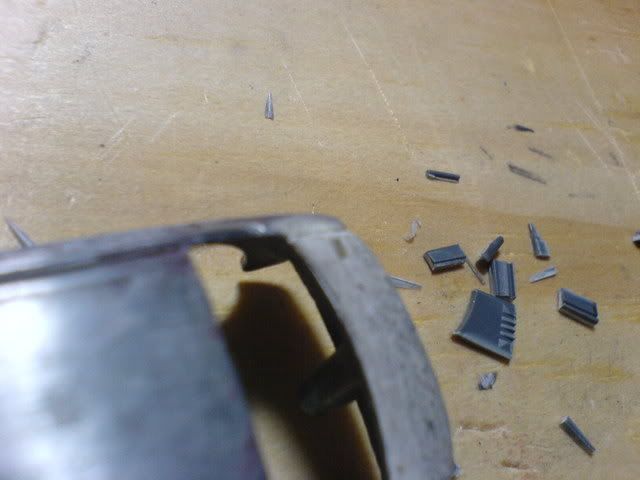
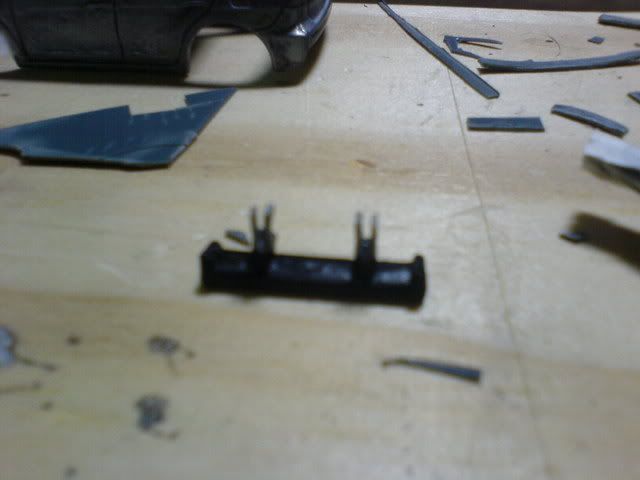
I managed to obtain a donor rear wing off another Hot Wheels casting, but I found the stand to be too short. So I cut off the stands, and fabricated new ones myself using, surprise surprise, floppy disc. :-P I noticed there was an part inside of the floppy disc that has grooves. So I cut it out and used it as a intercooler to be placed in front of the grille.
After those were done, the body was sprayed a coat of primer and left to dry for one full day. While the primer was drying, I continued to work on the chassis. I got donor wheels from a Jada, and the axle was substantially bigger than Hot Wheels' axles, so I used the jeweler's saw and sand paper to widen the axle area for the new axles to fit. :)
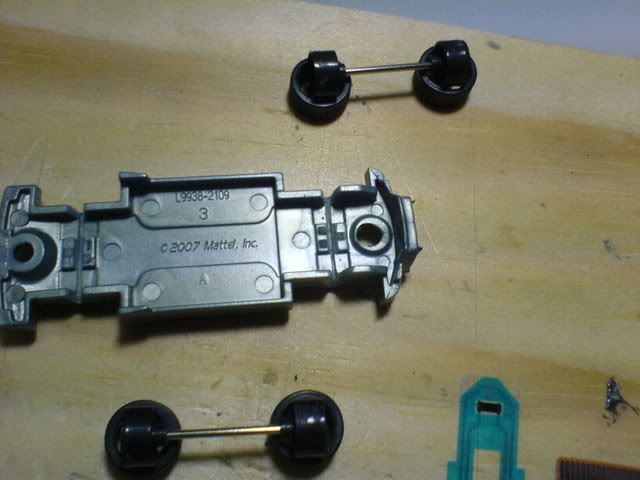
As most of the fabrications were done, the most time consuming part is next: painting. For my colour choice, I selected white. This is because I noticed most tuner Evo X are in three colours: black, white or the standard red. I went with white because grey has already been casted by Hot Wheel and was close to black. I mentioned previously that I wanted it to be a colour no toy car maker has produced, so white it is. I thought it white was never produced, until recently JDMike's post showed a white Evo X by Kyosho.
Darn it.
Ah well, back to the customization process. The white body kits and grille are sprayed white, along with the body. And then everything is left to dry for another day.
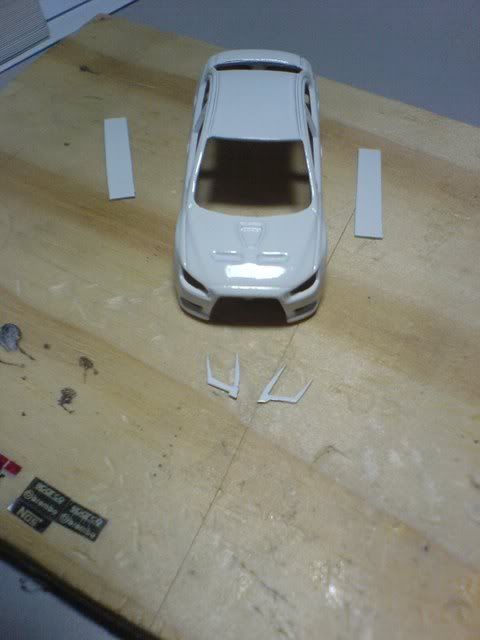
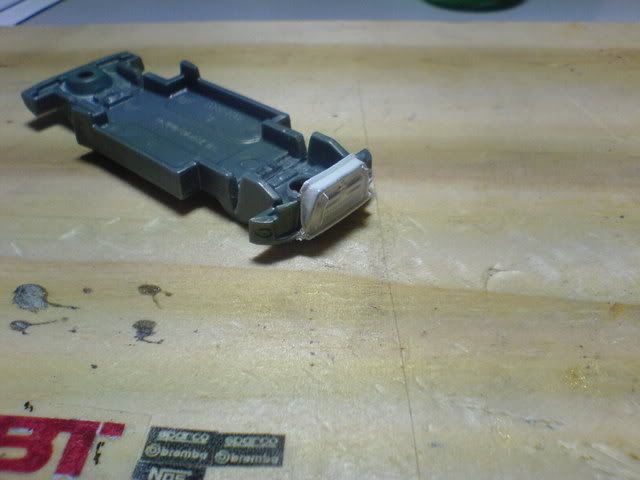
As these parts dried, I also fabricated the flaps the the rear diffusers using the good old floppy disc. But since there are flaps and exhaust on the chassis already, I used sandpaper to sand it down flat before sticking the new longer flaps on. I proceeded to spray the chassis and rear wing flat black, and gold for the new rims.
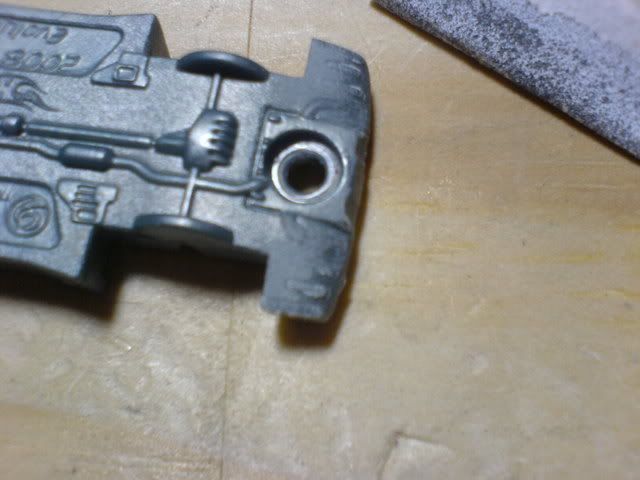
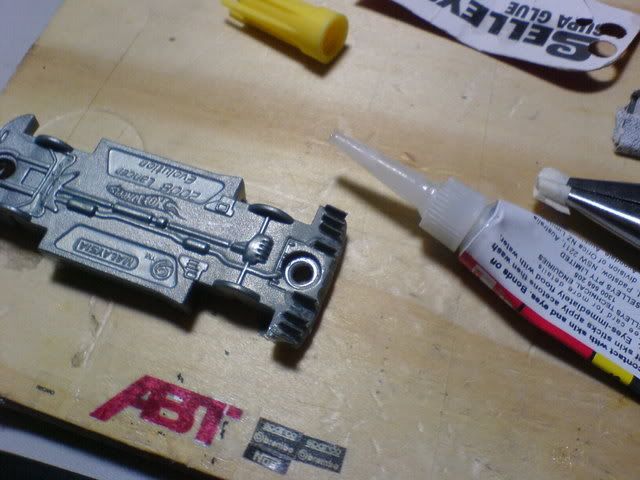
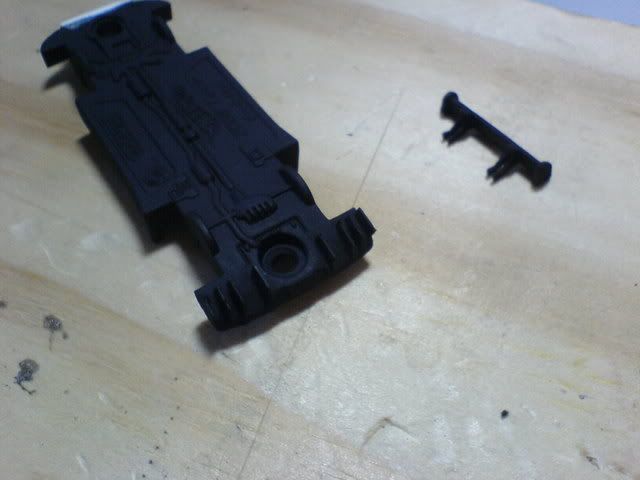
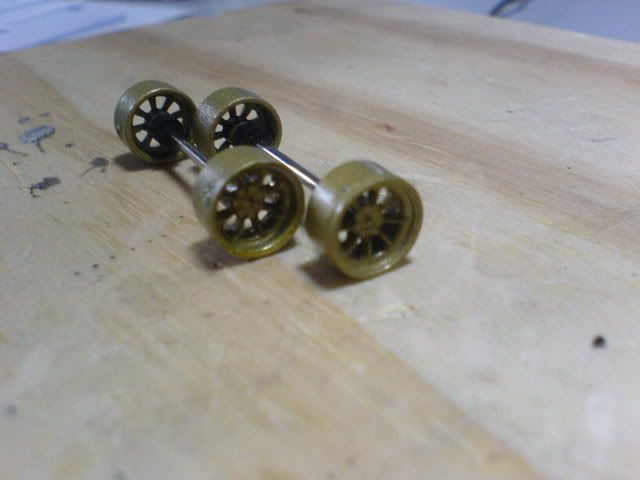
After the white has dried, I glued on the hood's mod pieces on. The whole body is then clear coated and lefto to dry for another day. The exterior body and interior was detailed, and the grille too. I kept the grey in the interior because I felt it suited the colour scheme and just detailed the interior black, and painted the racing seats in a black/grey colour scheme. The back portion of the windows was tinted black and the chassis was detailed too.
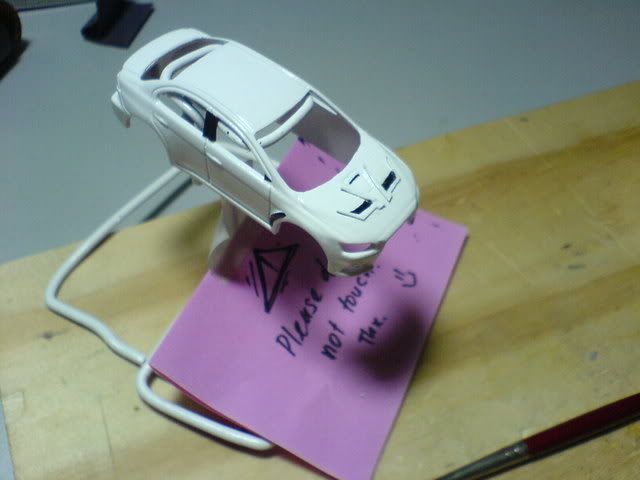
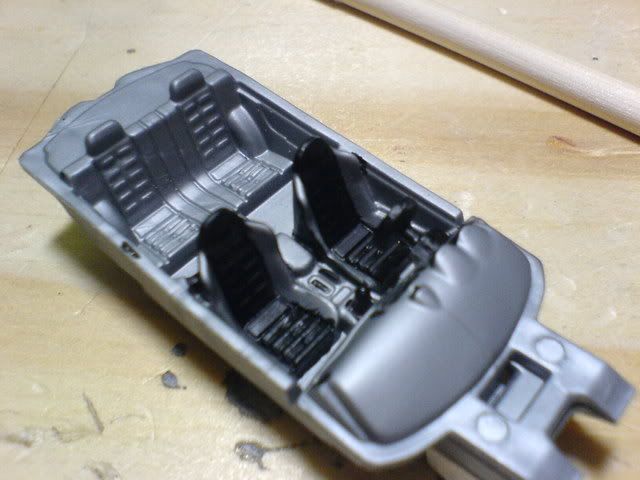
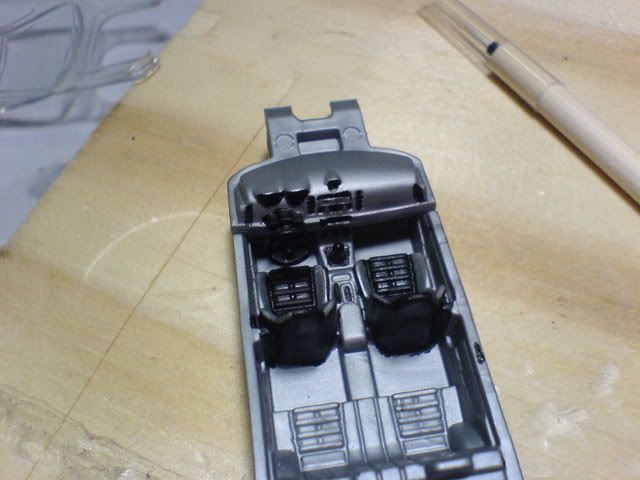
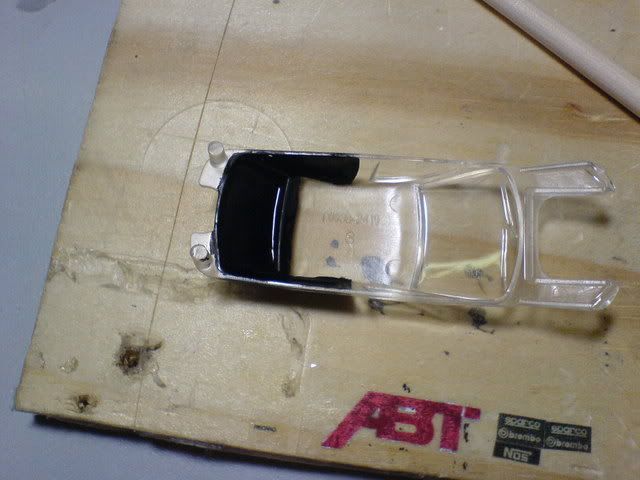
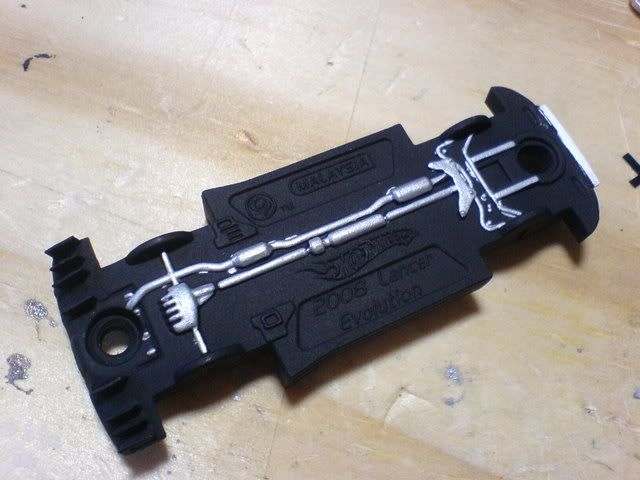
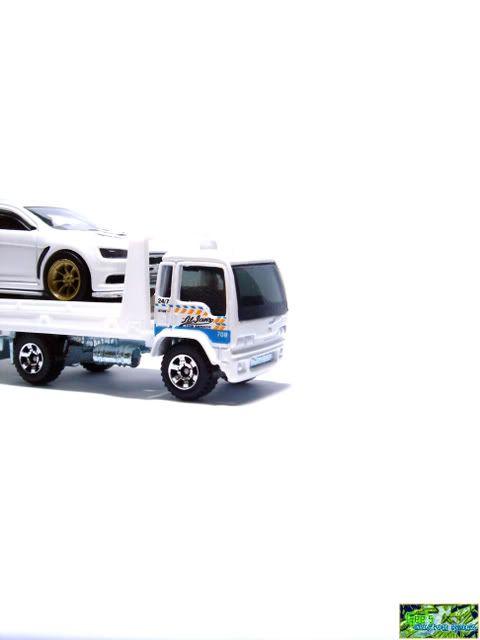
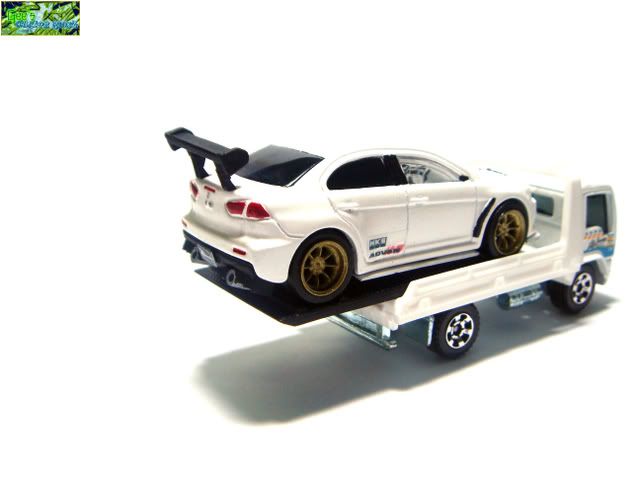
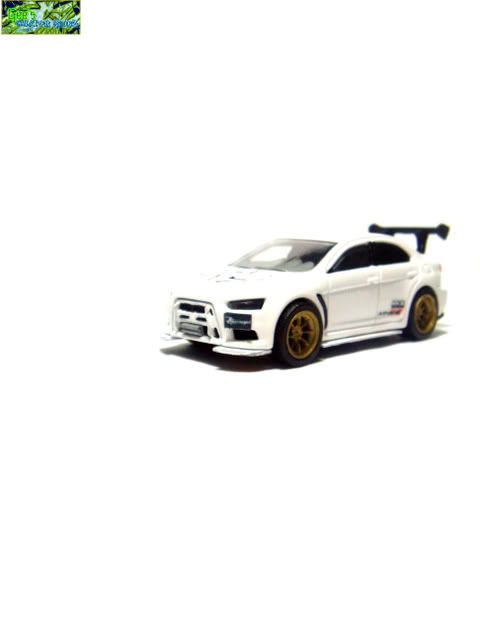
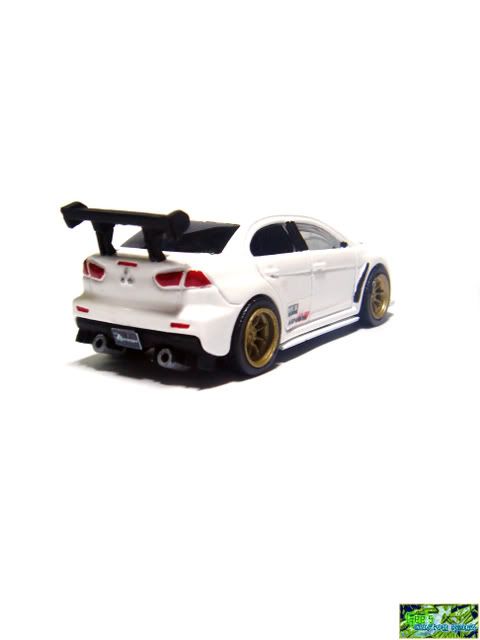
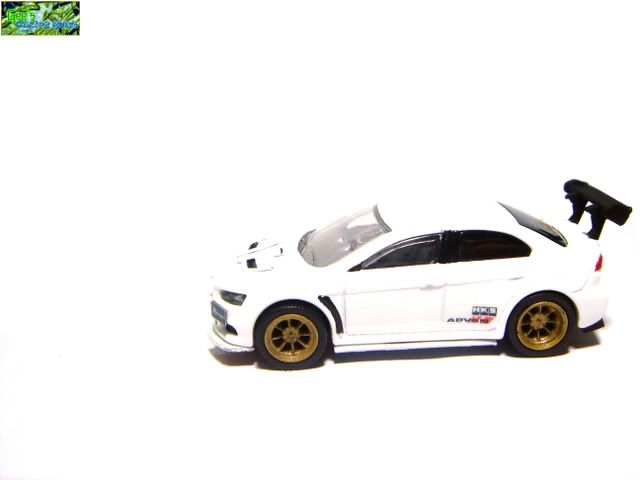
The last part of this customization would be gluing the whole car together. Started with the chassis, interior, body and wheels first. Then the new body kits and finally the rear wing. Add some decals, then two plate numbers and the car is finally done!
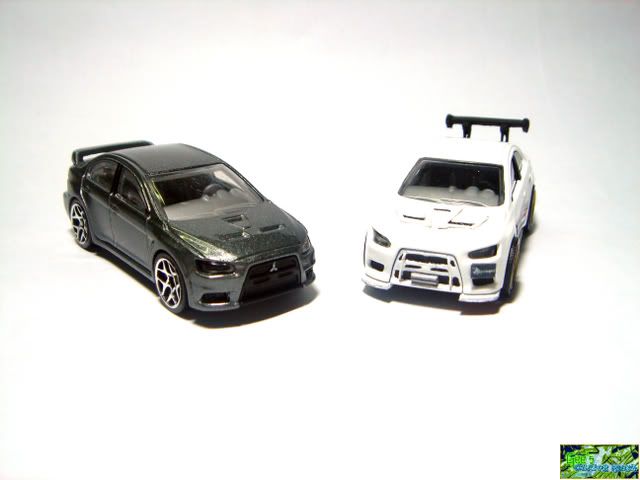
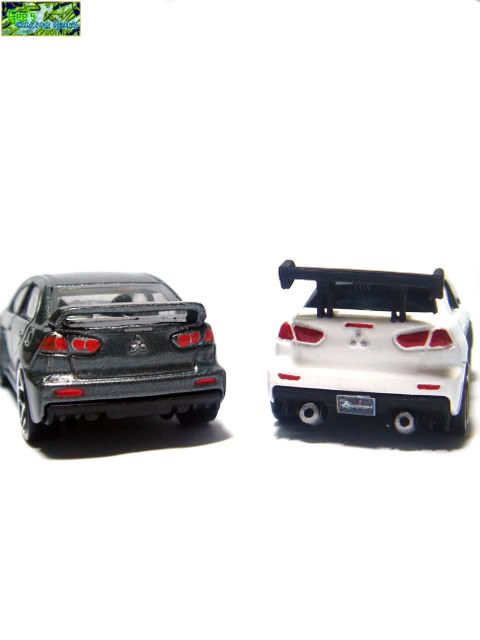
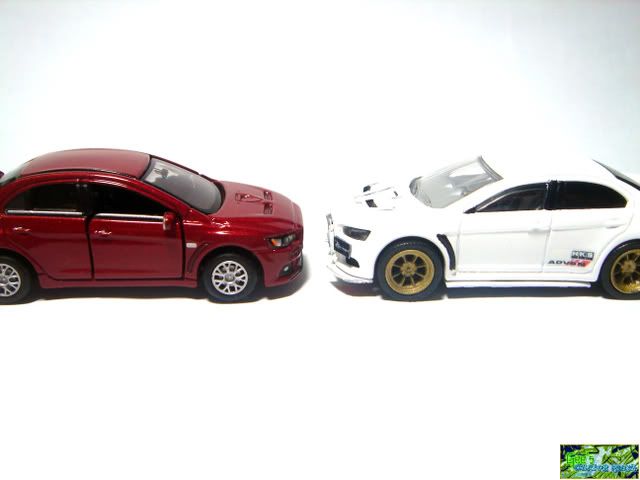
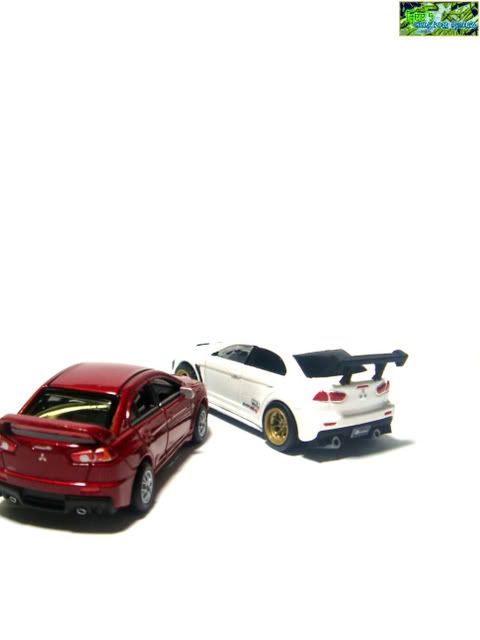
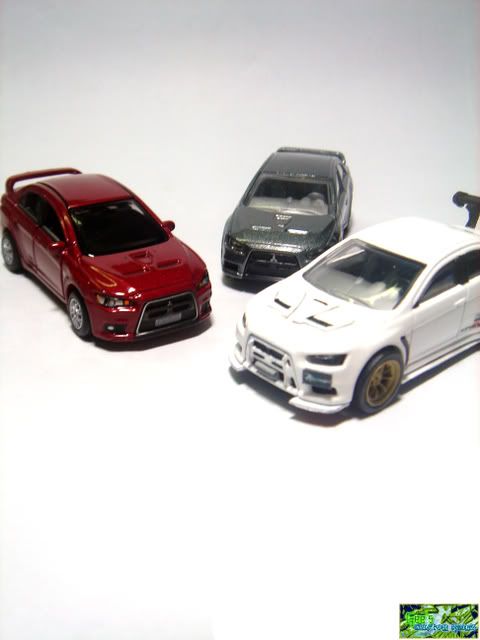
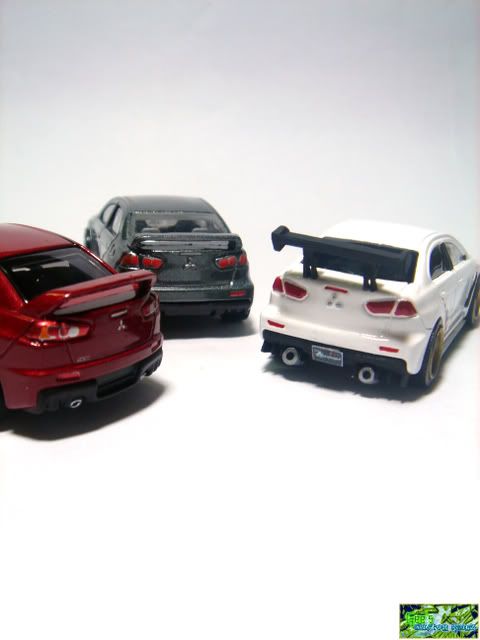
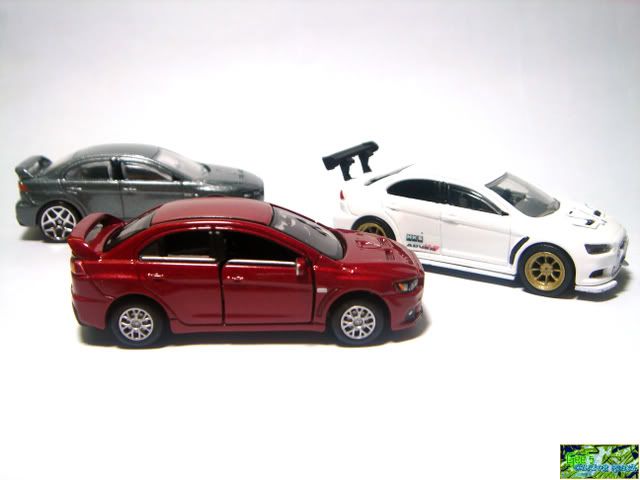
So, my long winded story about the customization of this Evo comes to an end. I'm sorry if you have already fell asleep reading, but if you made it all the way here congrats! If you scrolled all the way down here for the final product photos, here they are... together with group photos with the Hot Wheels and Tomica Limited castings.
Enjoyed this post? I did! :-)
Project started: 9th October 2008
Project completed: 16th October 2008

